Climbing in Little Switzerland (Denali National Park) by Alasdair Turner

In June I spent a month in Alaska, working two separate climbing trips in Denali National Park.  The second trip was a ten day climbing course in the Pika Glacier area.  You can read about the first trip on the Ruth Glacier Here.  Little Switzerland is know for its good quality rock climbing objectives.  Our trip was successful despite a delay getting to the glacier and several days stuck in camp due to poor weather.  We were able to climb numerous objectives including two longer climbs ending on summits of peaks that surround the glacier.  Below are some images of the trip.

The first day of climbing was kept fairly short so we could get used to the rock and familiarize ourselves with the area. This short line up the west side of The Munchkin was a fun way to start our trip.

The following day we headed over to the Middle Troll to climb the most popular route in the area.  Up the face of the peak to the summit.  This climb is written about as an area classic, but in no way meets this high praise.  It turned out to be covered in loose rock that had constant danger from self inflicted rock fall.  Closer to the summit did contain several nice pitches of very good rock, but it is questionable if they were worth the approach pitches.  It did make for a very good (although stressful) learning day.

The following day's weather was not cooporative and we spend much of it tent bound.  Luckily we were heavy on the electronic gagets which made the time go a bit faster. 

The next day in still unsettled weather we headed up to climb a small two pich objective called The Plunger.  Unfortunately after we finished the first pitch the rumbling of thunder in the distance told us that it was time to bail and not risk getting stuck on the top of a peak in a thunderstorm. 

The next day the AAI Alaska logistics corrdiator Katylynn flew out and let Jim and I to climb the Lost Marsupial route on The Throne.  It was a much better route than the Middle Troll and made for an amazing day out in the mountains. 

The two following days we were tent bound due to bad weather and with a forecast for another week of rain we decided fly back to Talkeetna after what we both considered was a pretty successful trip.

Explorers Peak and the Ruth Gorge Alaska by Alasdair Turner

Below are some images from a recent 10 day trip in the Ruth Gorge, Alaska.  This is one of the most stunning places within Denali National Park and there is no where I would rather spend a week.  The weather was not perfect due to conditions that were warmer than expected.  We were able to climb a peak in the upper Ruth Gorge called Explorers Peak.  This seldom climbed summit presented the perfect challenge for our group of first time Alaska Range climbers.  After two days of practicing our crevasse rescue skills we headed across the Ruth Glacier on a 7 mile walk through the upper Ruth Icefall to the base of the route.  There we set up camp and climbed the following morning.  Due to warm conditions we decided to make the walk back to the Mountain House at night.  We packed up camp and started walking at 8pm arriving back at the airstrip at 1am.  


Mount Baker North Side Ice Climbing Course by Alasdair Turner

I just got back from a trip on Mount Baker.  The trip was an alpine ice climbing course for American Alpine Institute.  We had incredible weather and mostly good conditions so in addition to learning the typical skills that are a part of this course we decided to try climbing a route that very rarely sees ascents.  It turned out that the Cockscomb route was not in condition and we were stopped 900ft from the summit.  From there we down climbed onto the Park Glacier in an attempt to summit via the Park Headwall.  This too was not climbable and our only option was very serious glacier travel and navigation back to the other side of the mountain.  This was a traverse of 4 large glaciers that cover over half of the mountain.  Below are a couple of photos of our trip.

Photography on Denali - What Camera To Bring and how To Carry It While Climbing The Mountain by Alasdair Turner

Denali Aerial Photo1.jpg


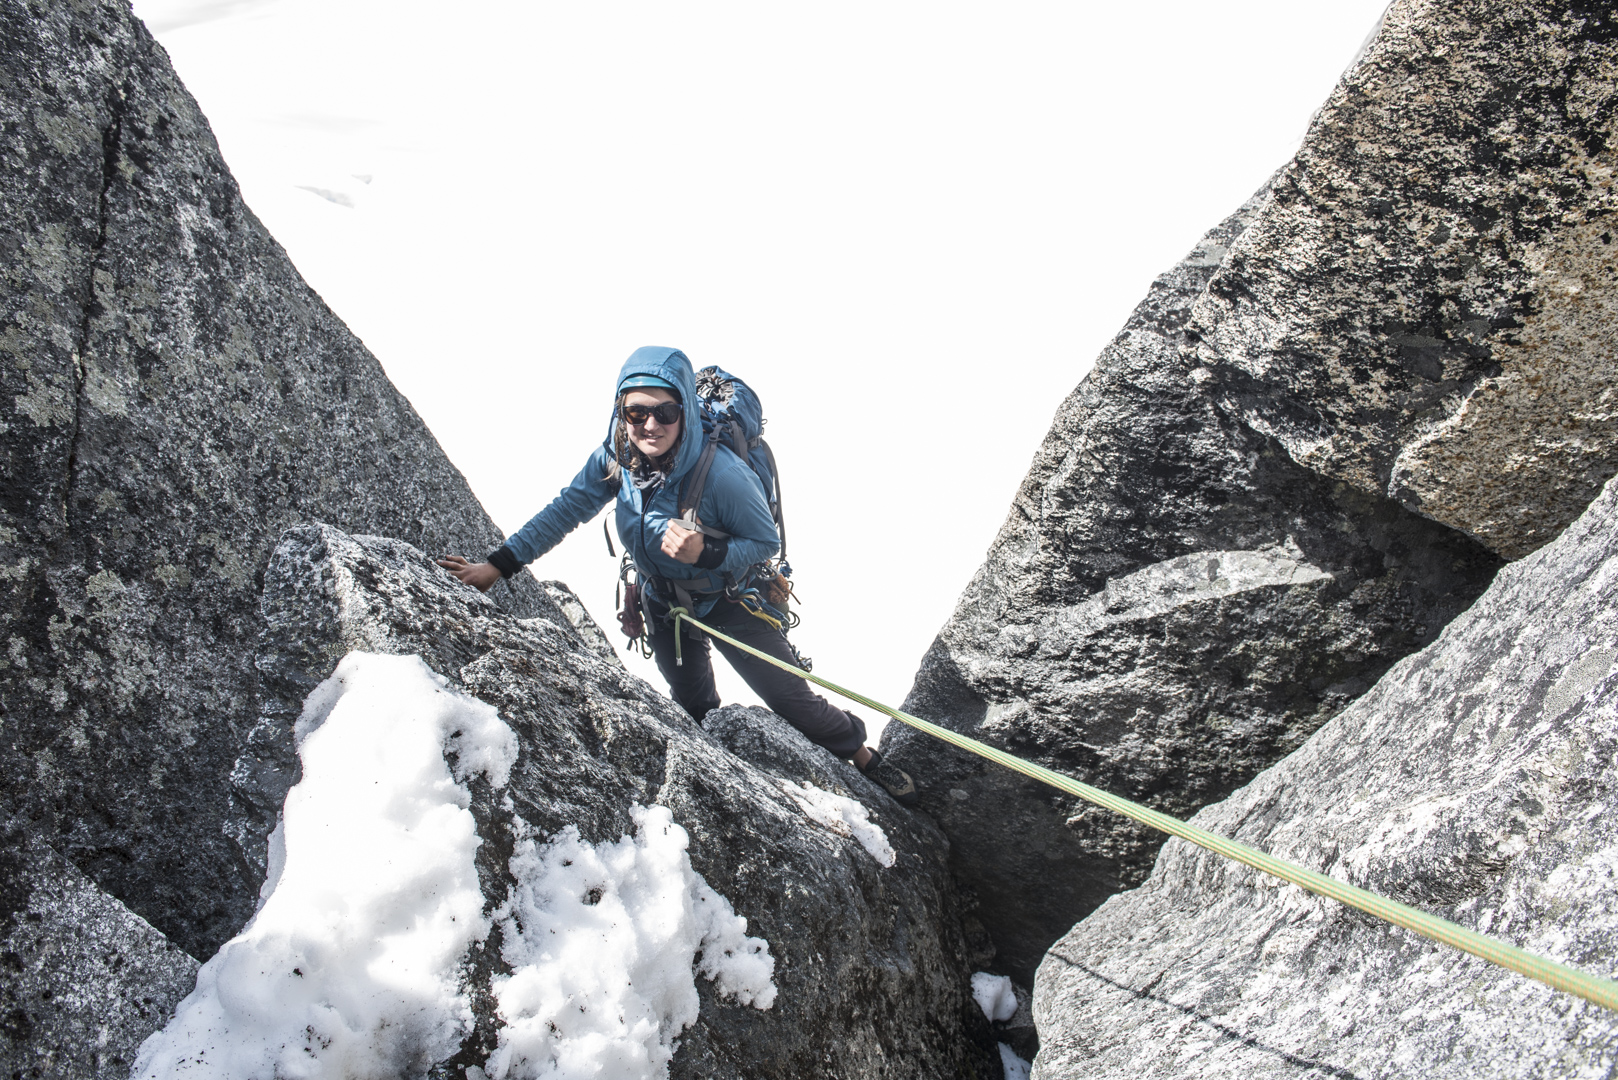
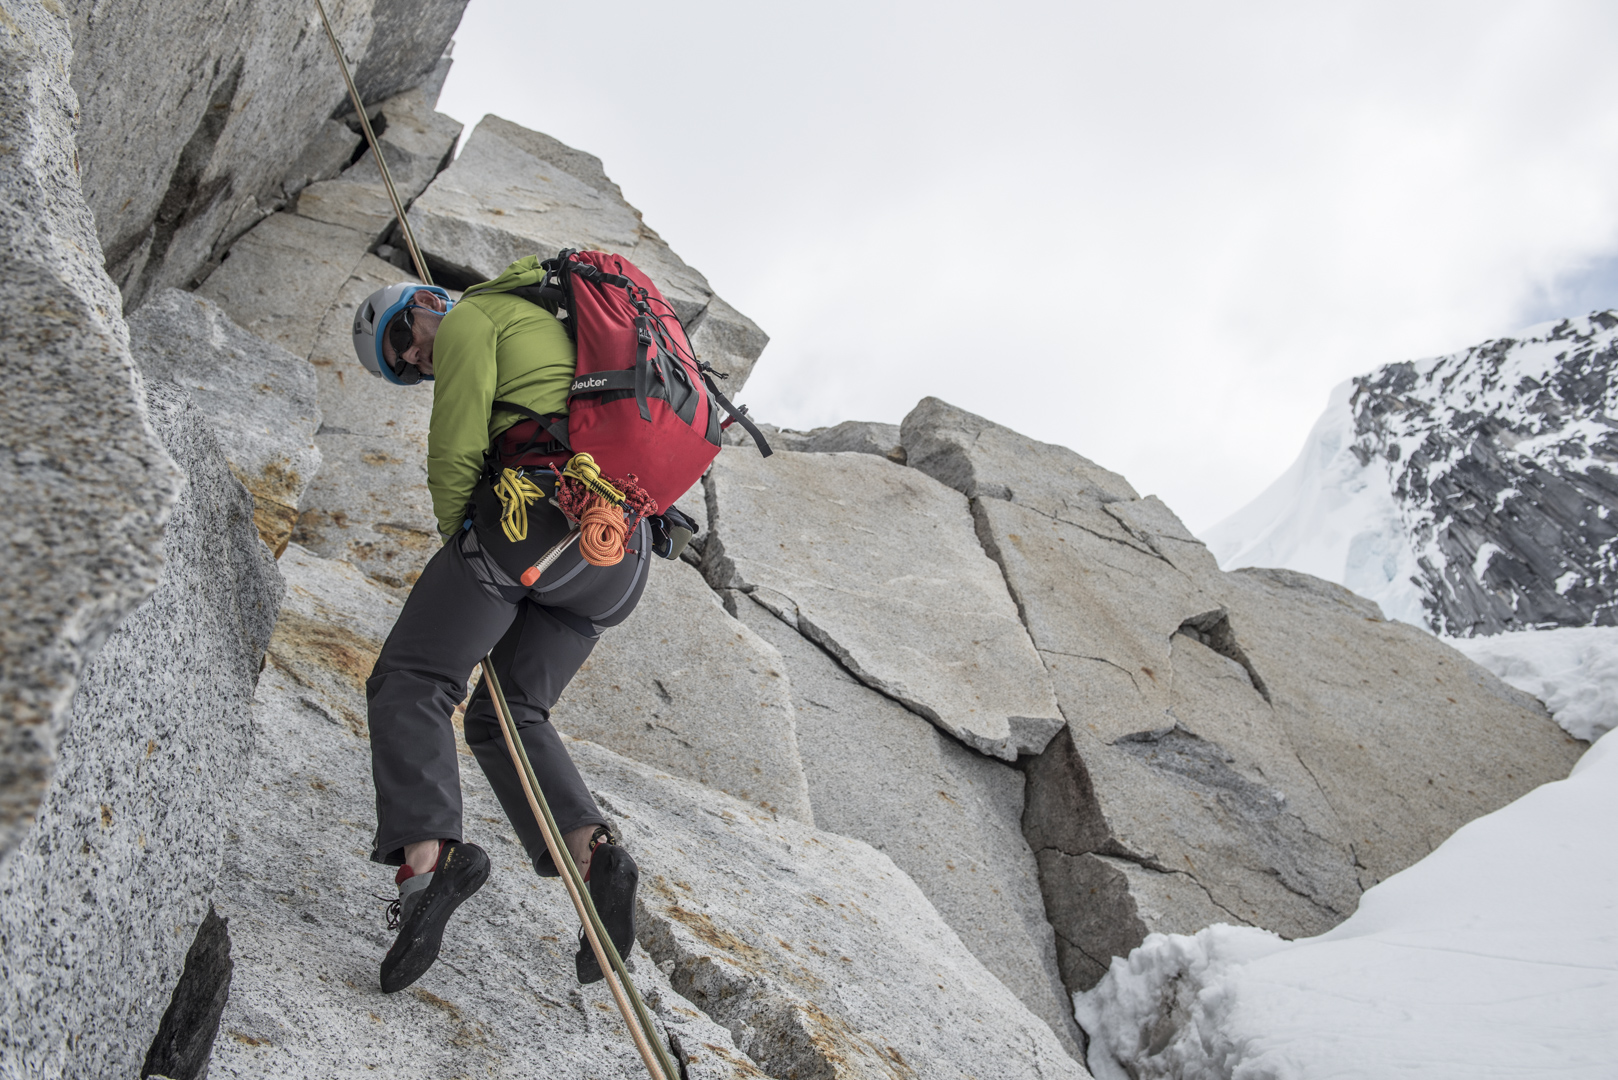
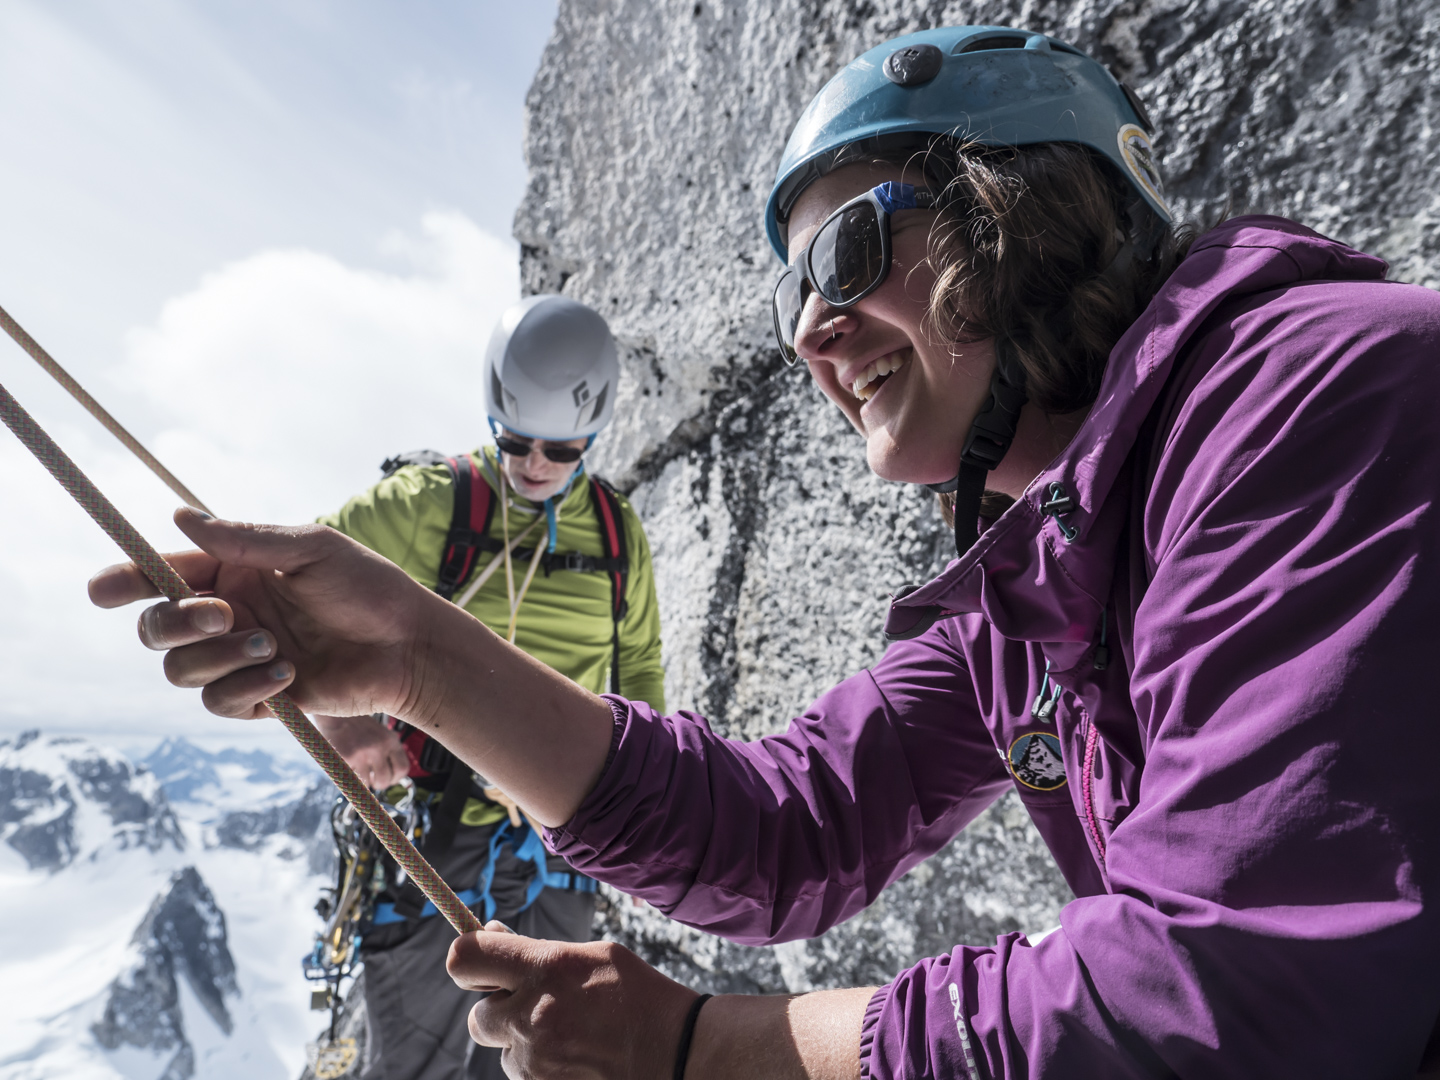
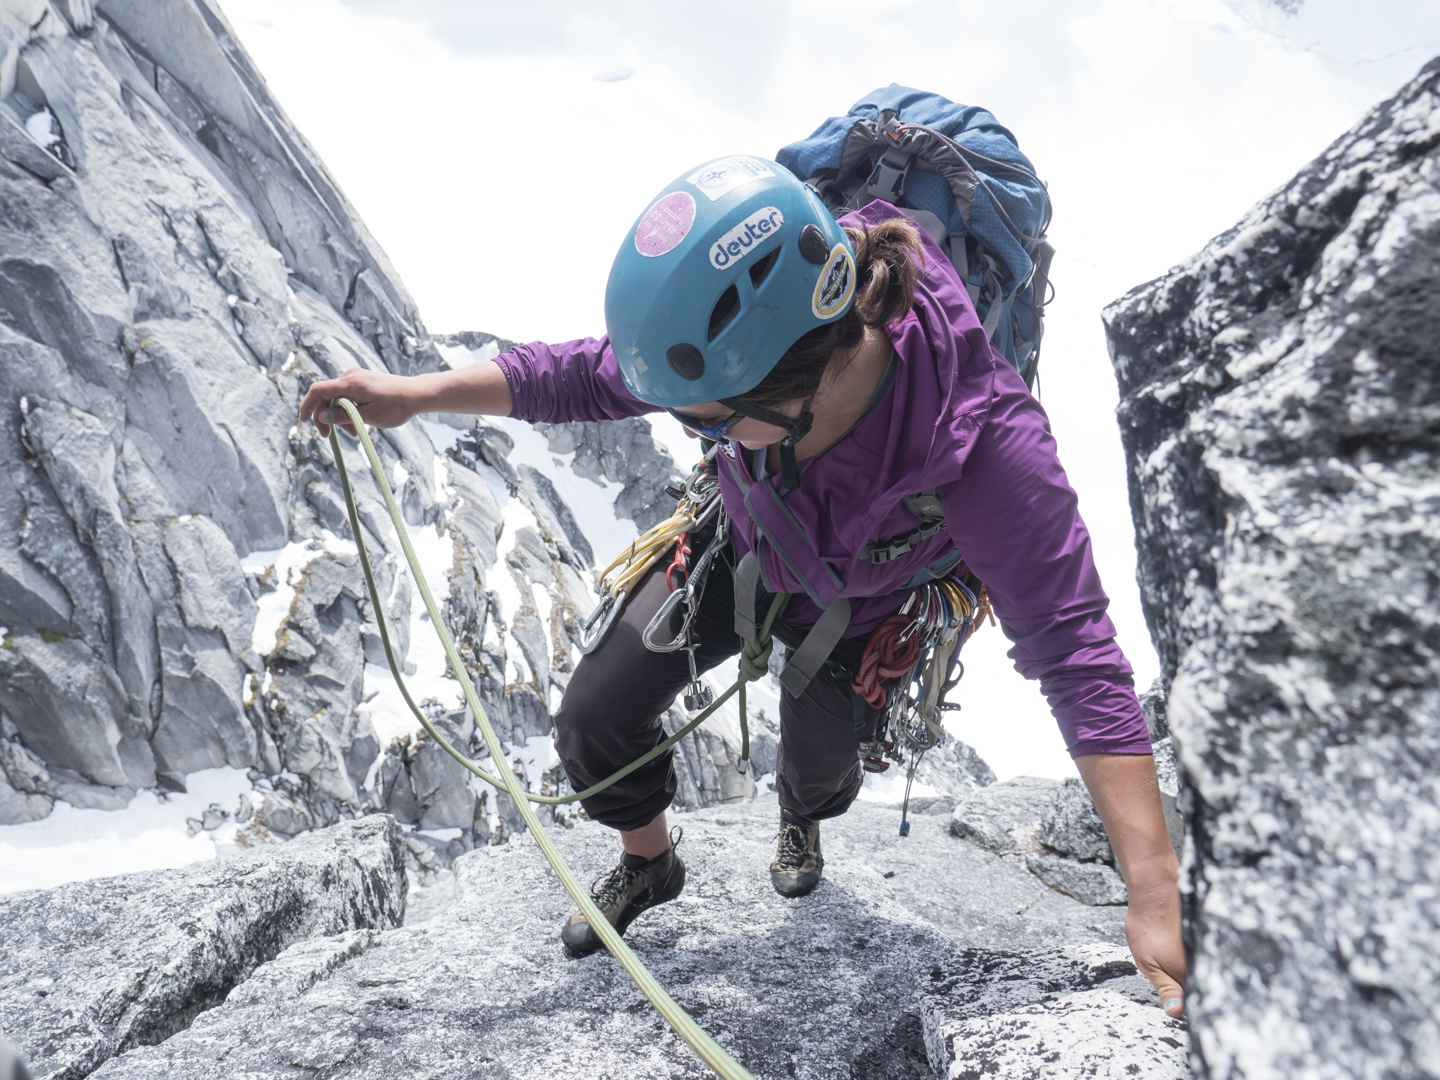
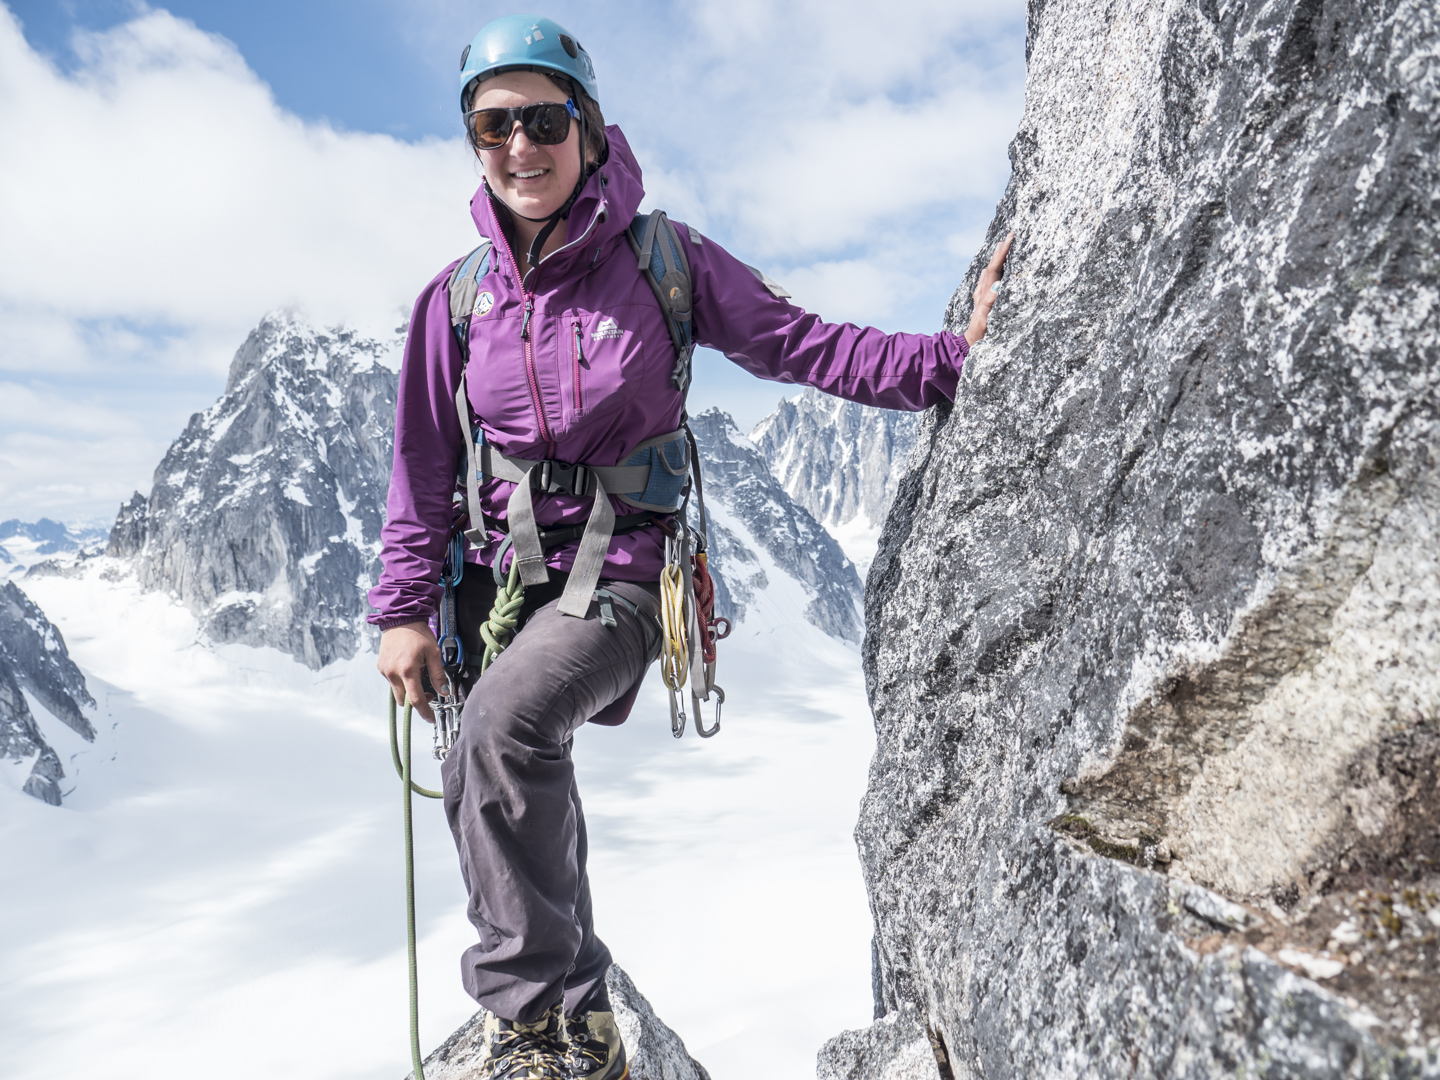
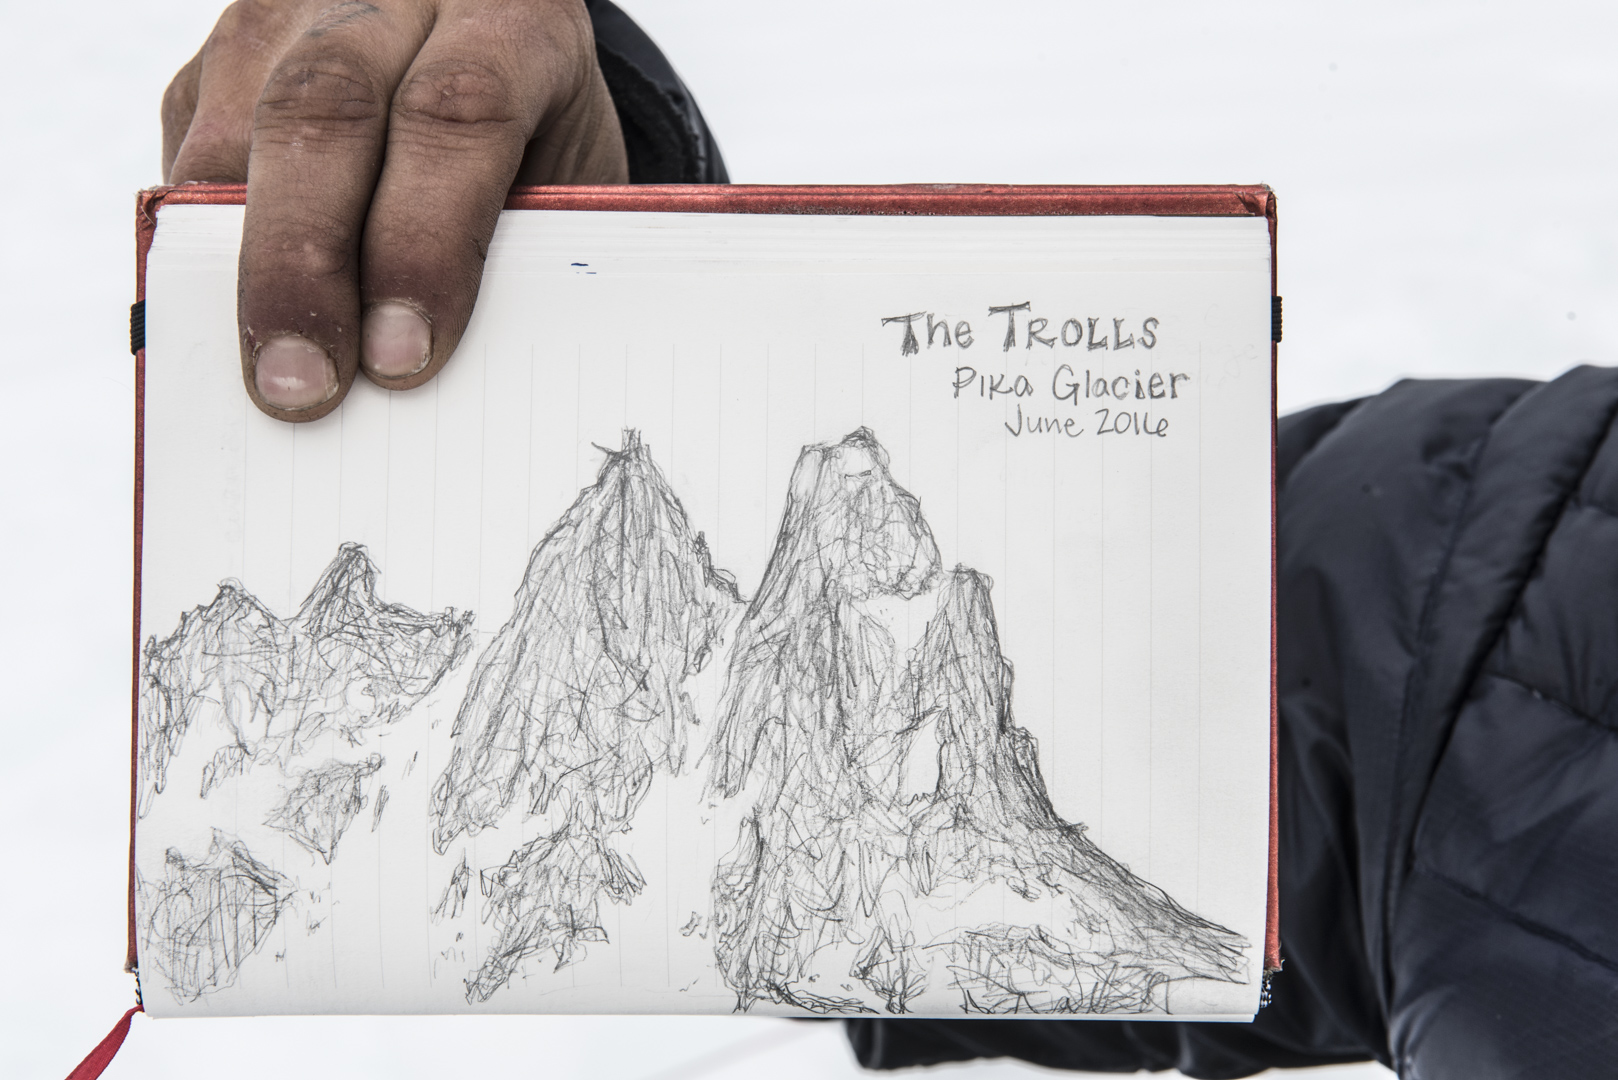
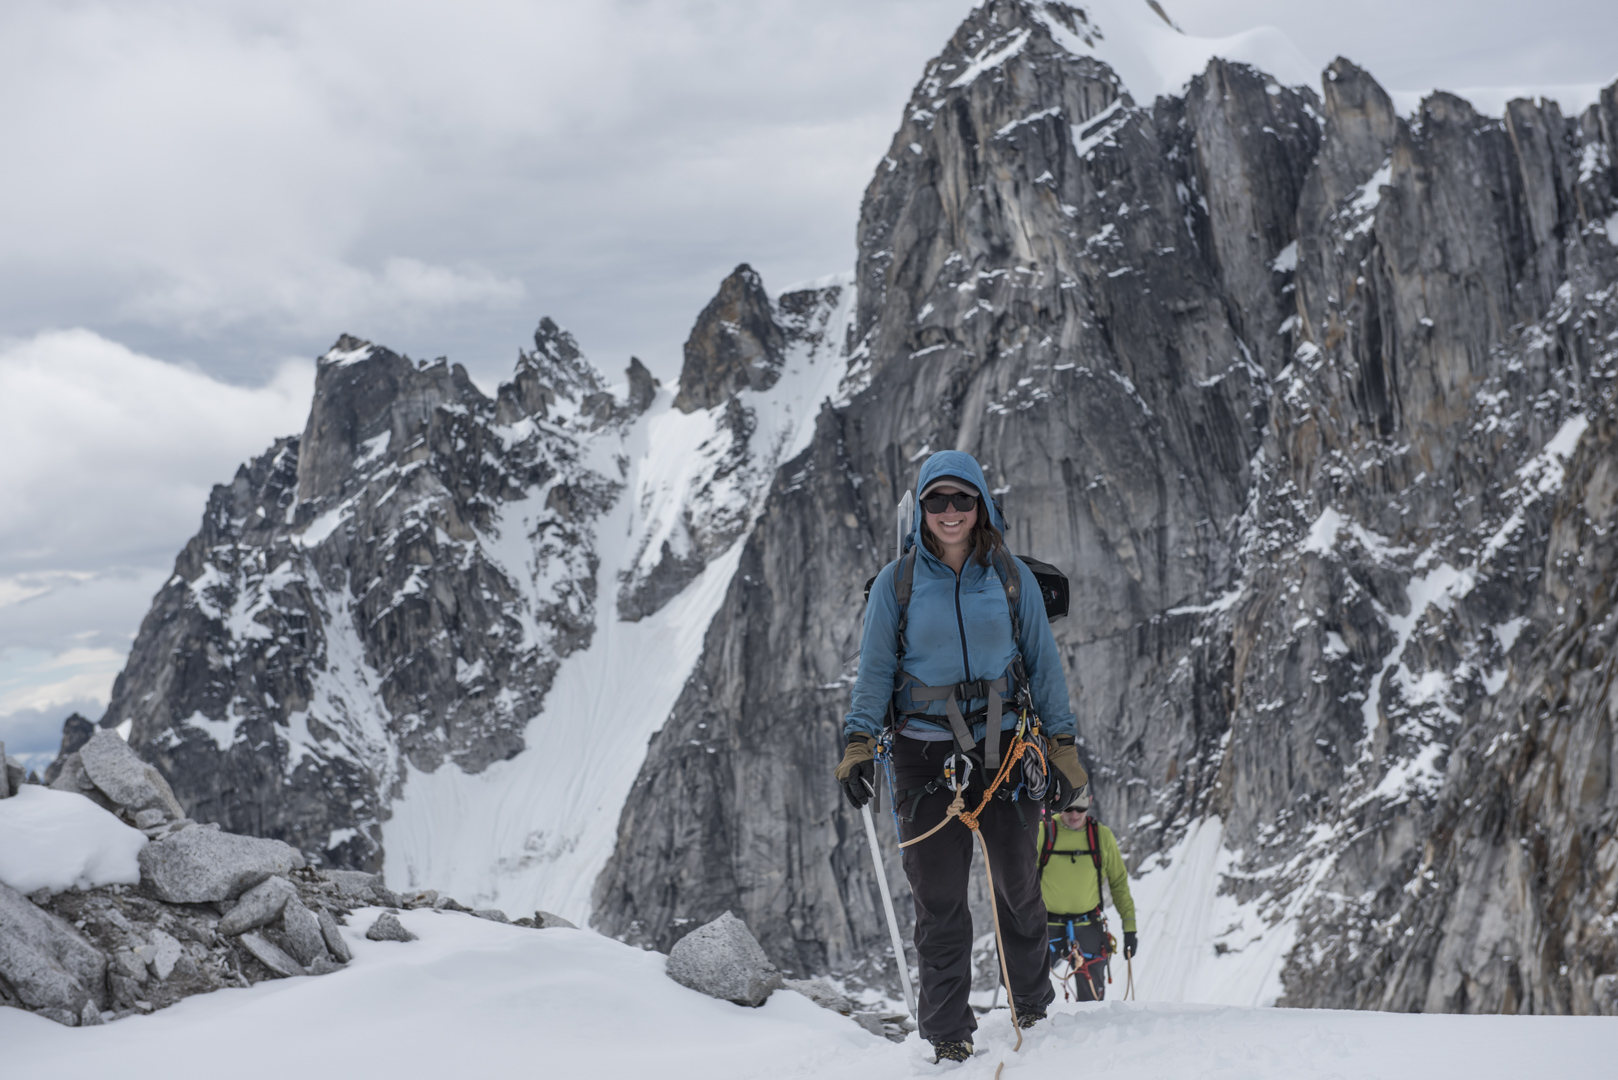
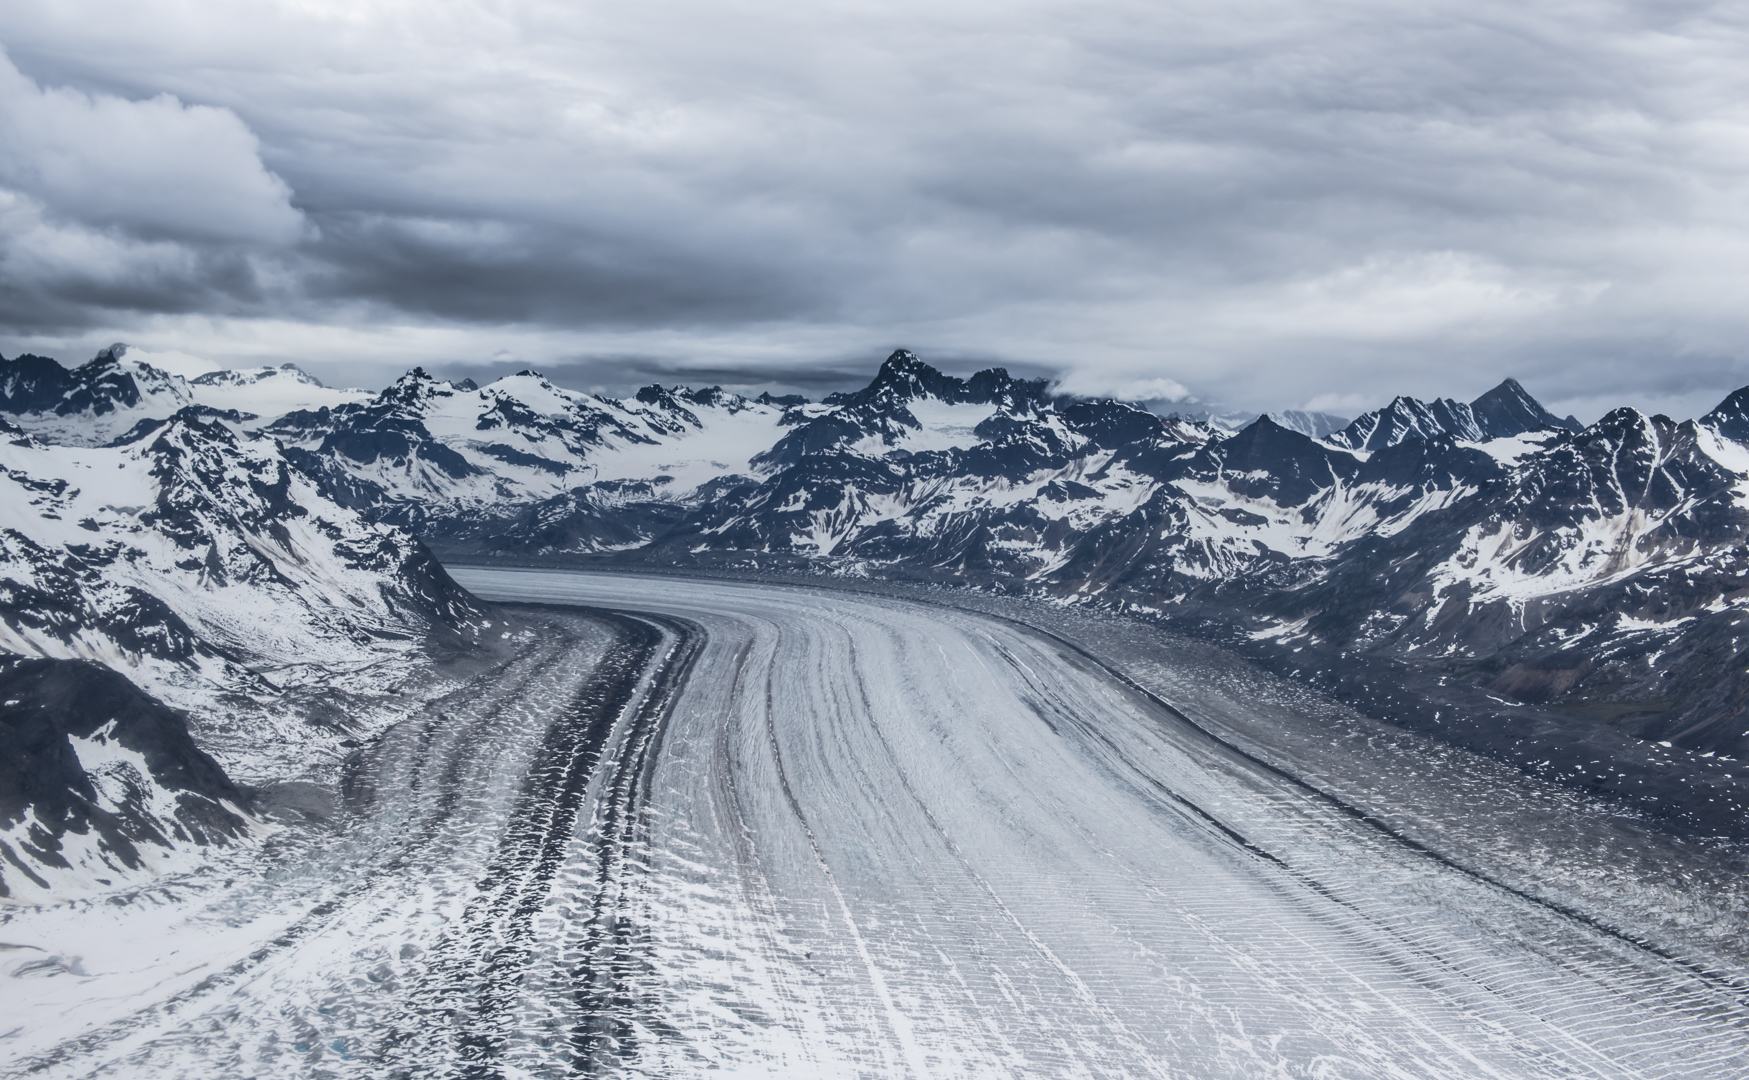
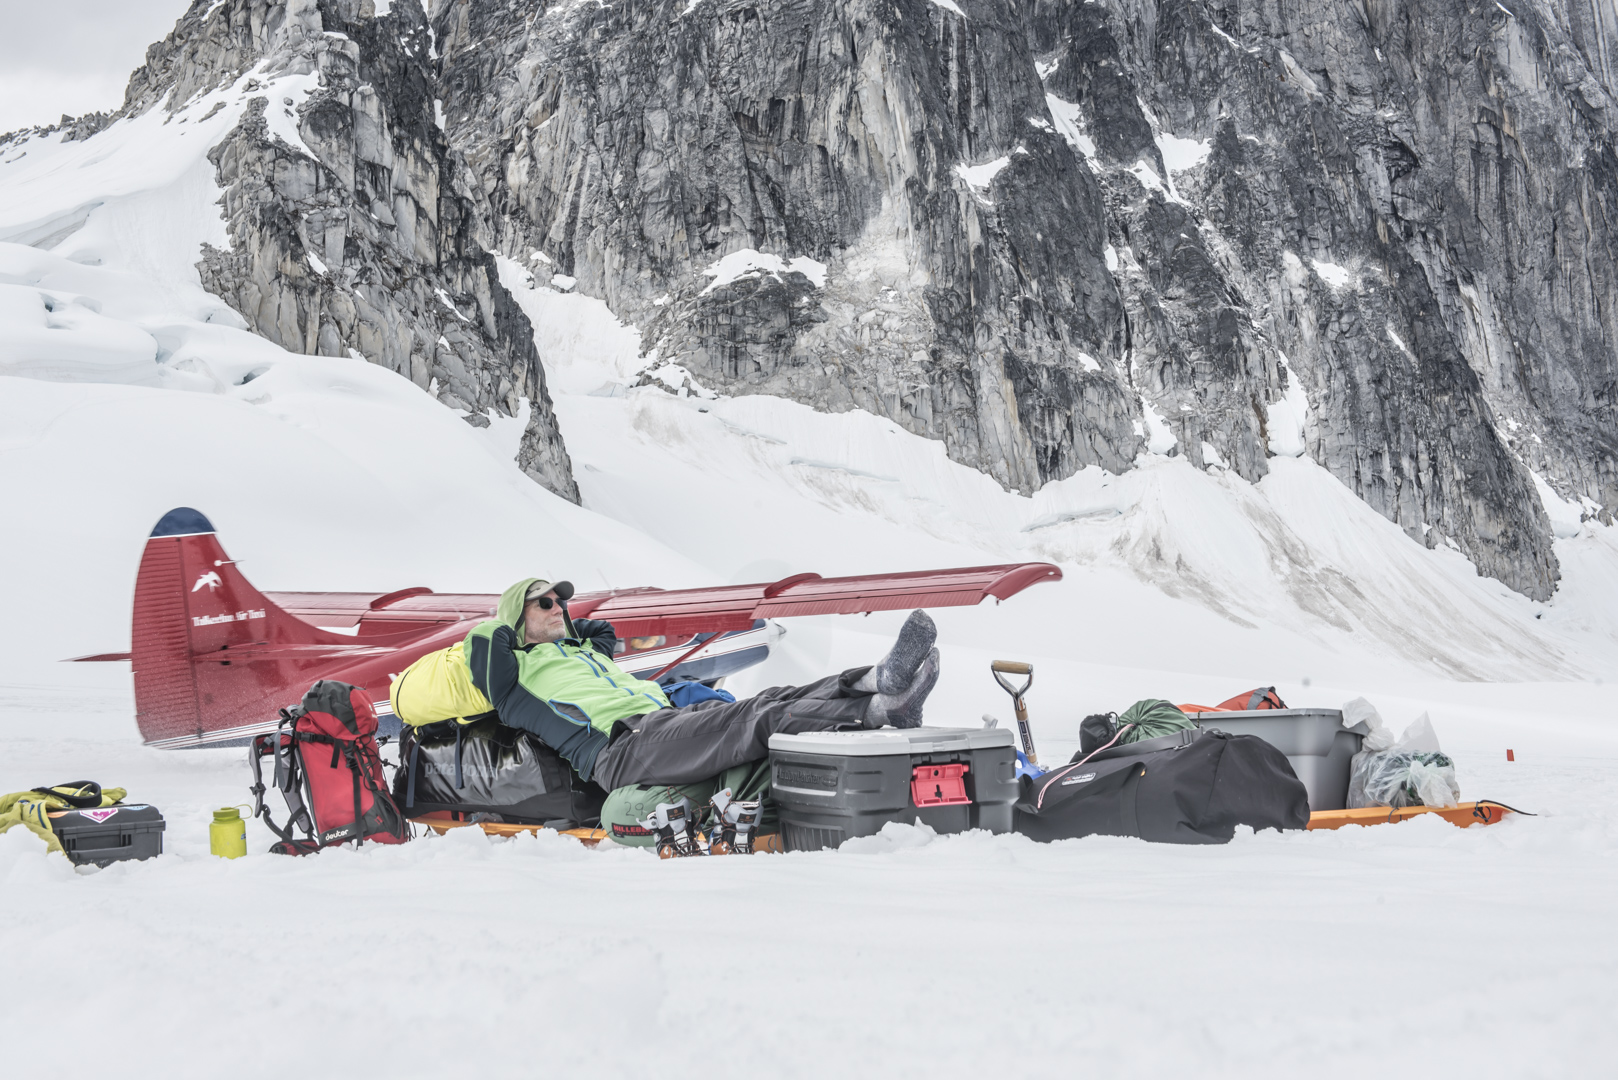
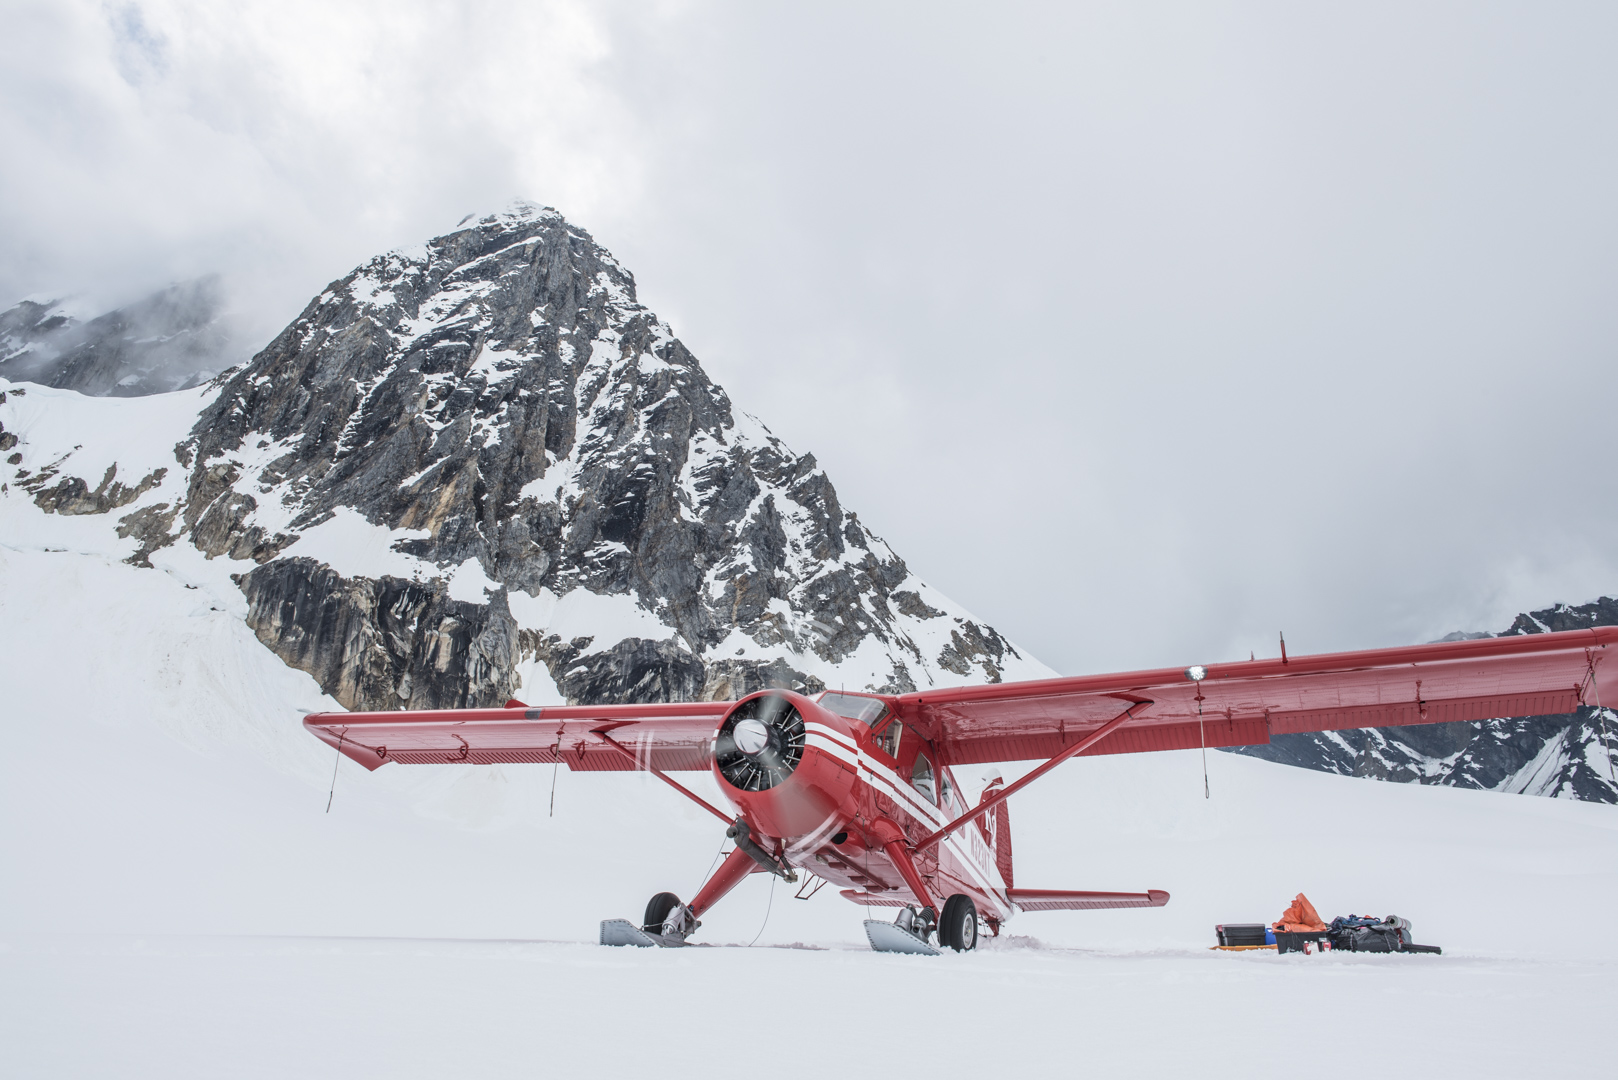
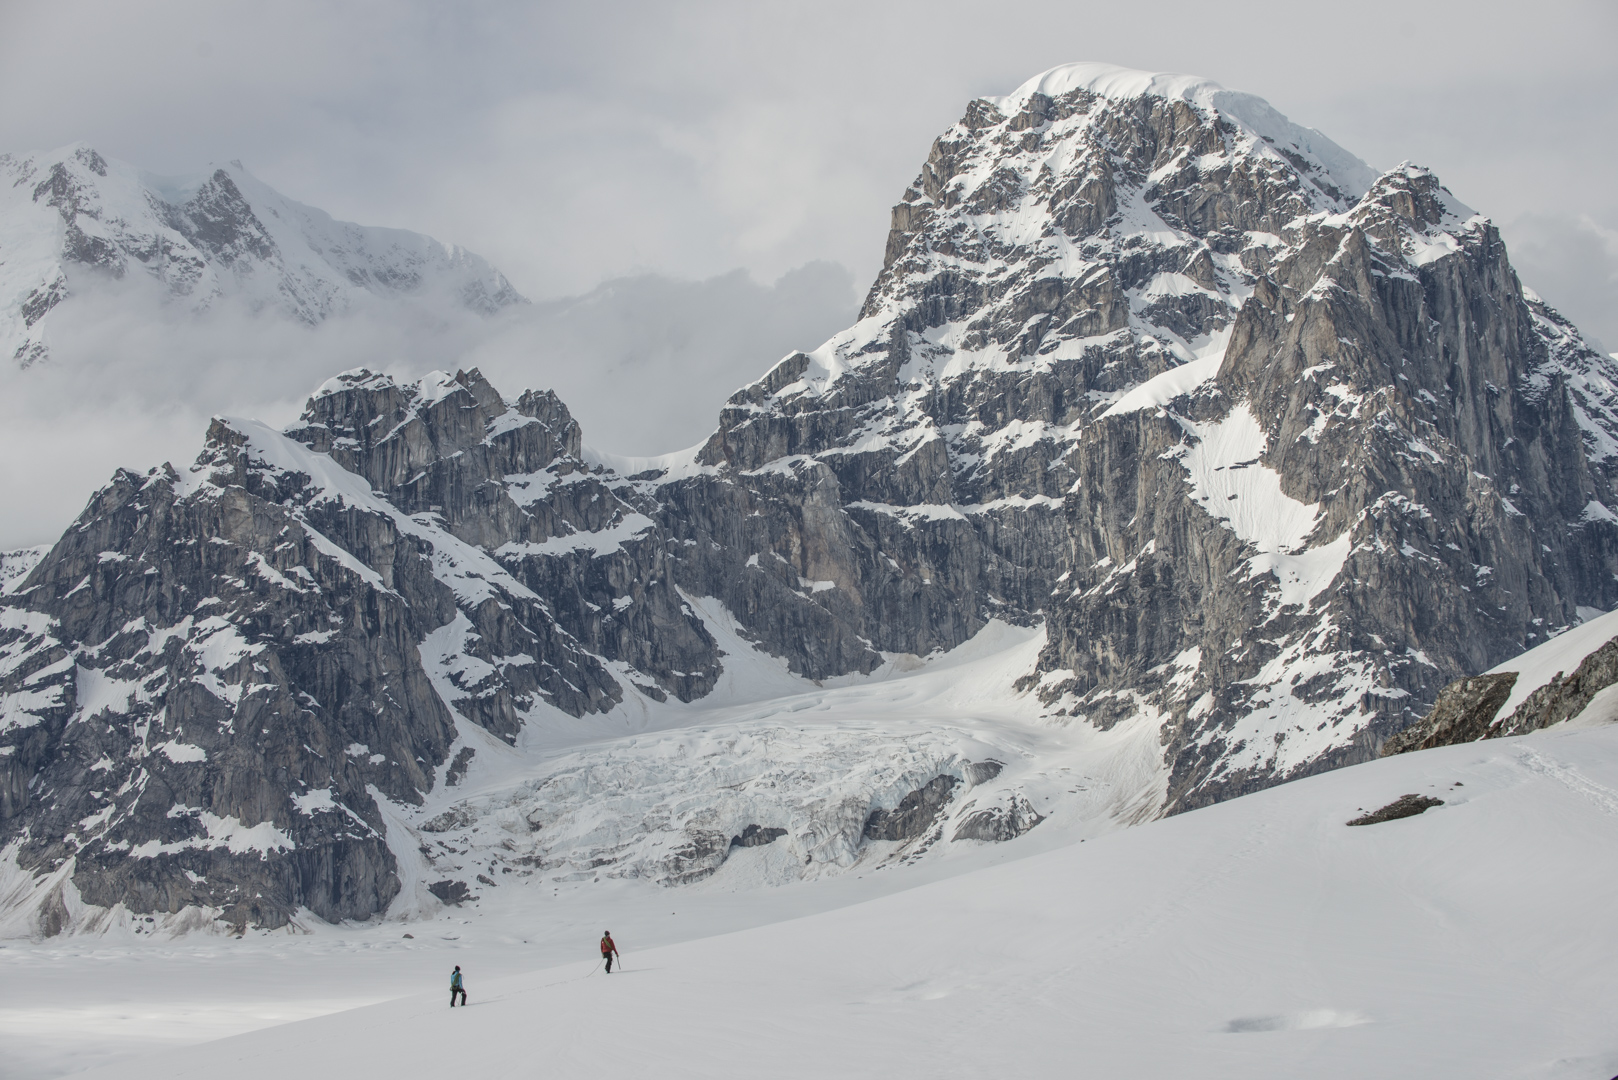
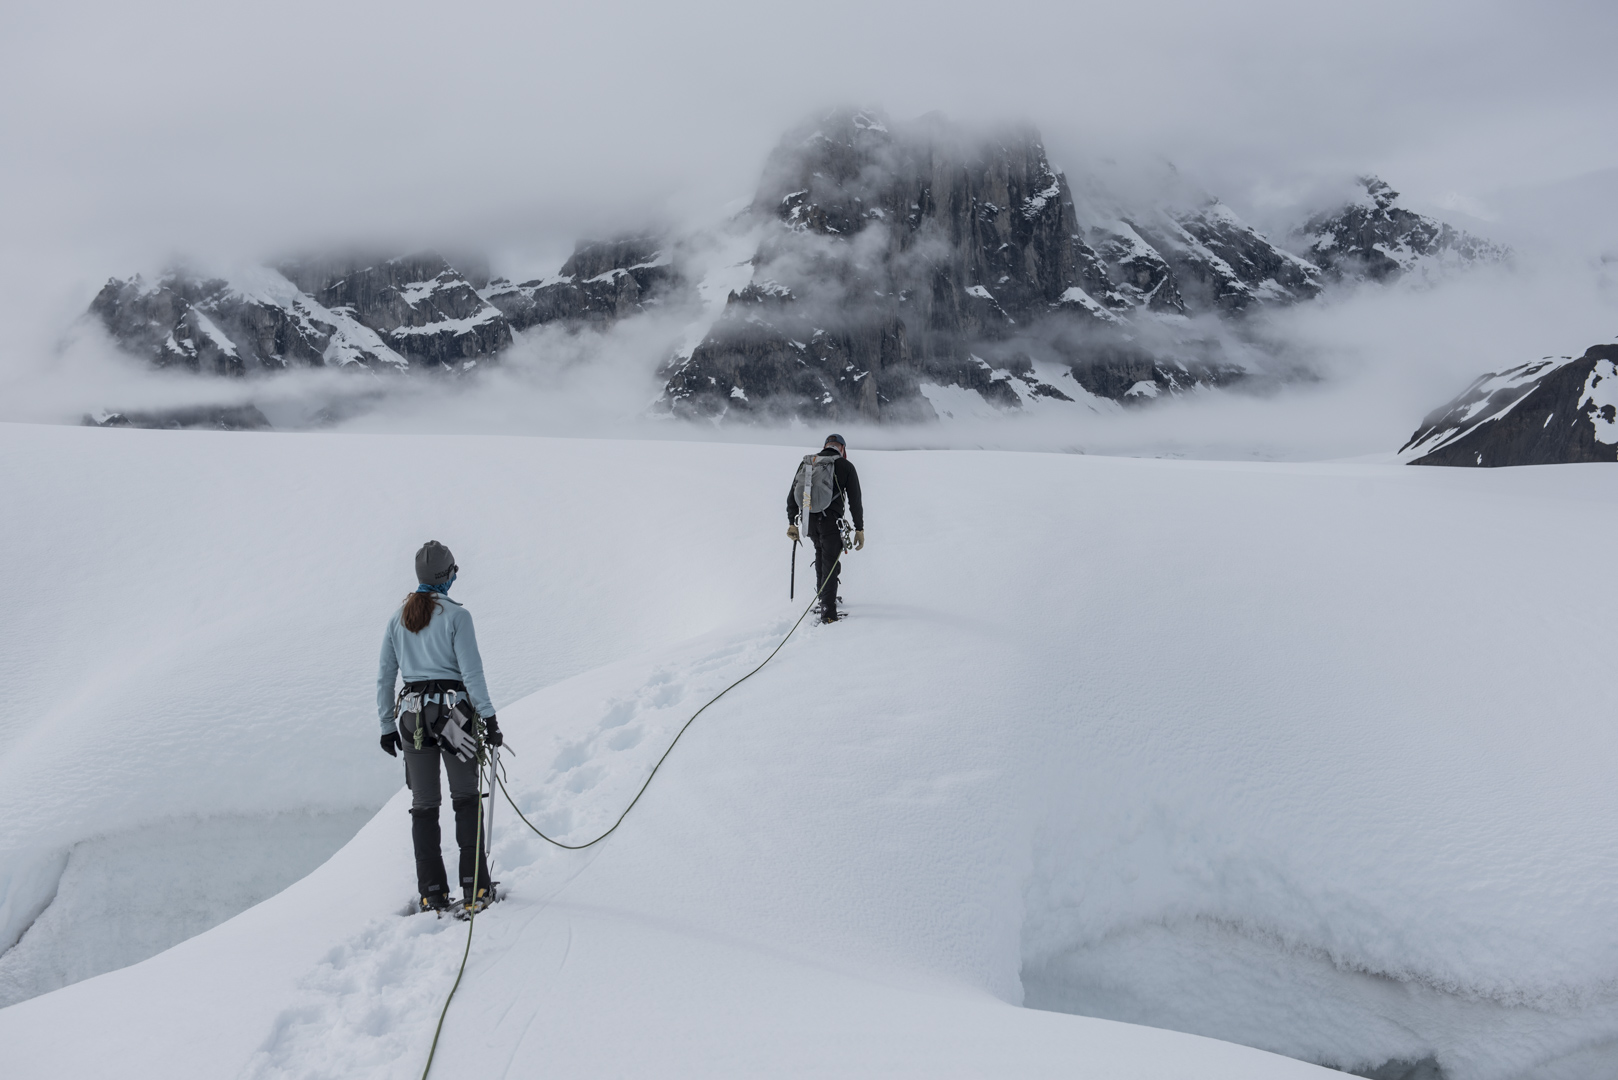
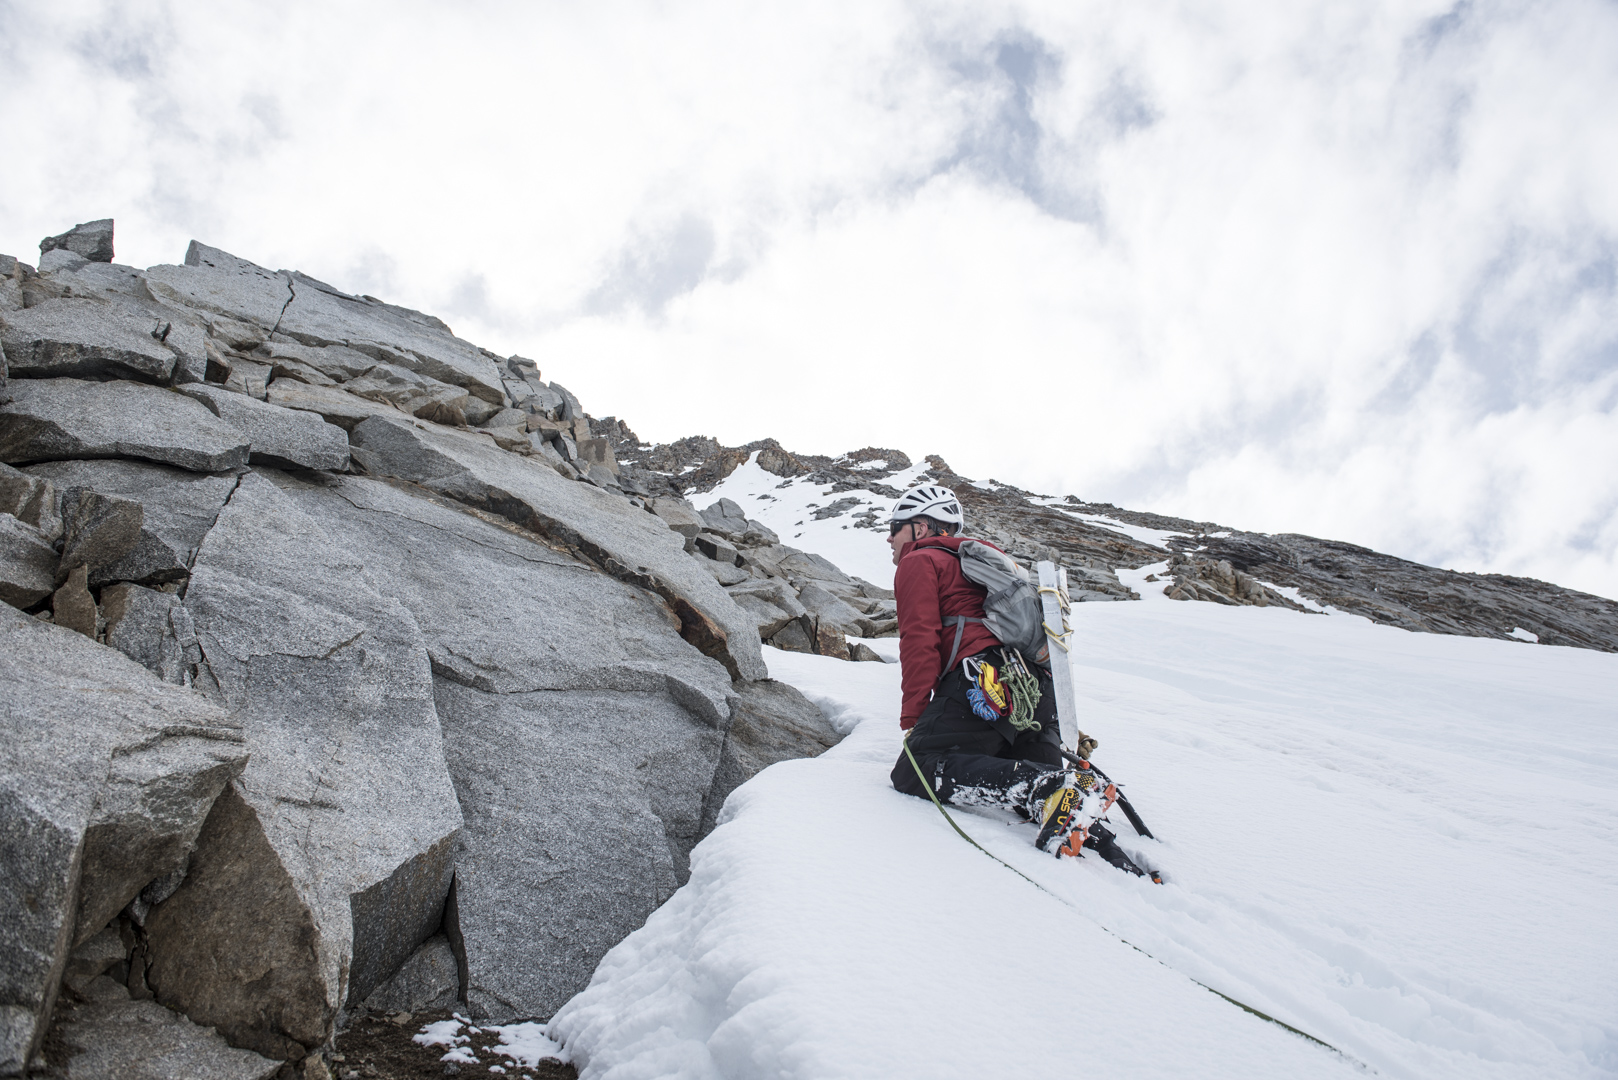
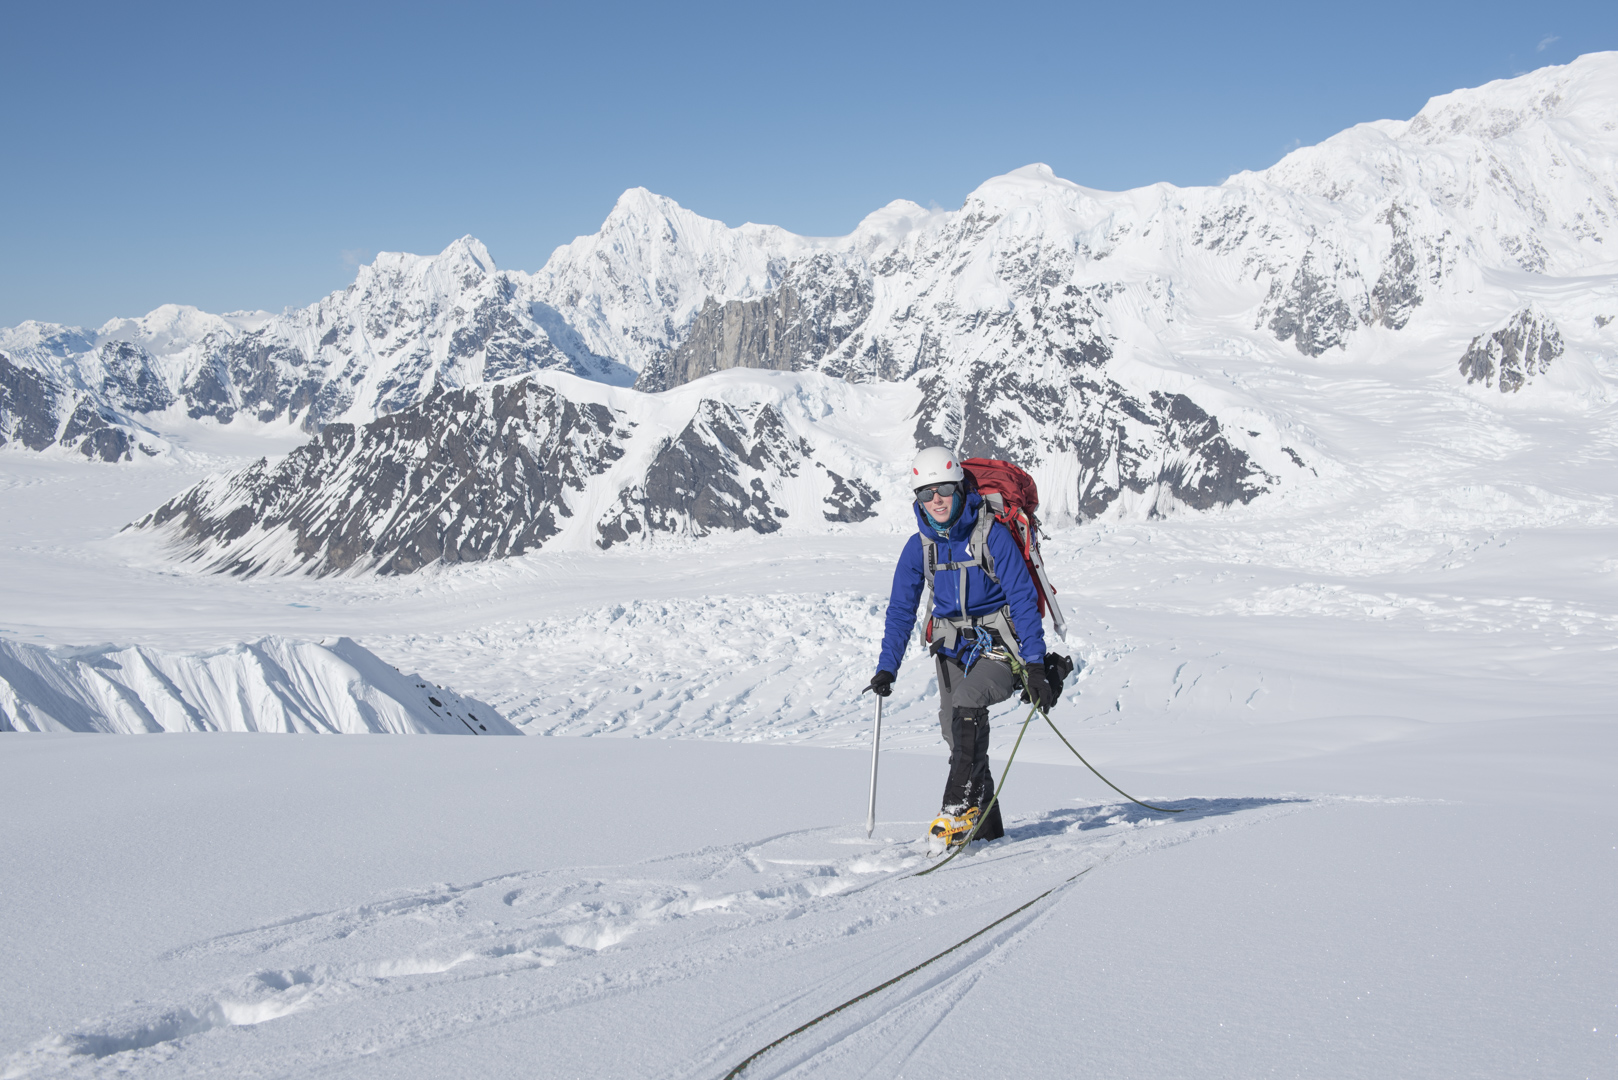
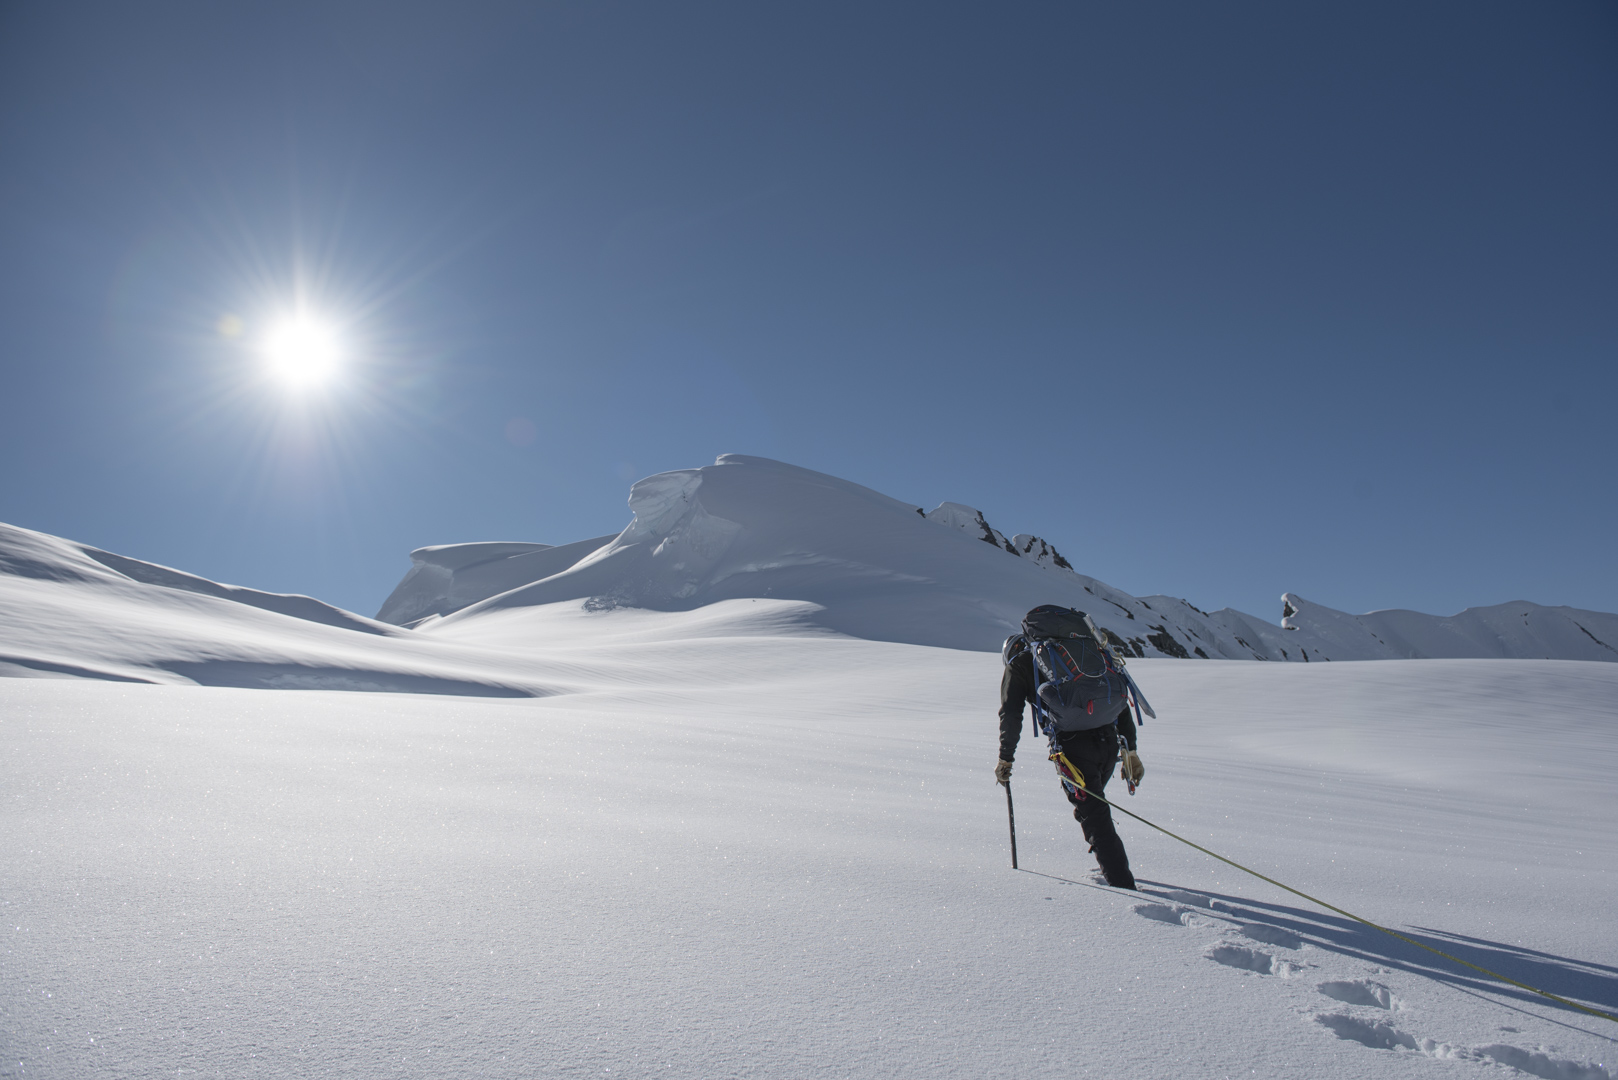
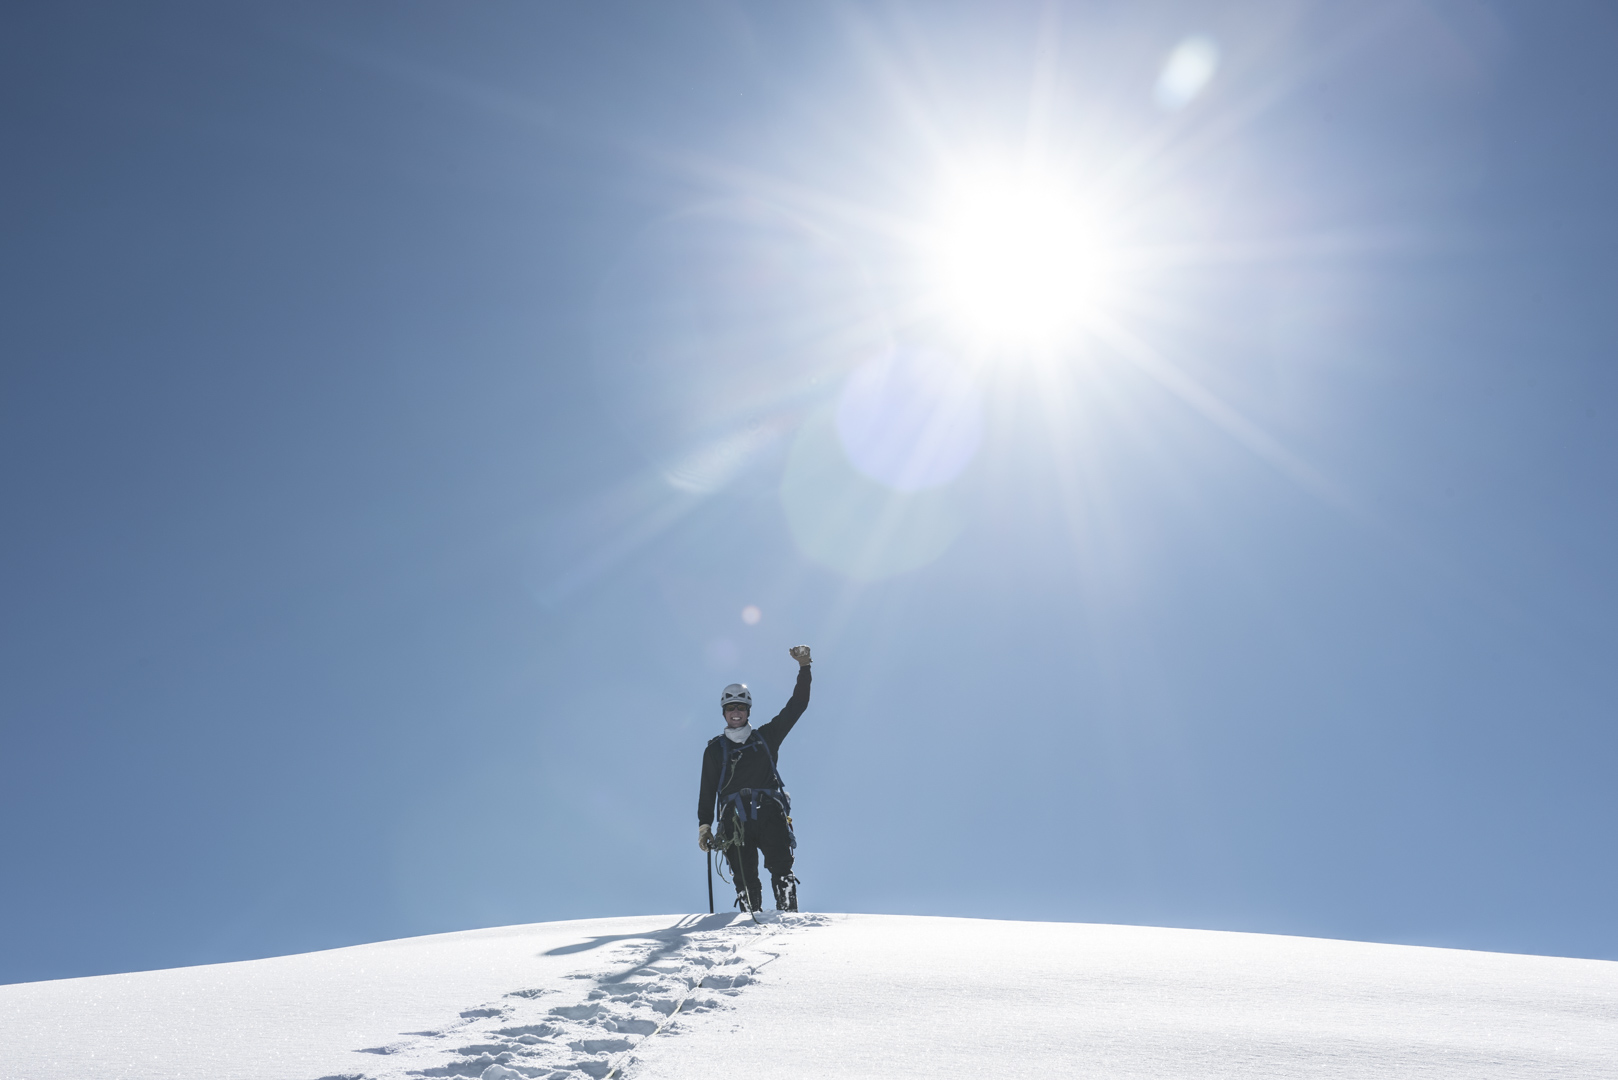
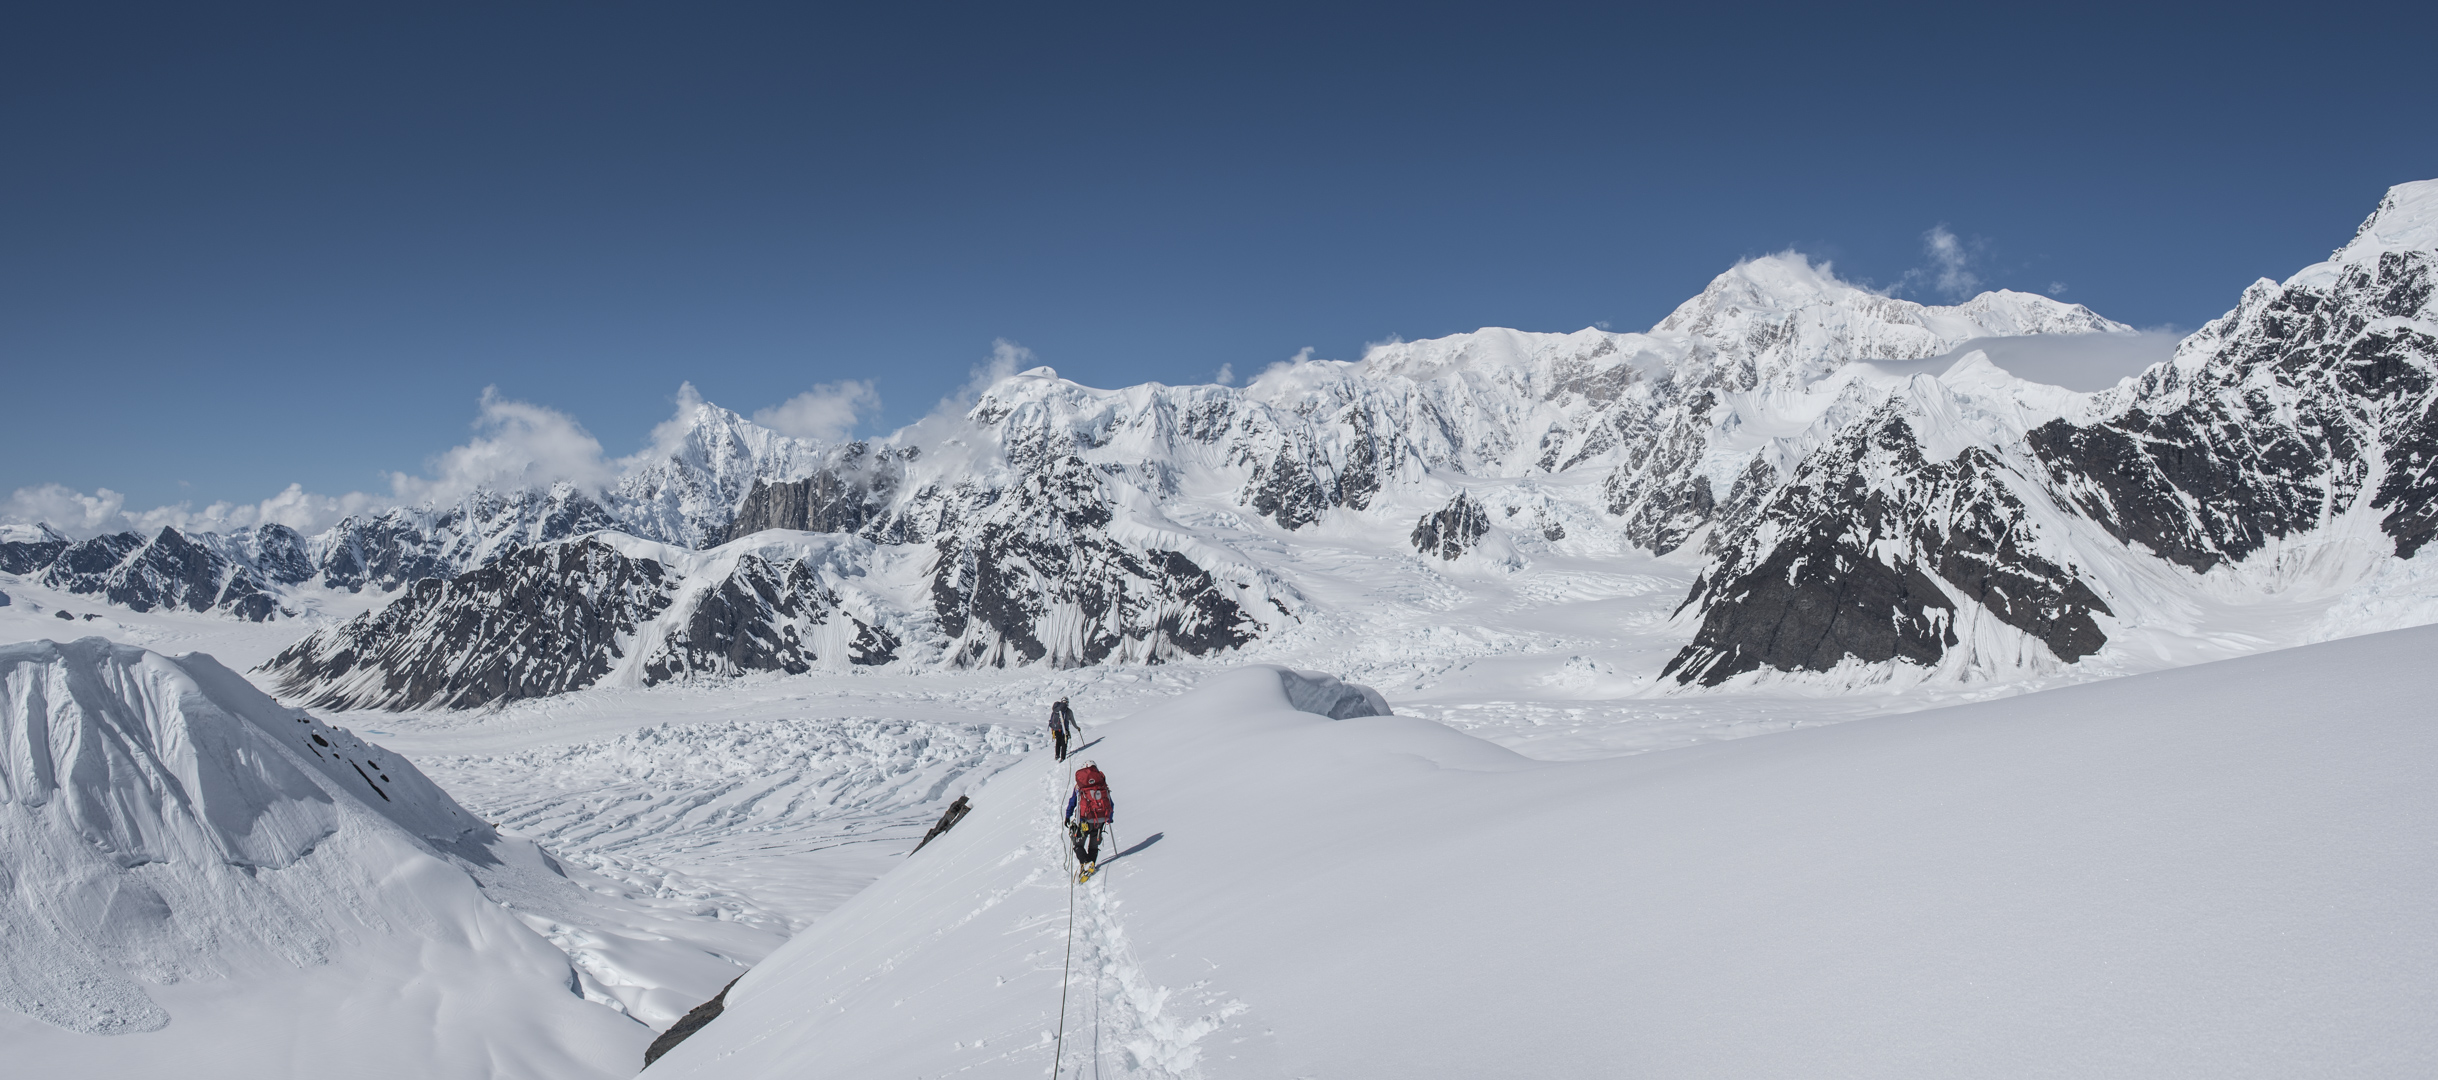
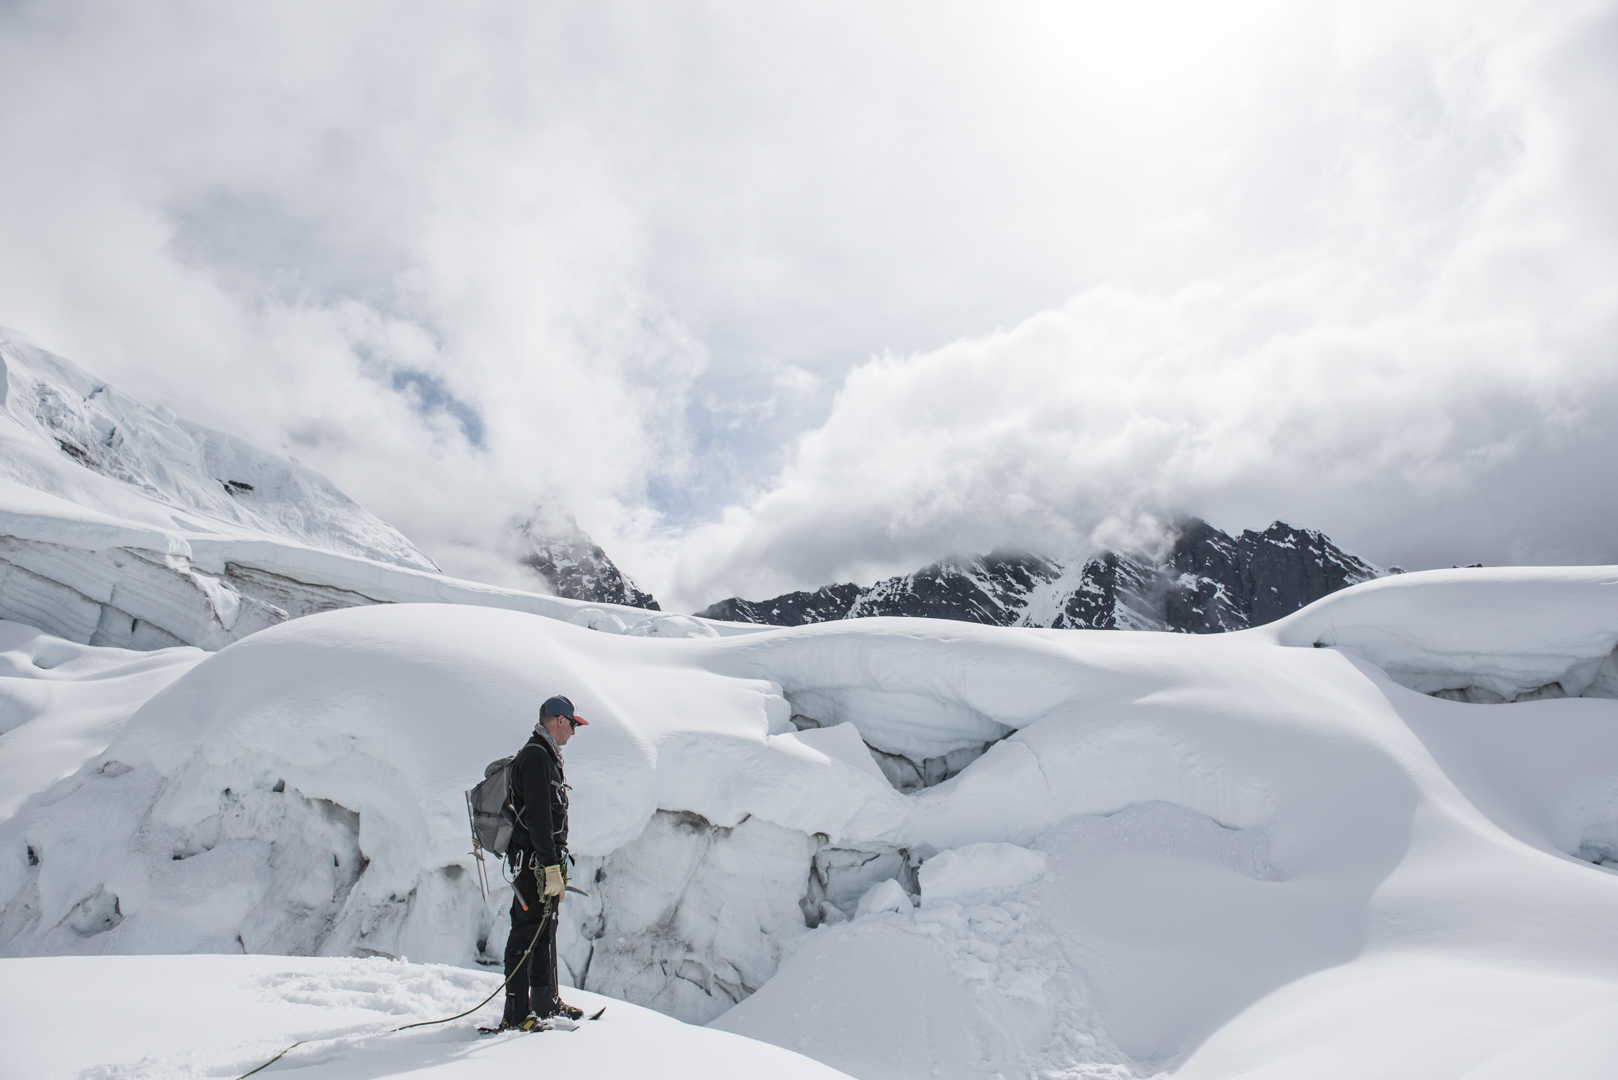
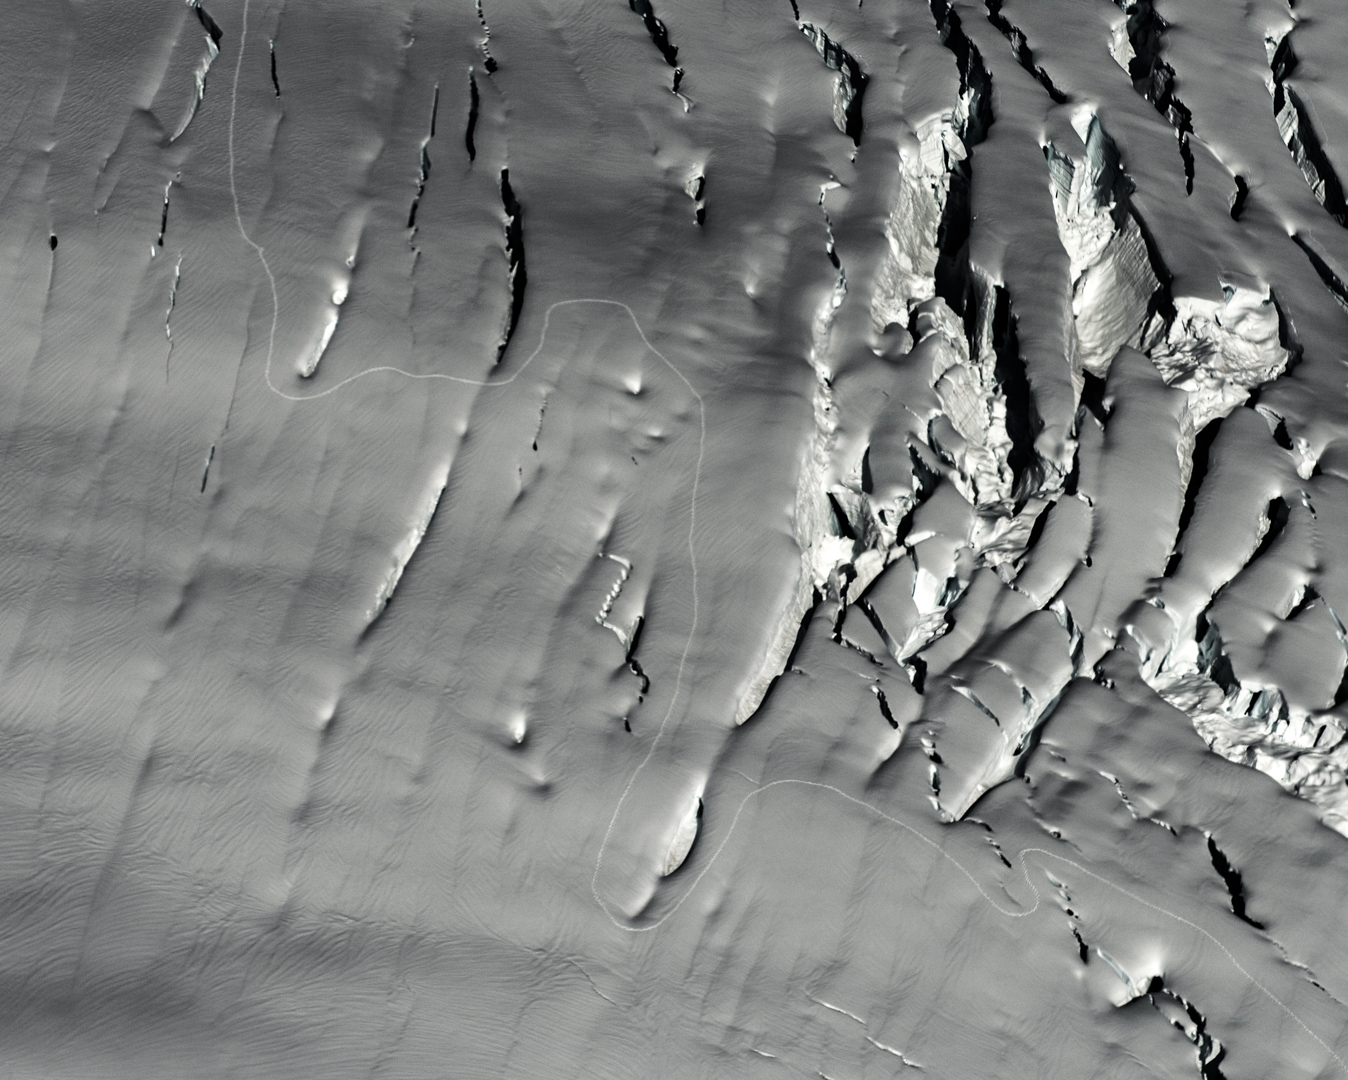
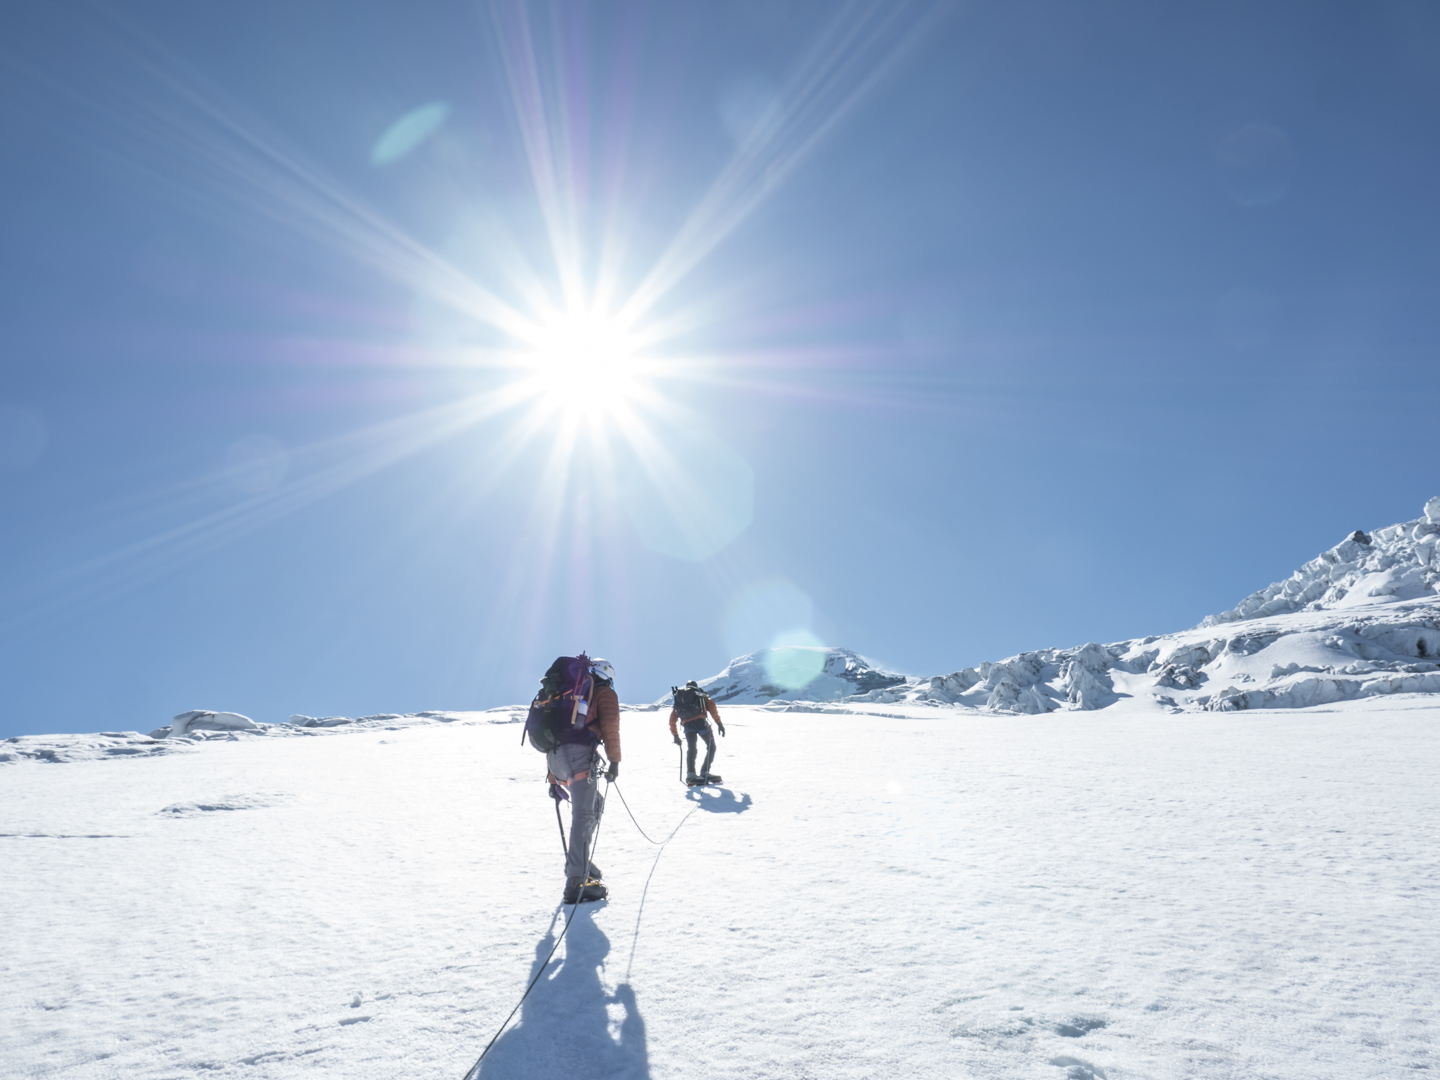
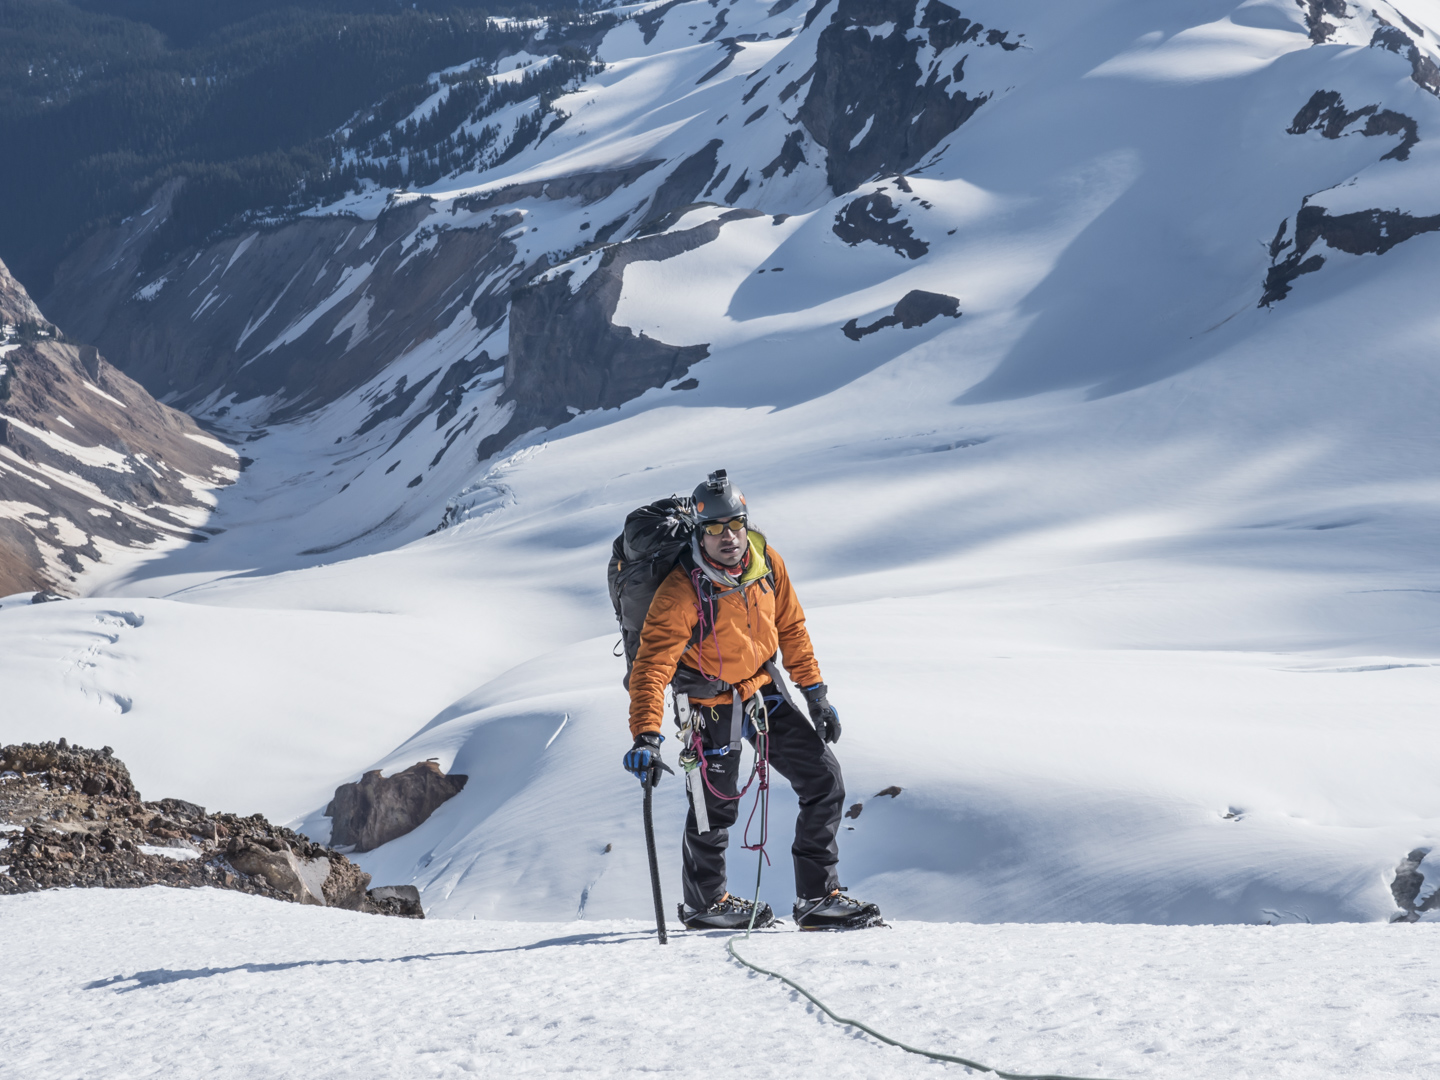
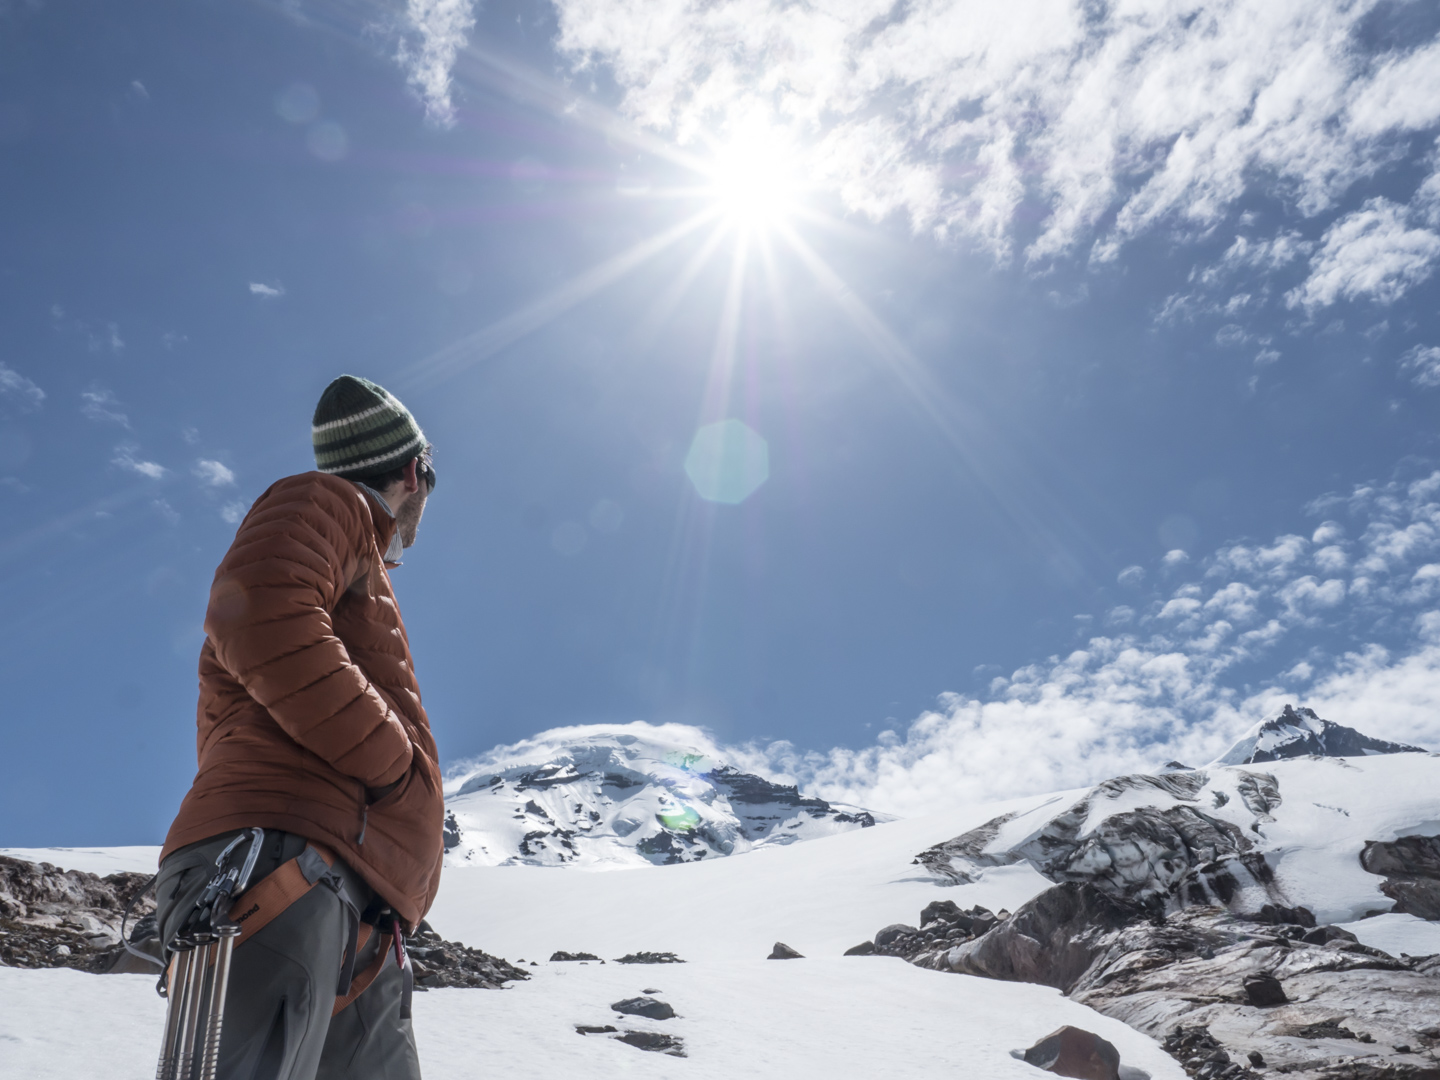
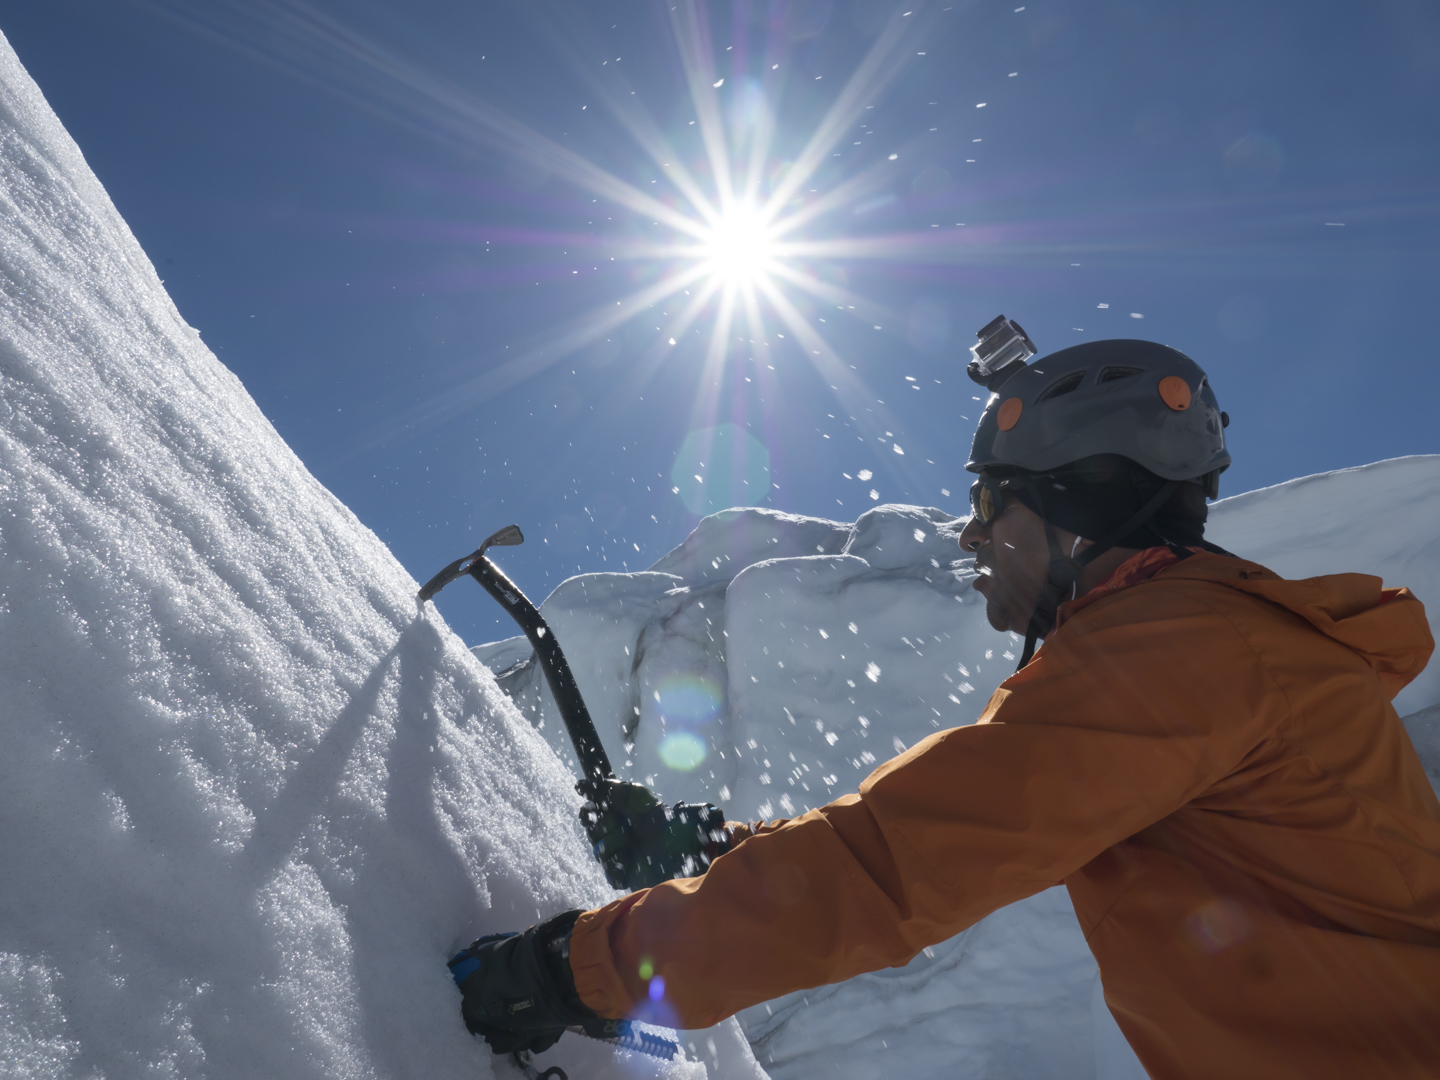
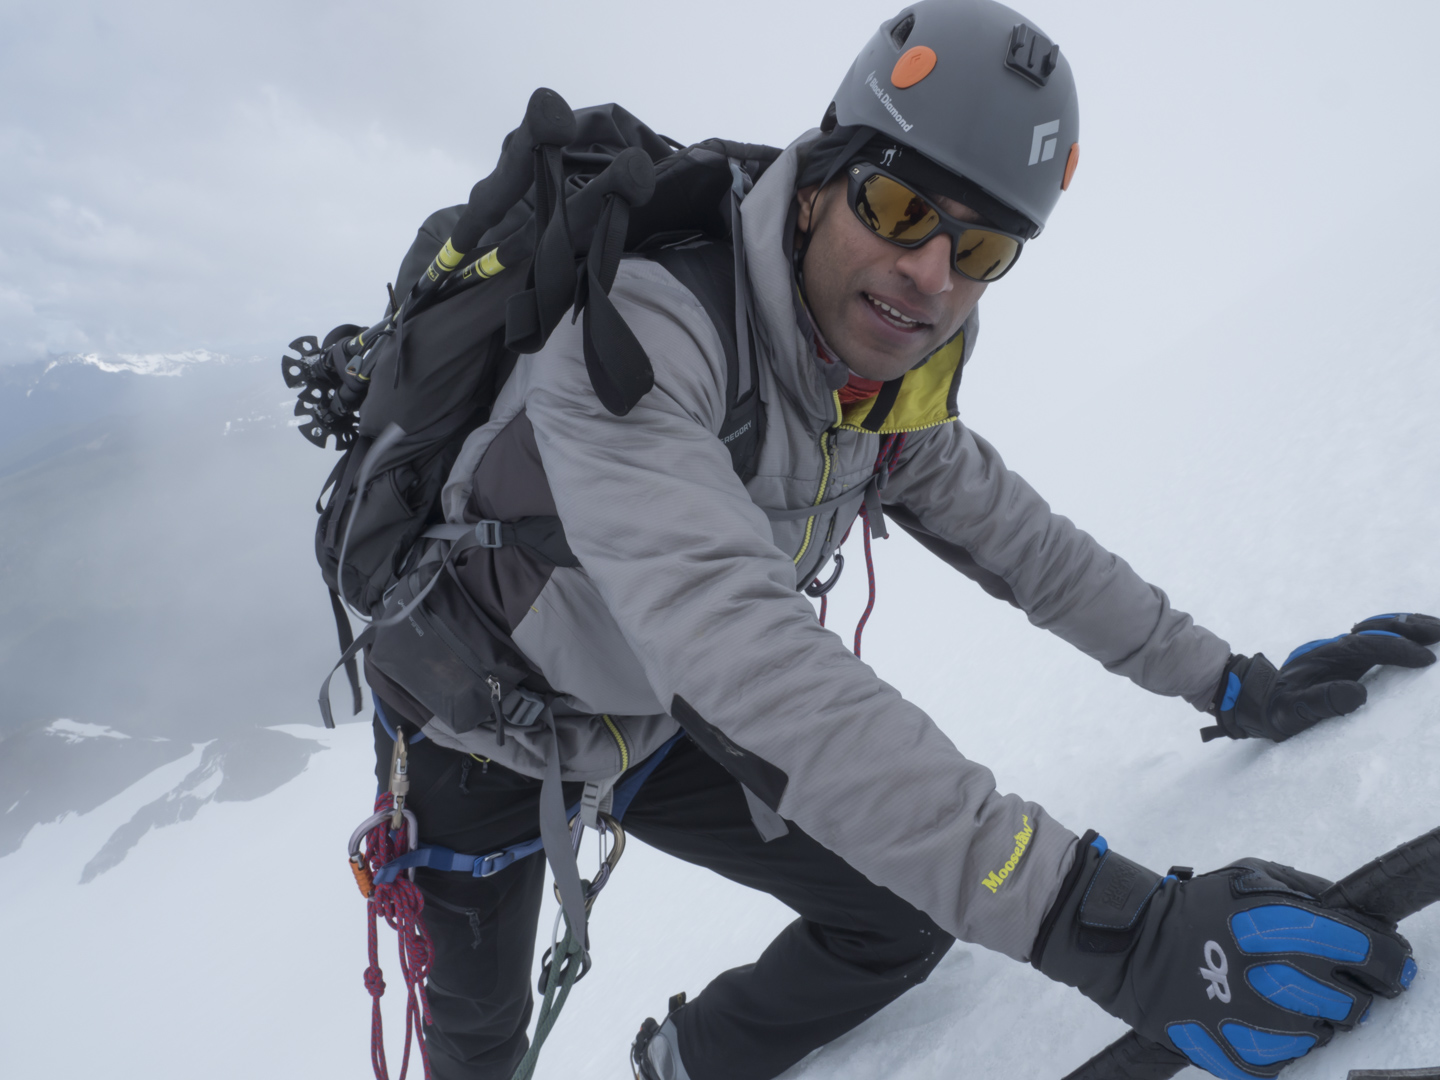
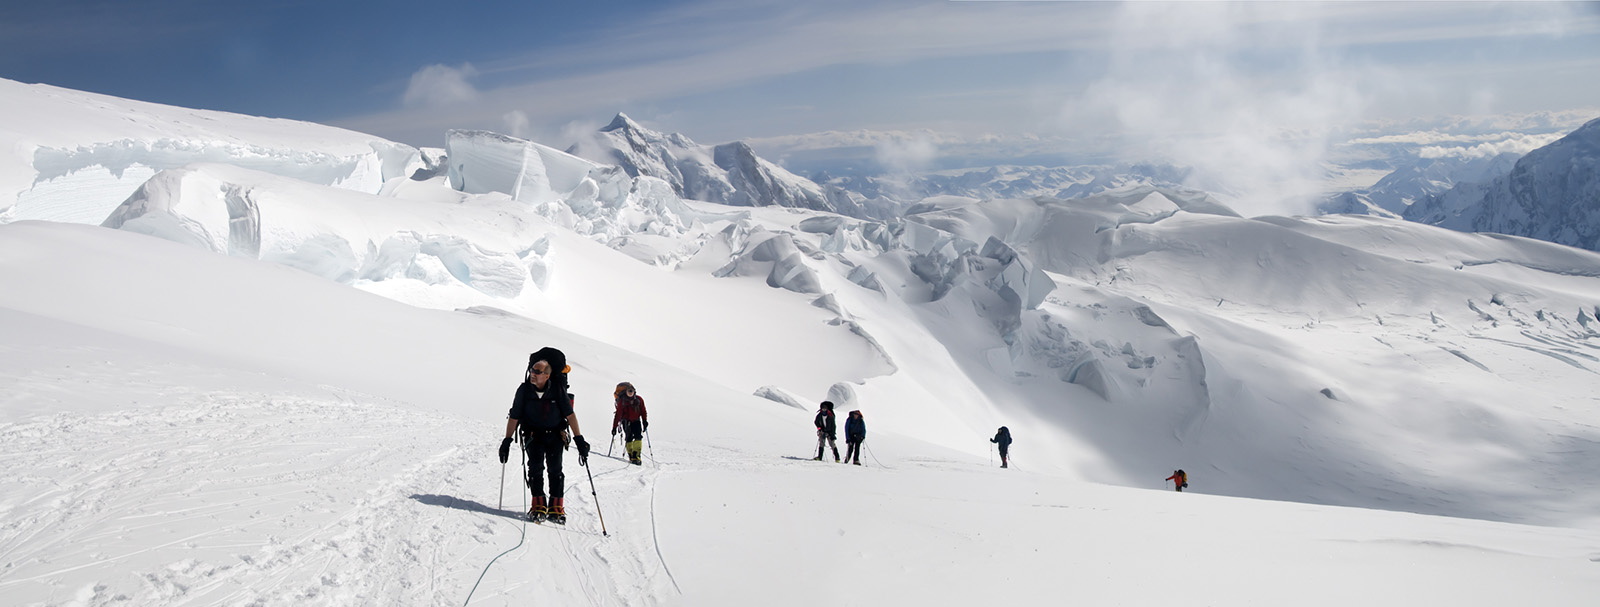
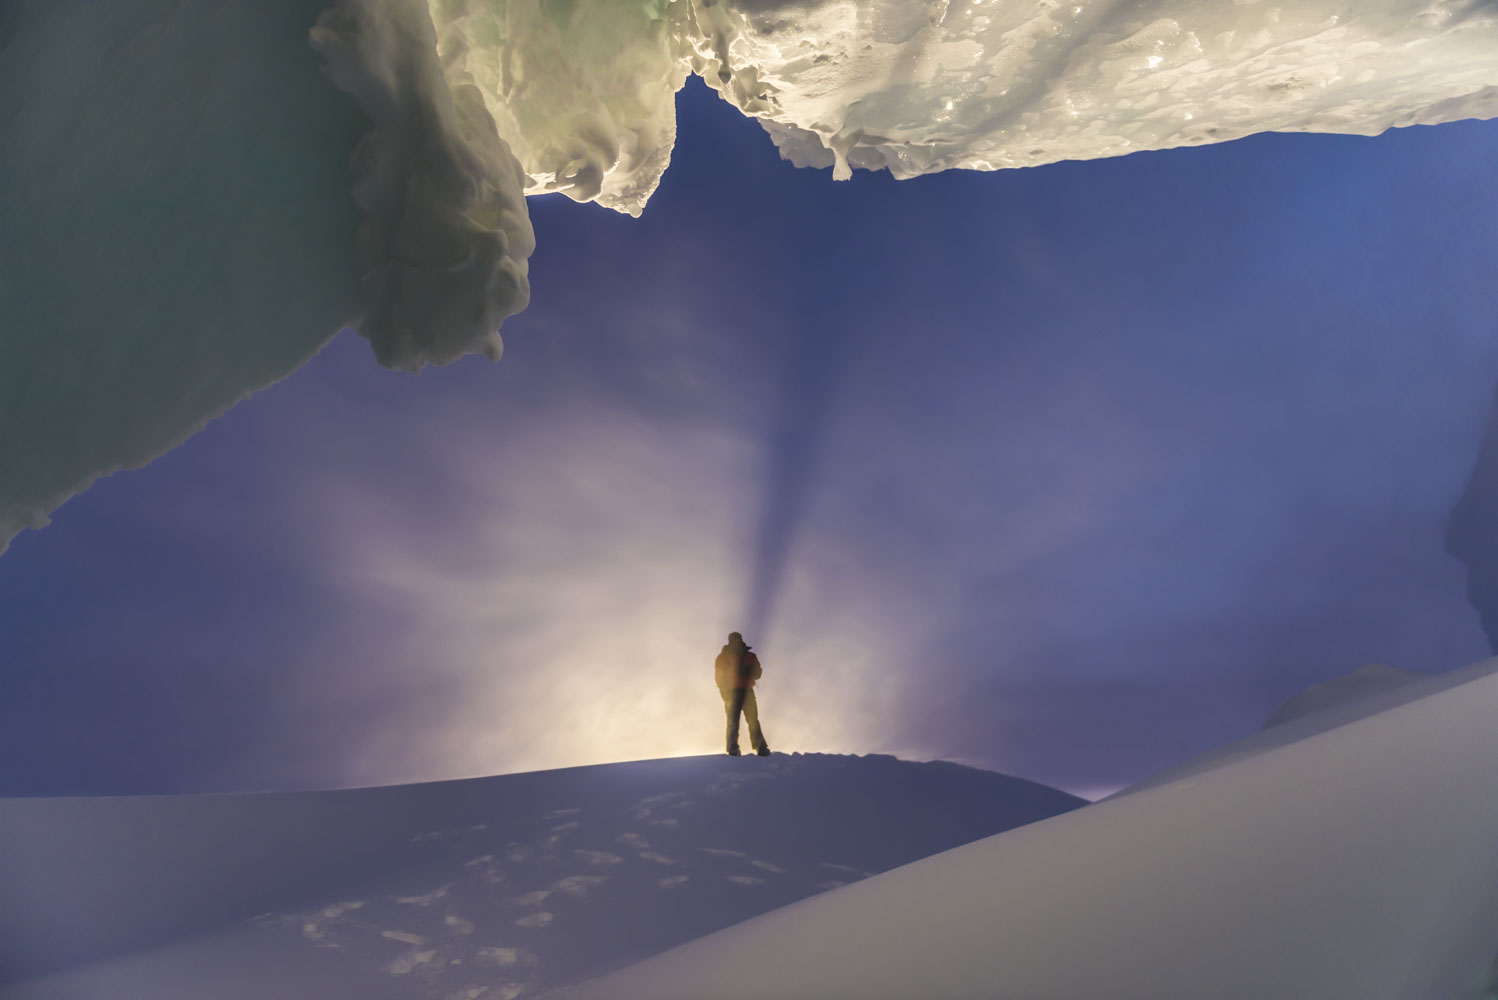
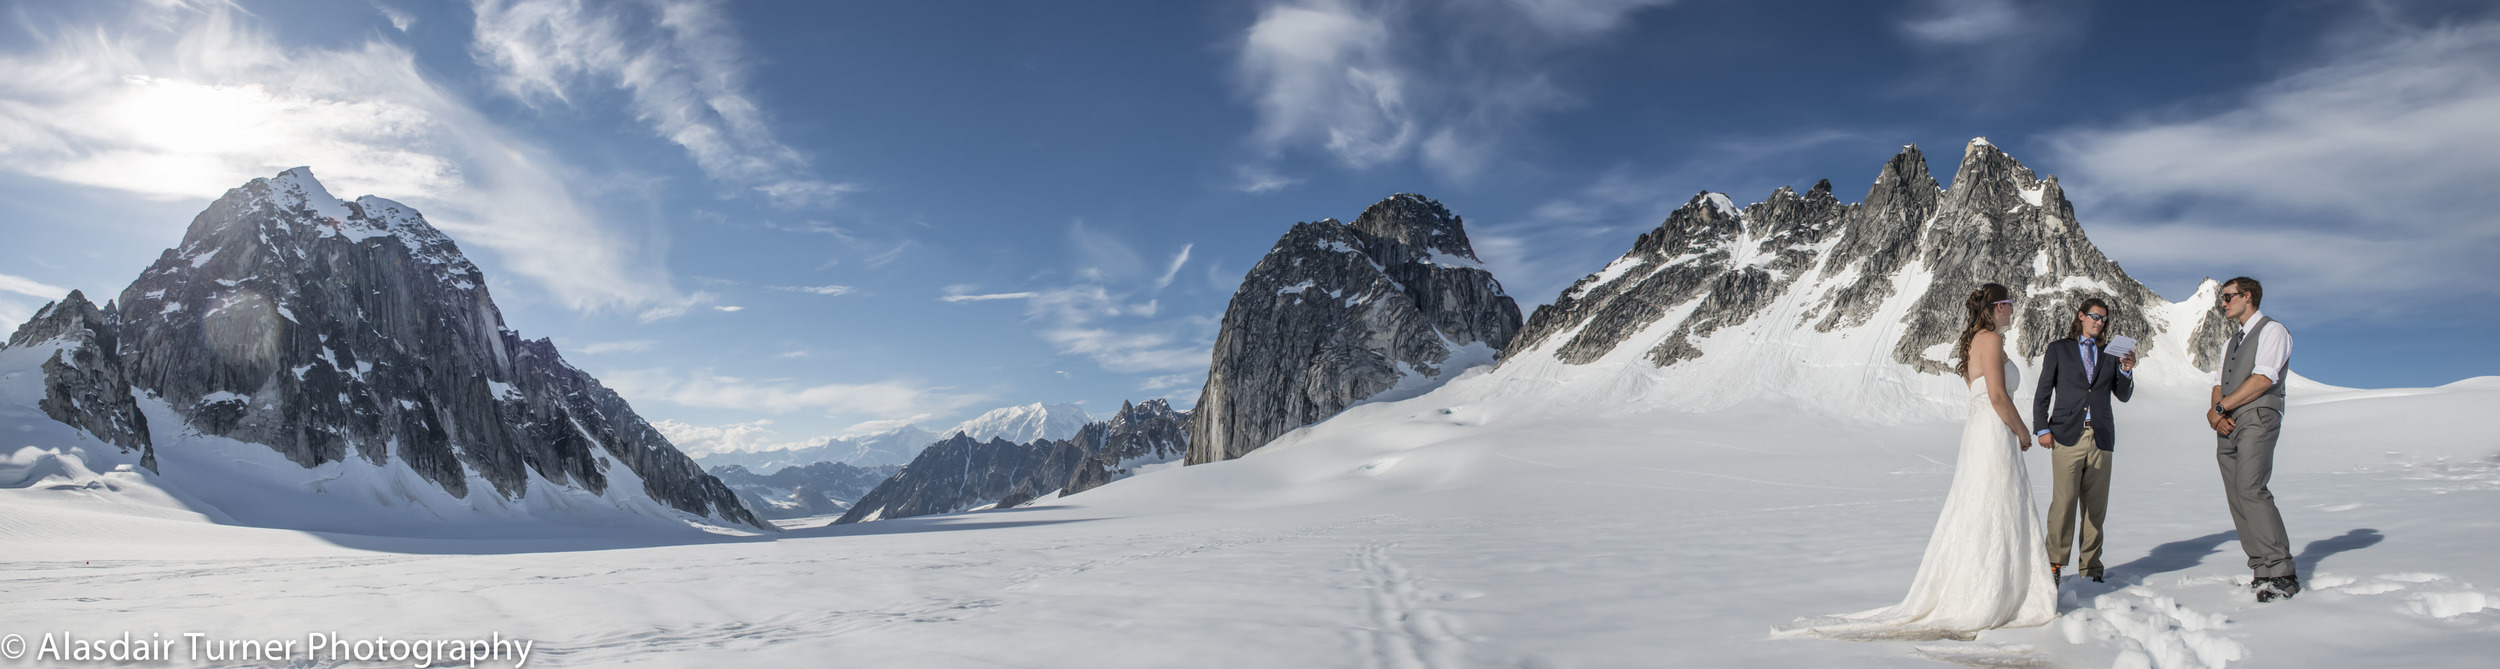
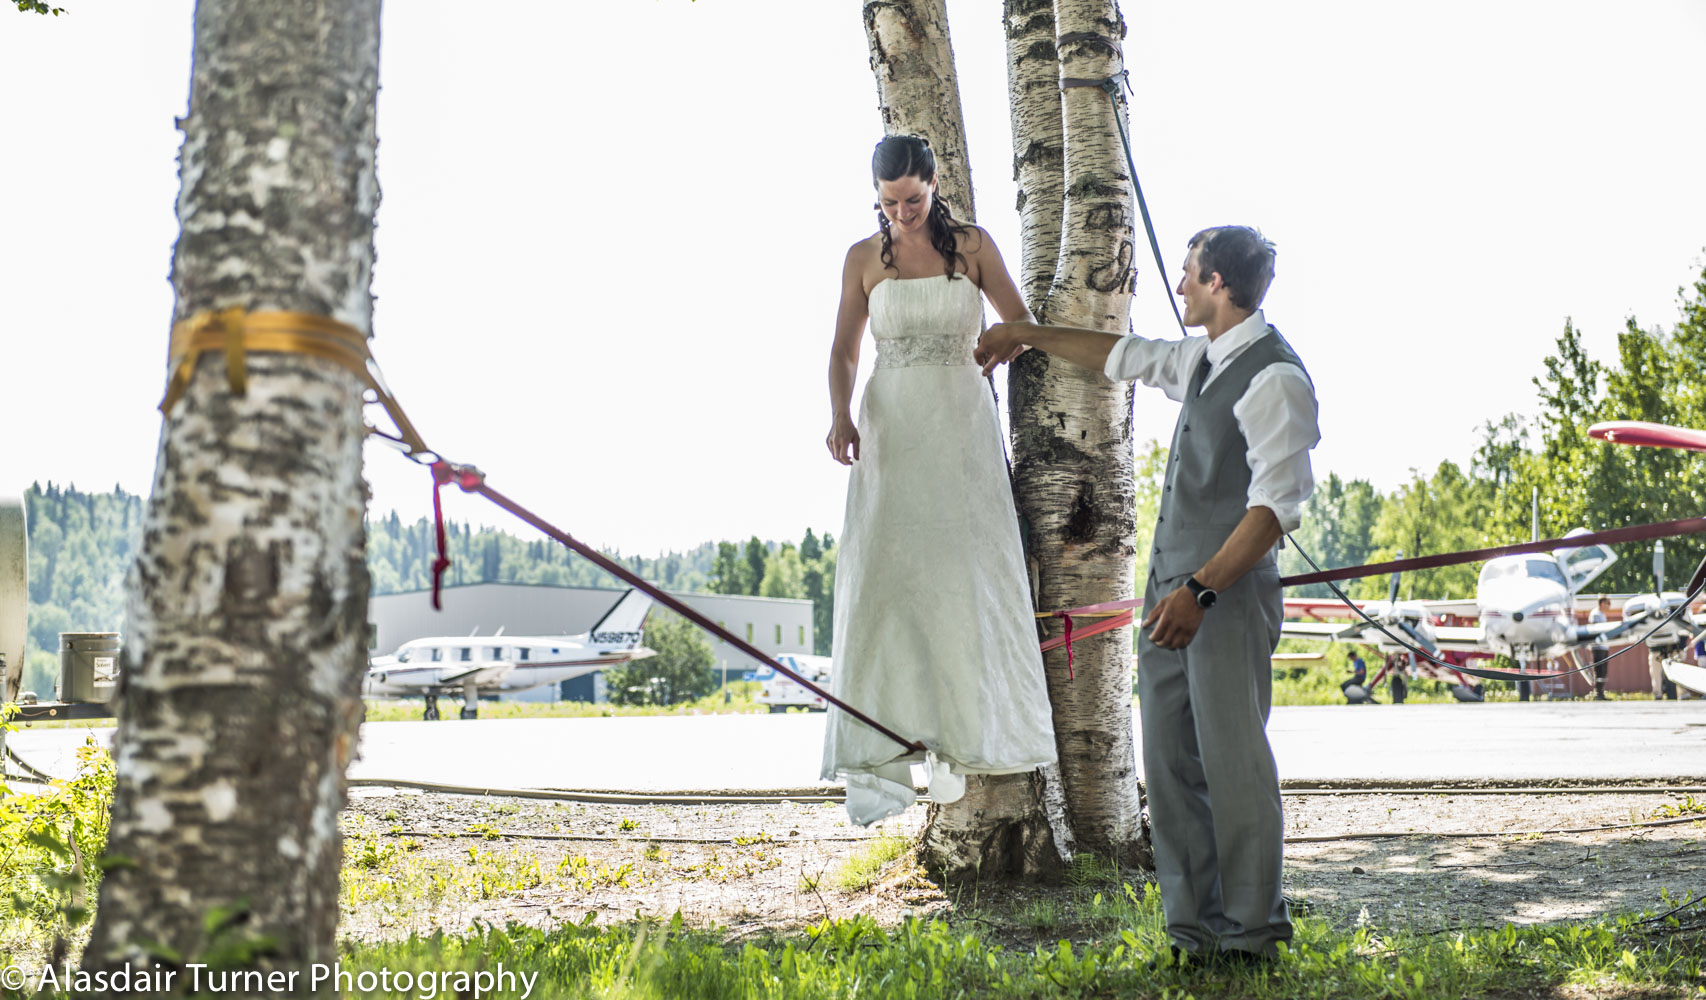
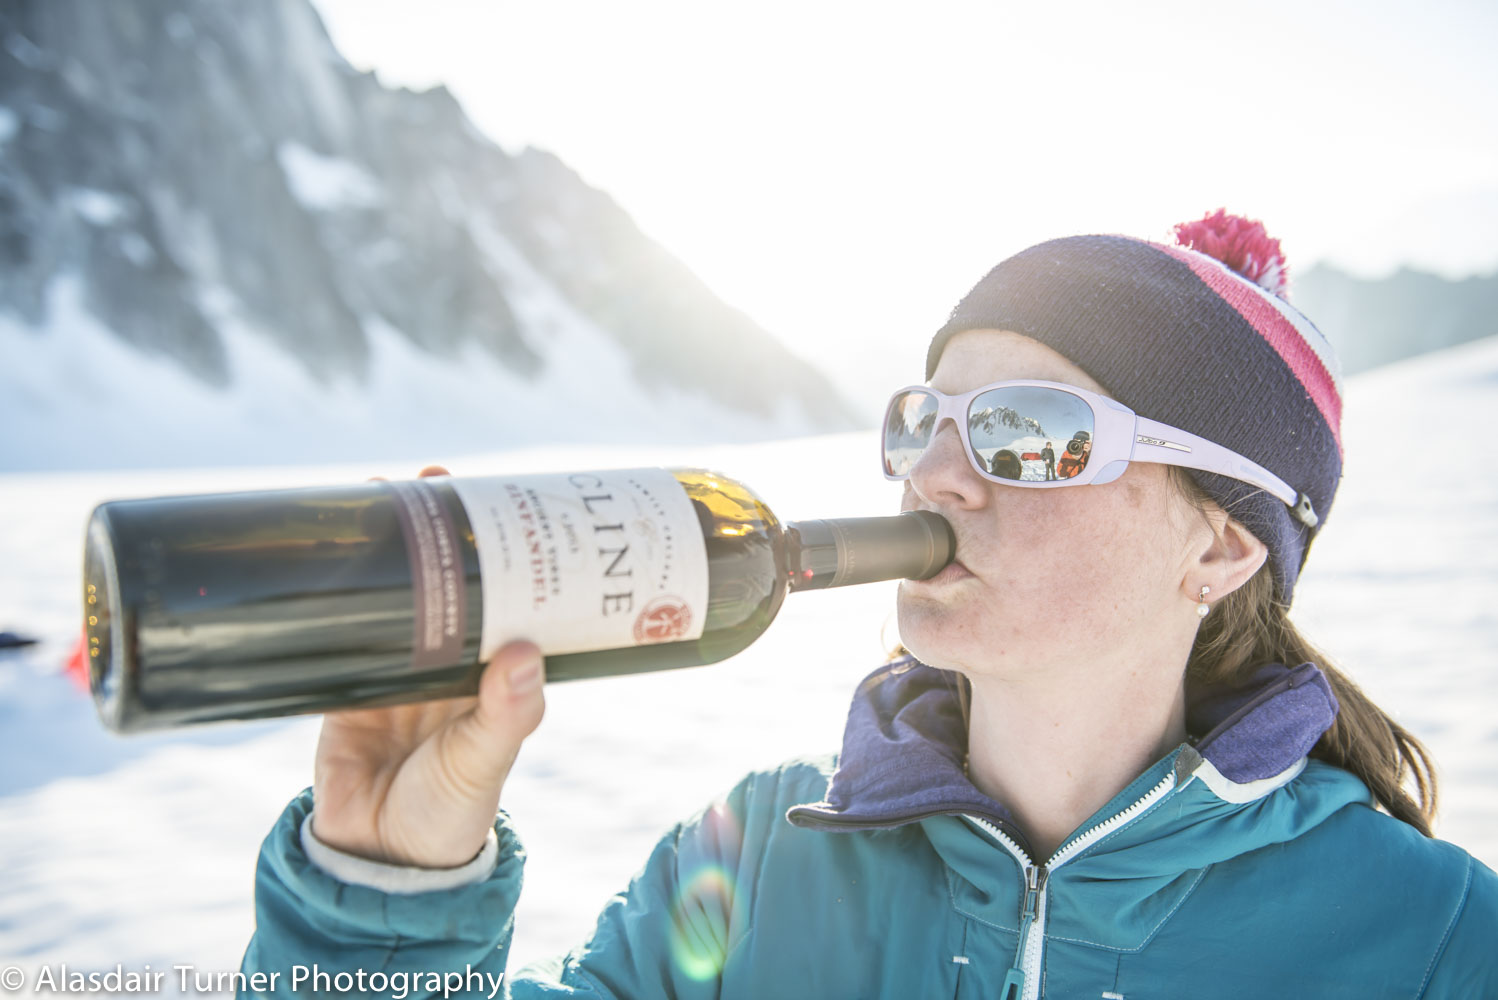
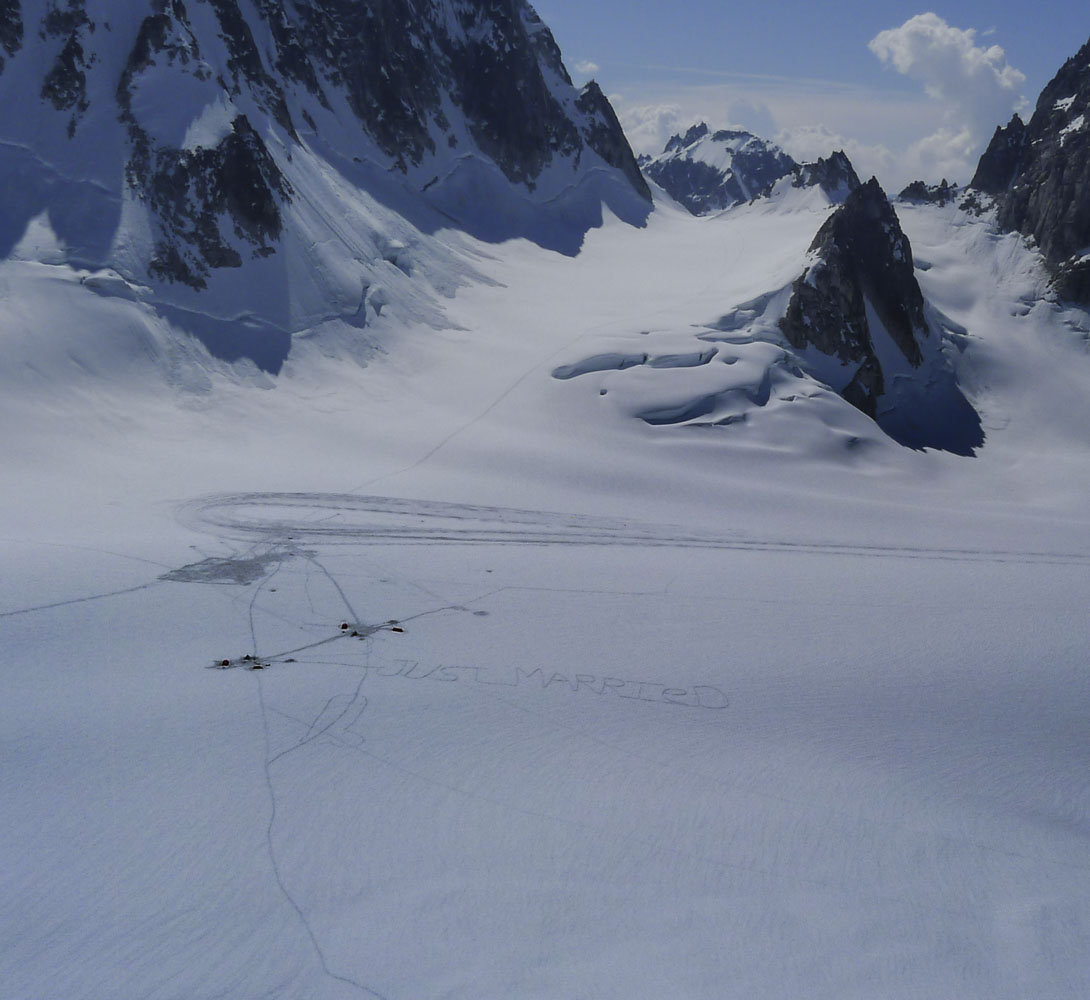
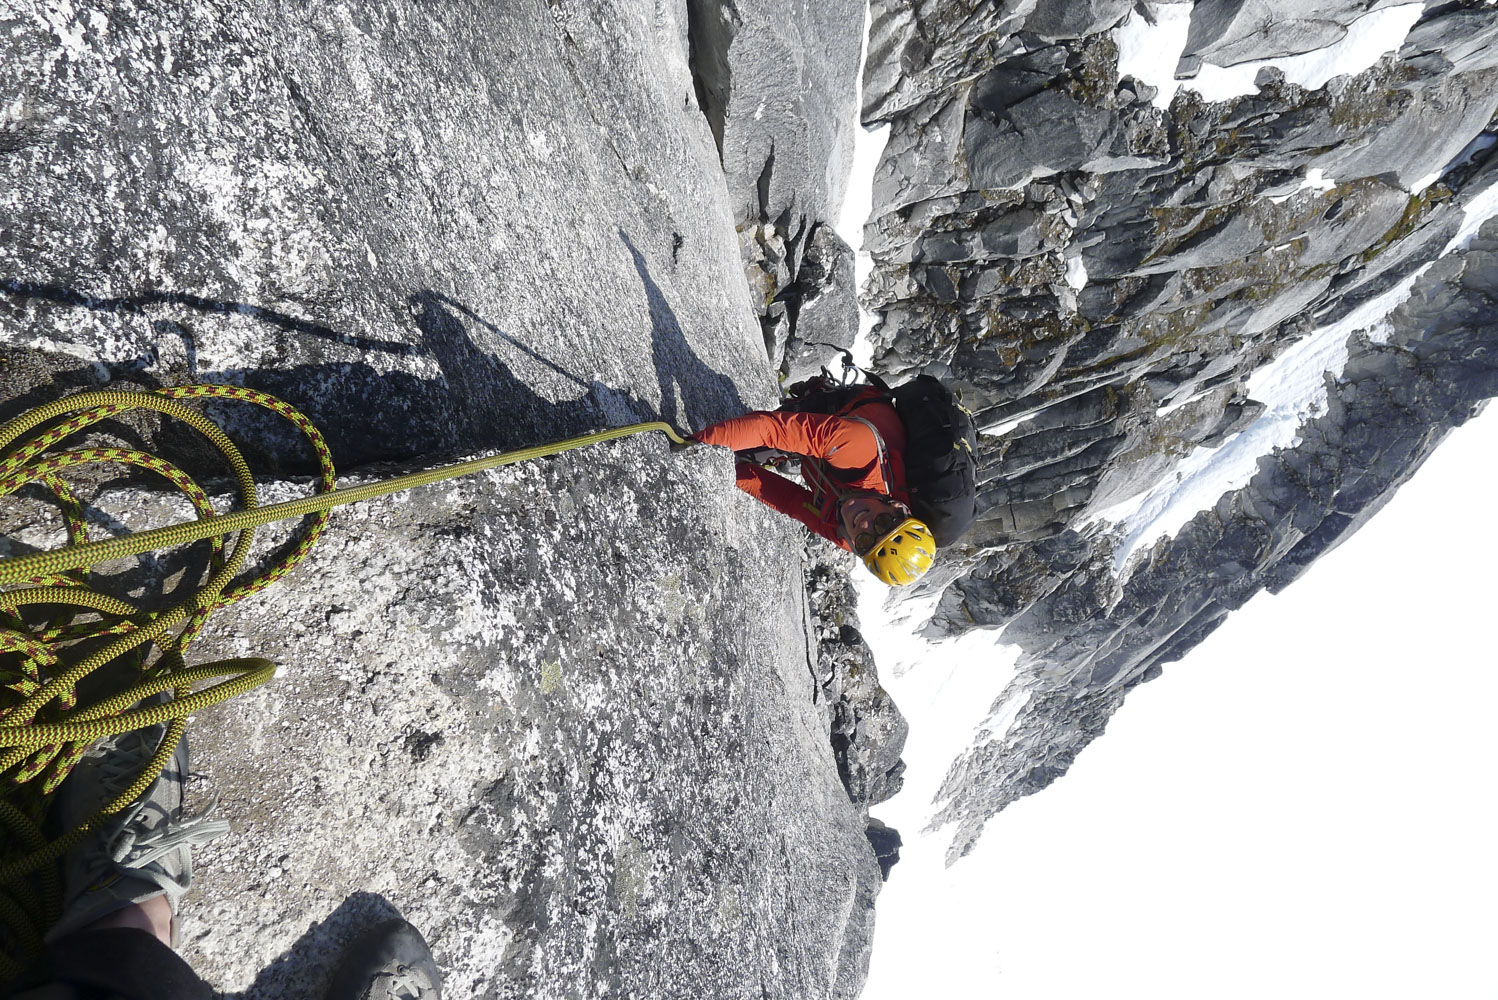
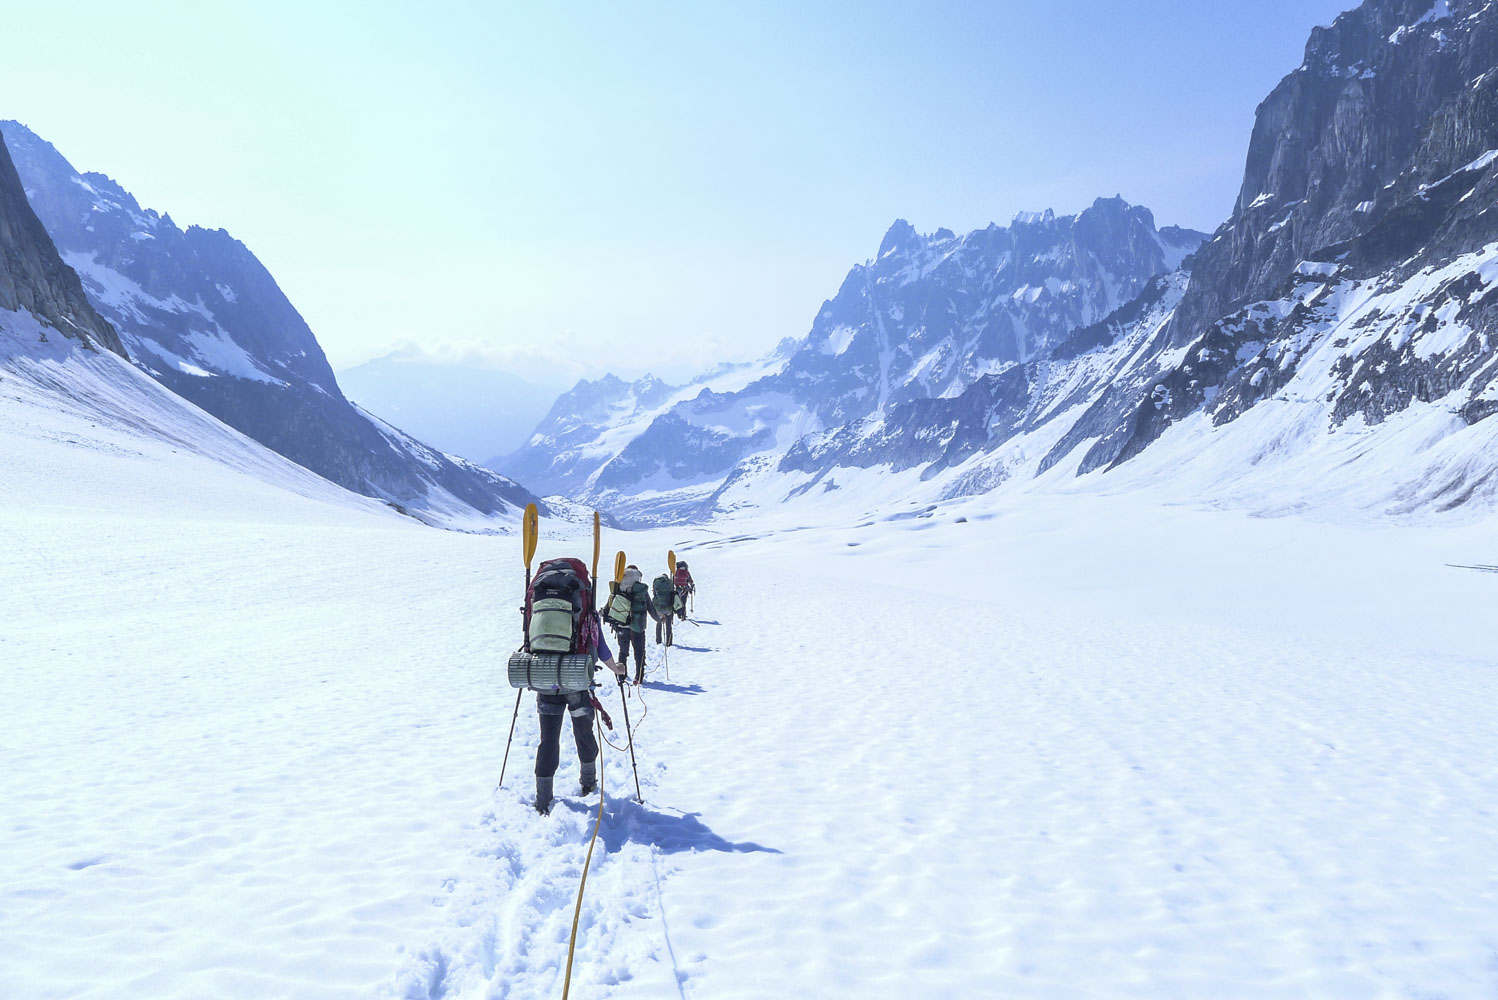
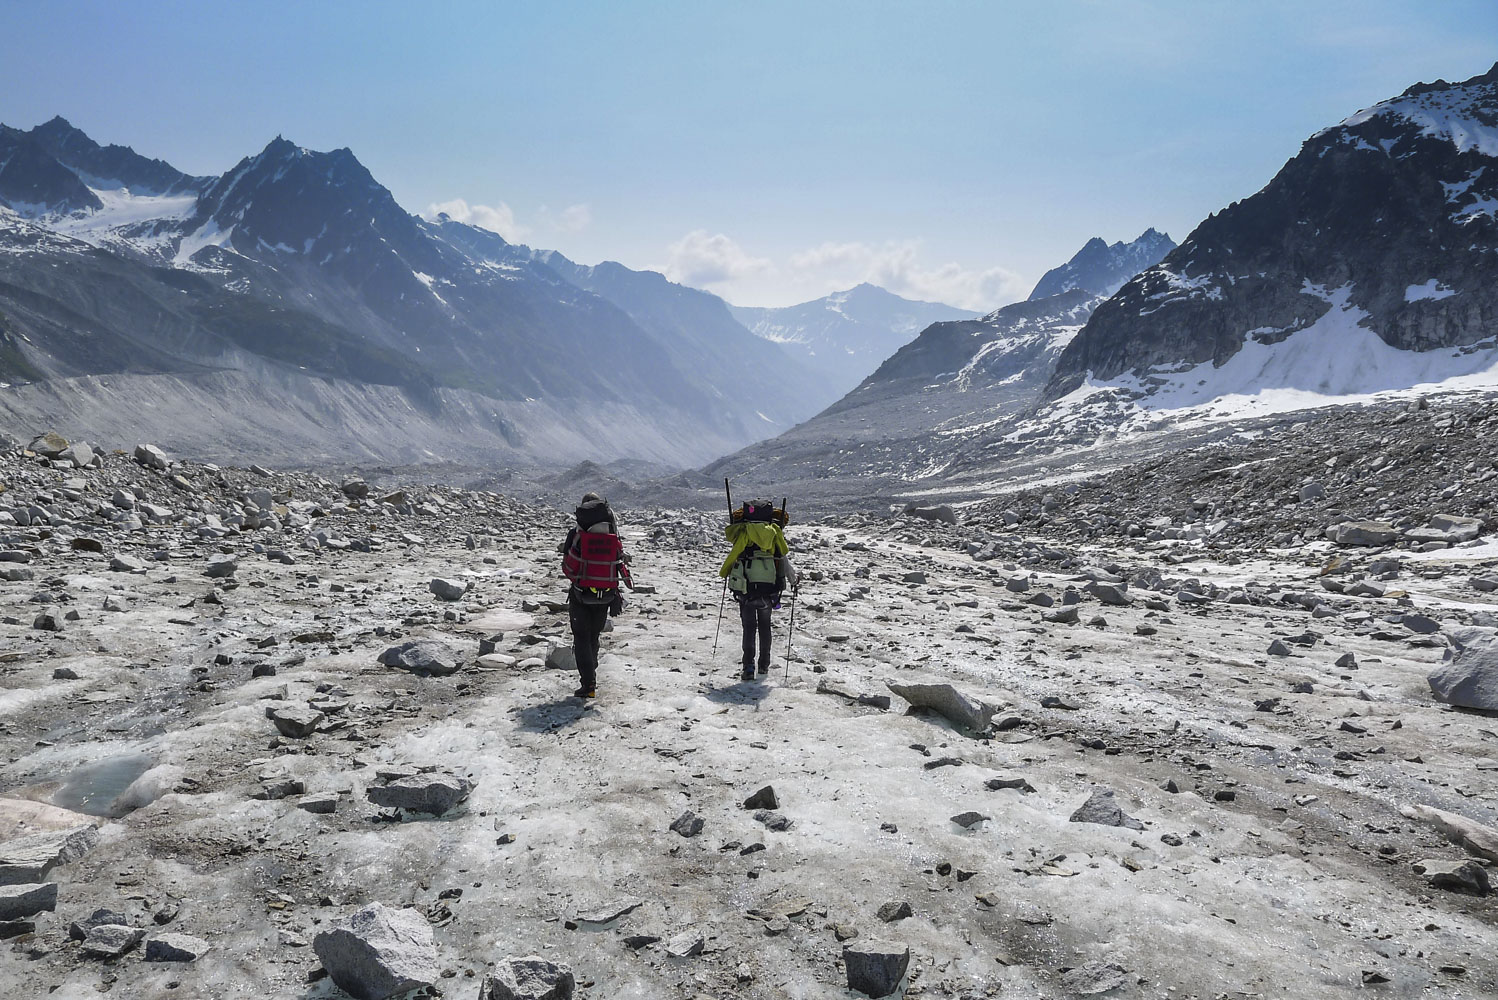
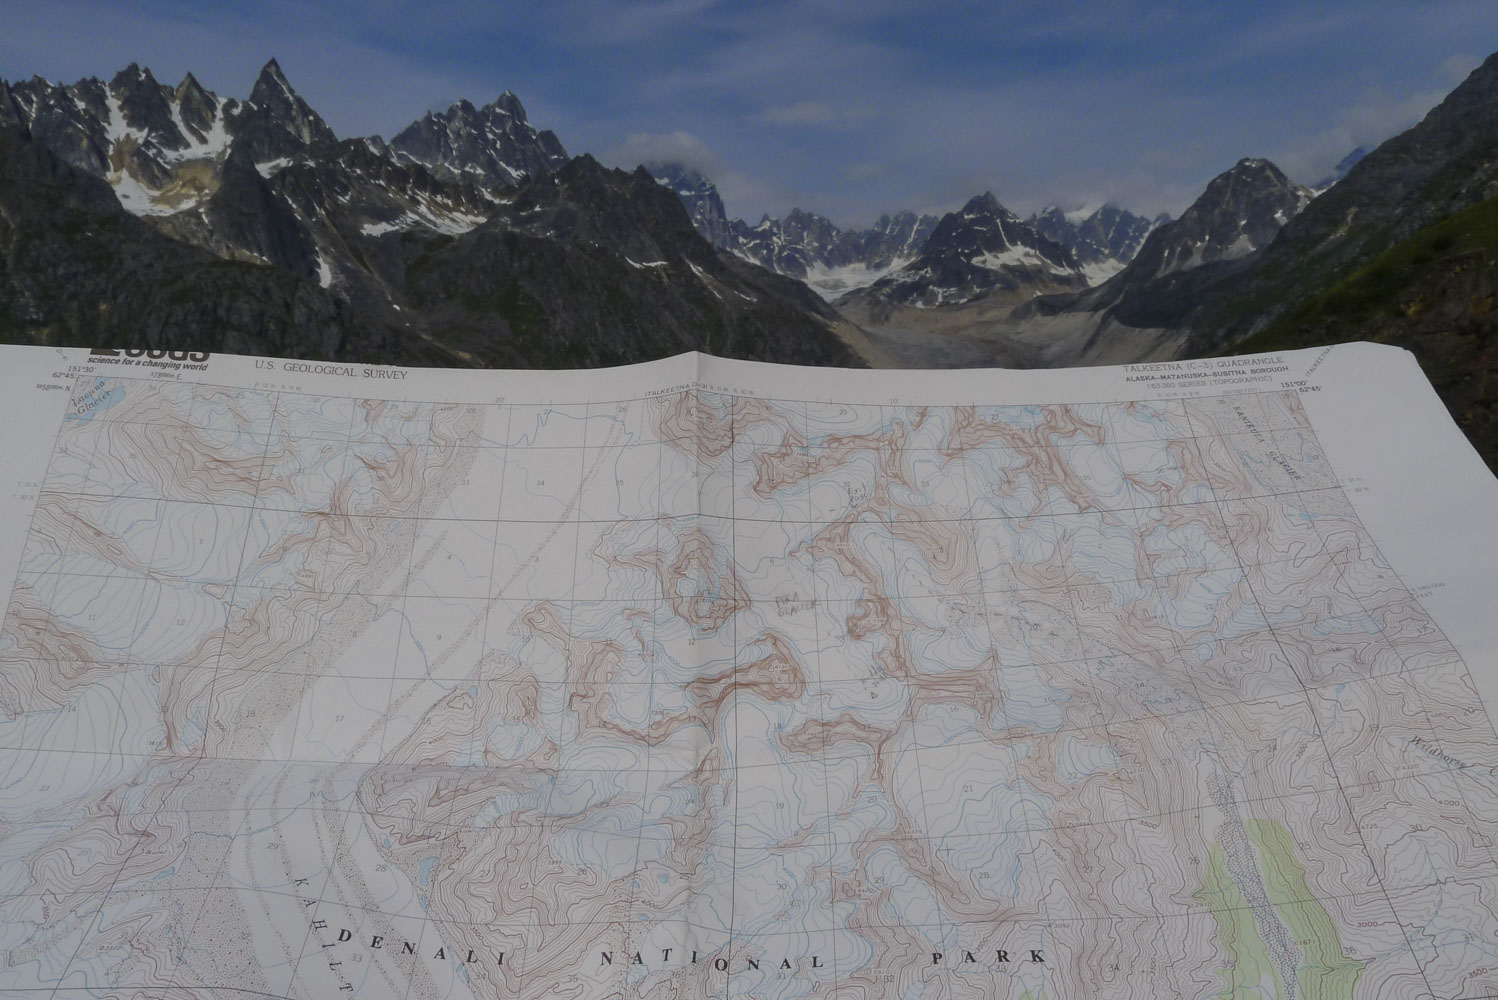
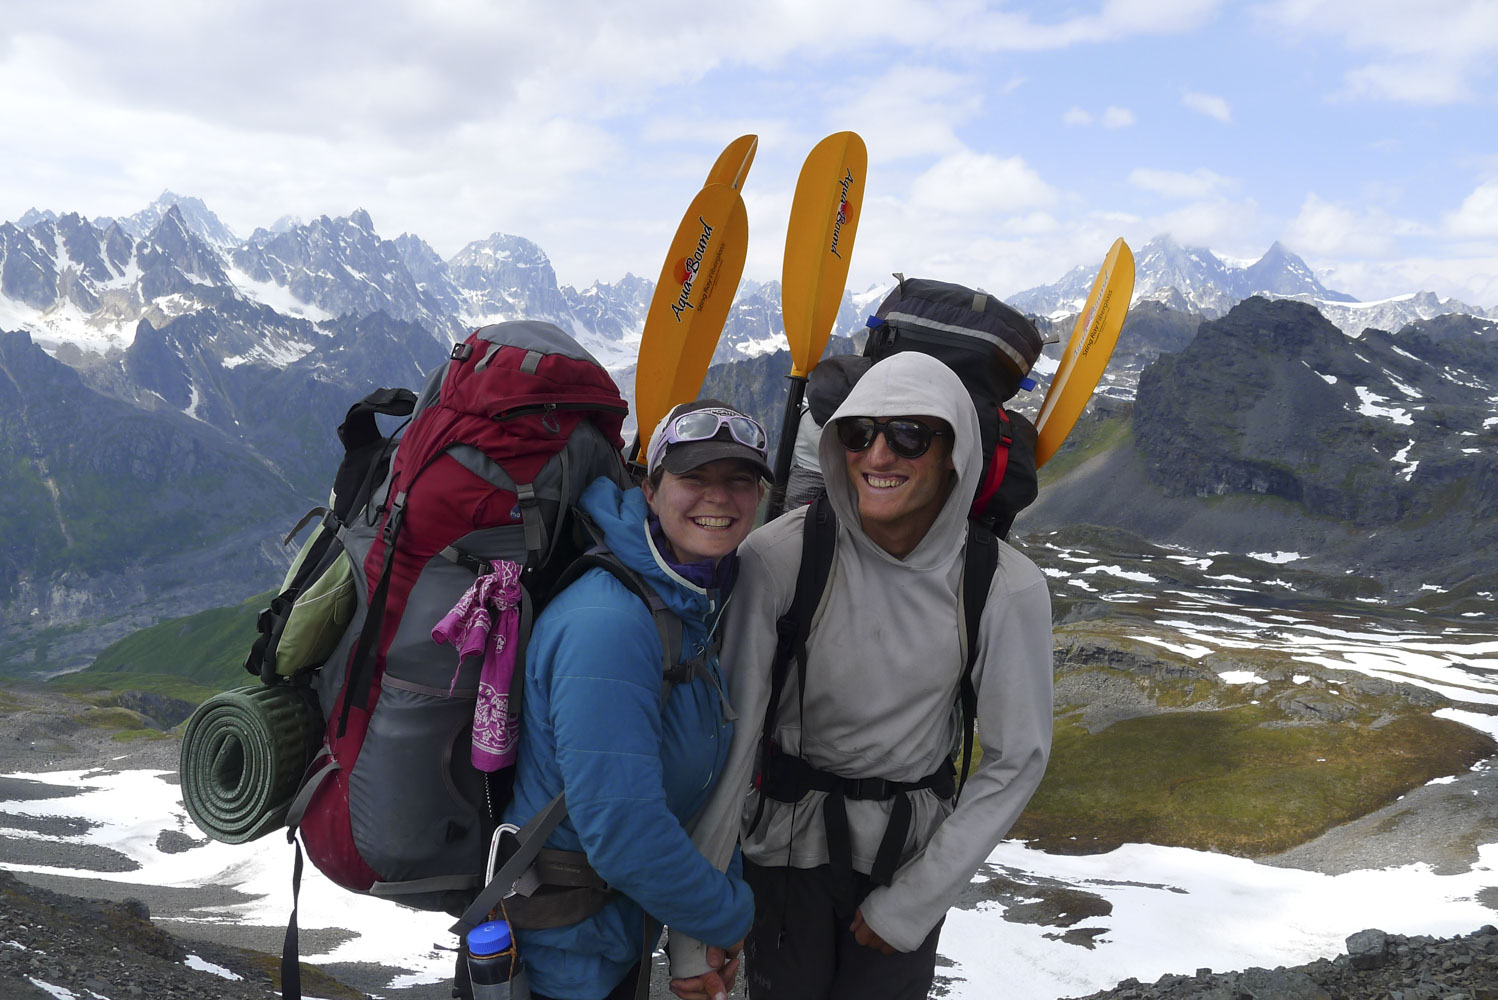
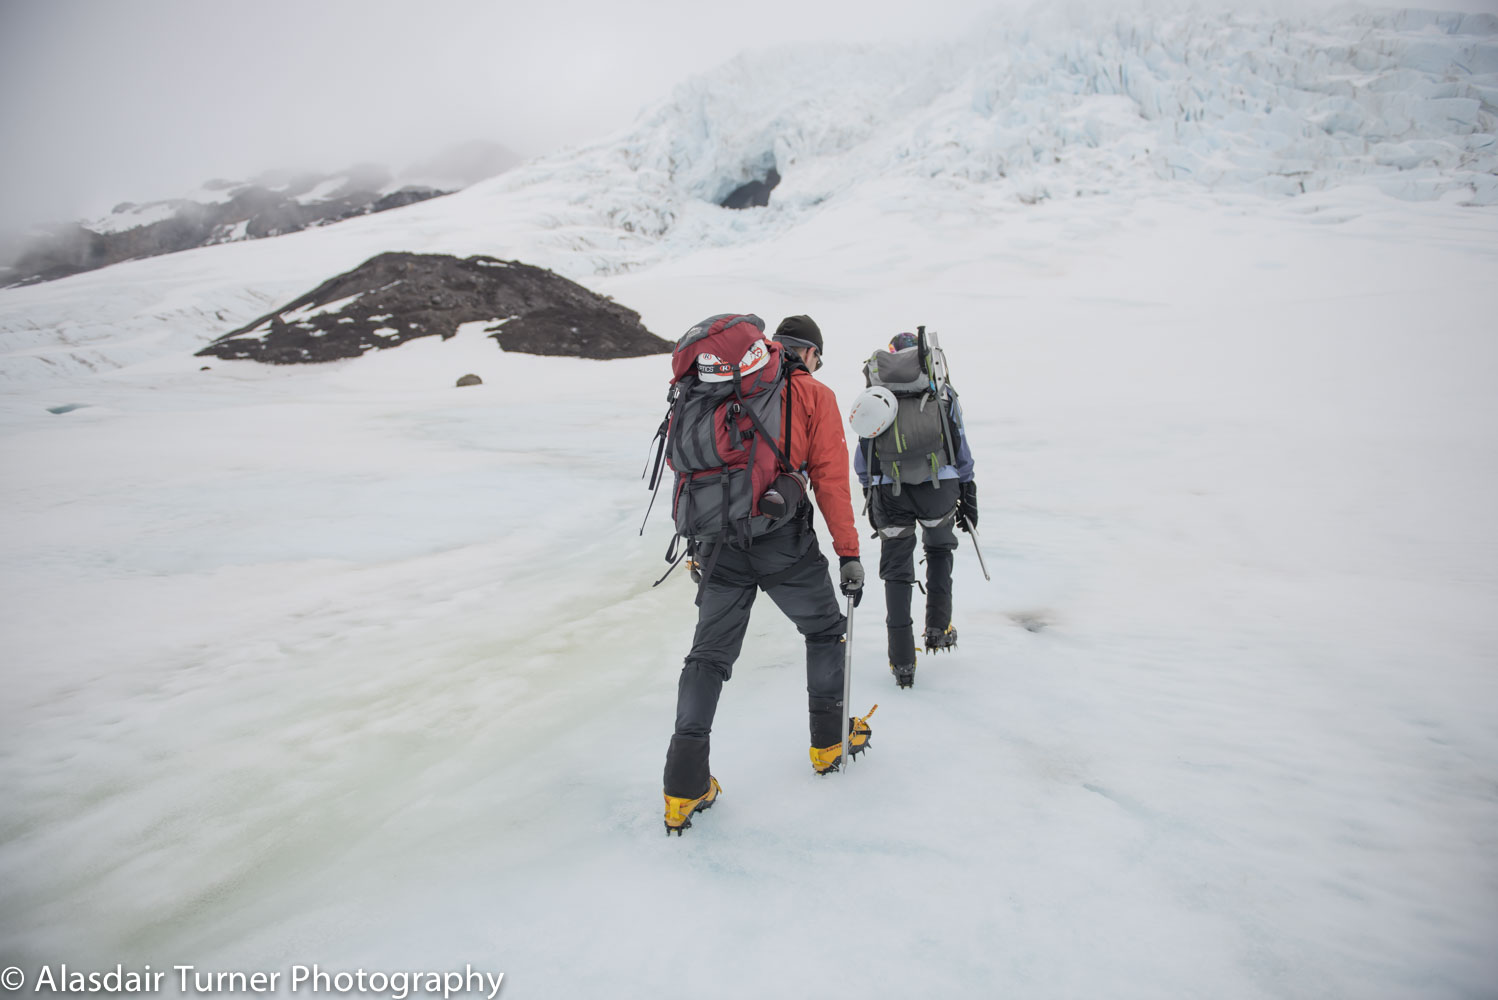
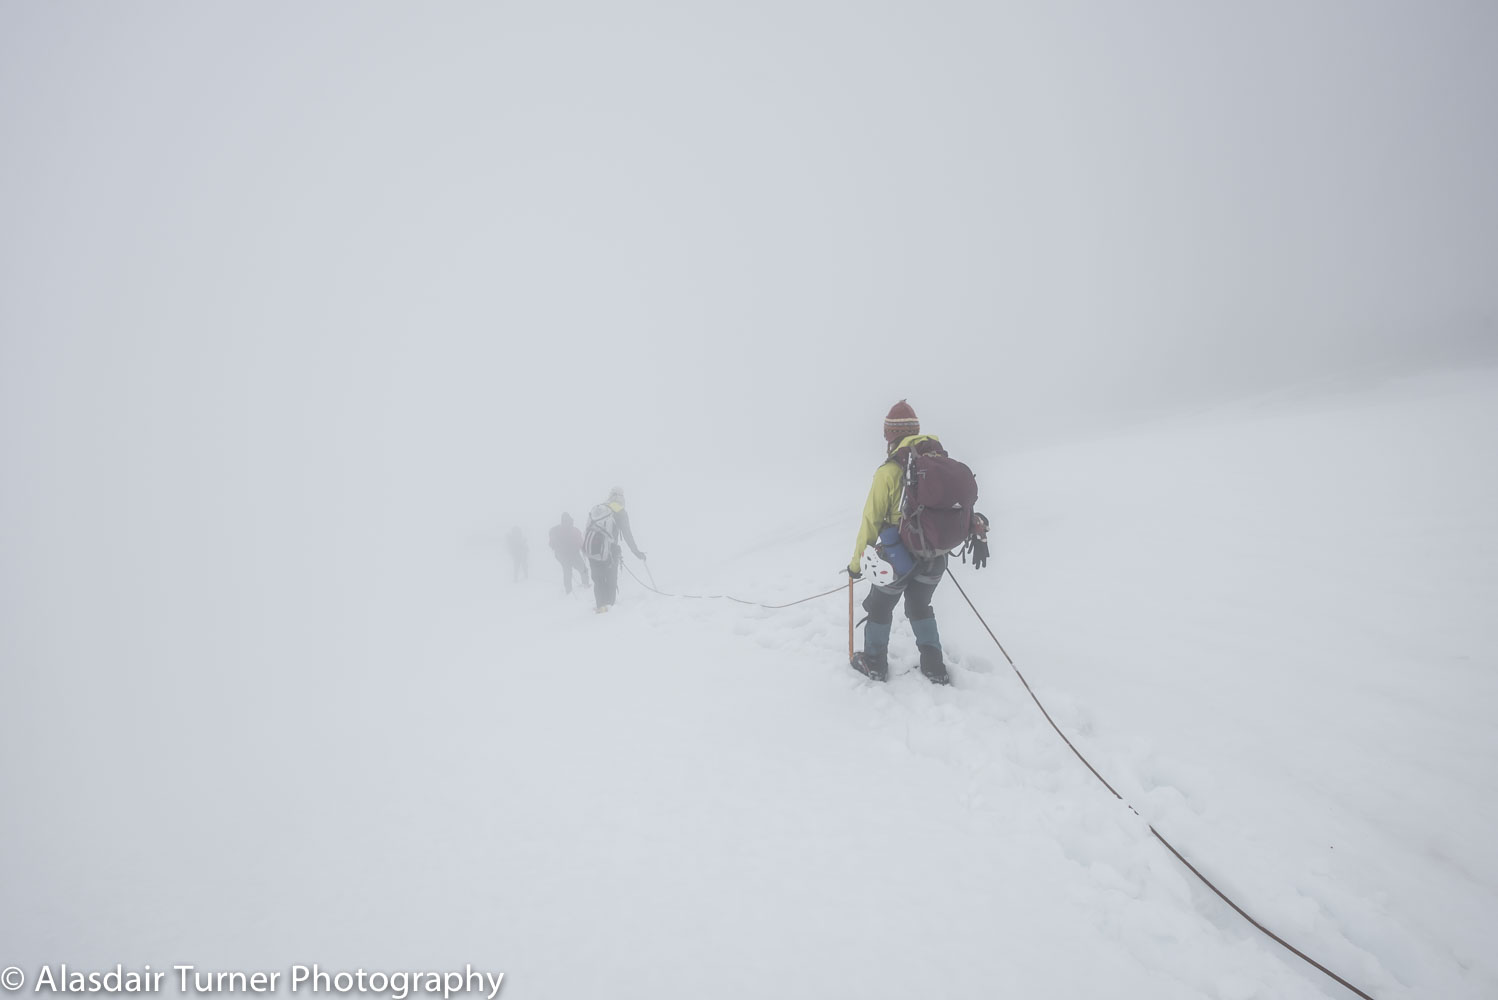
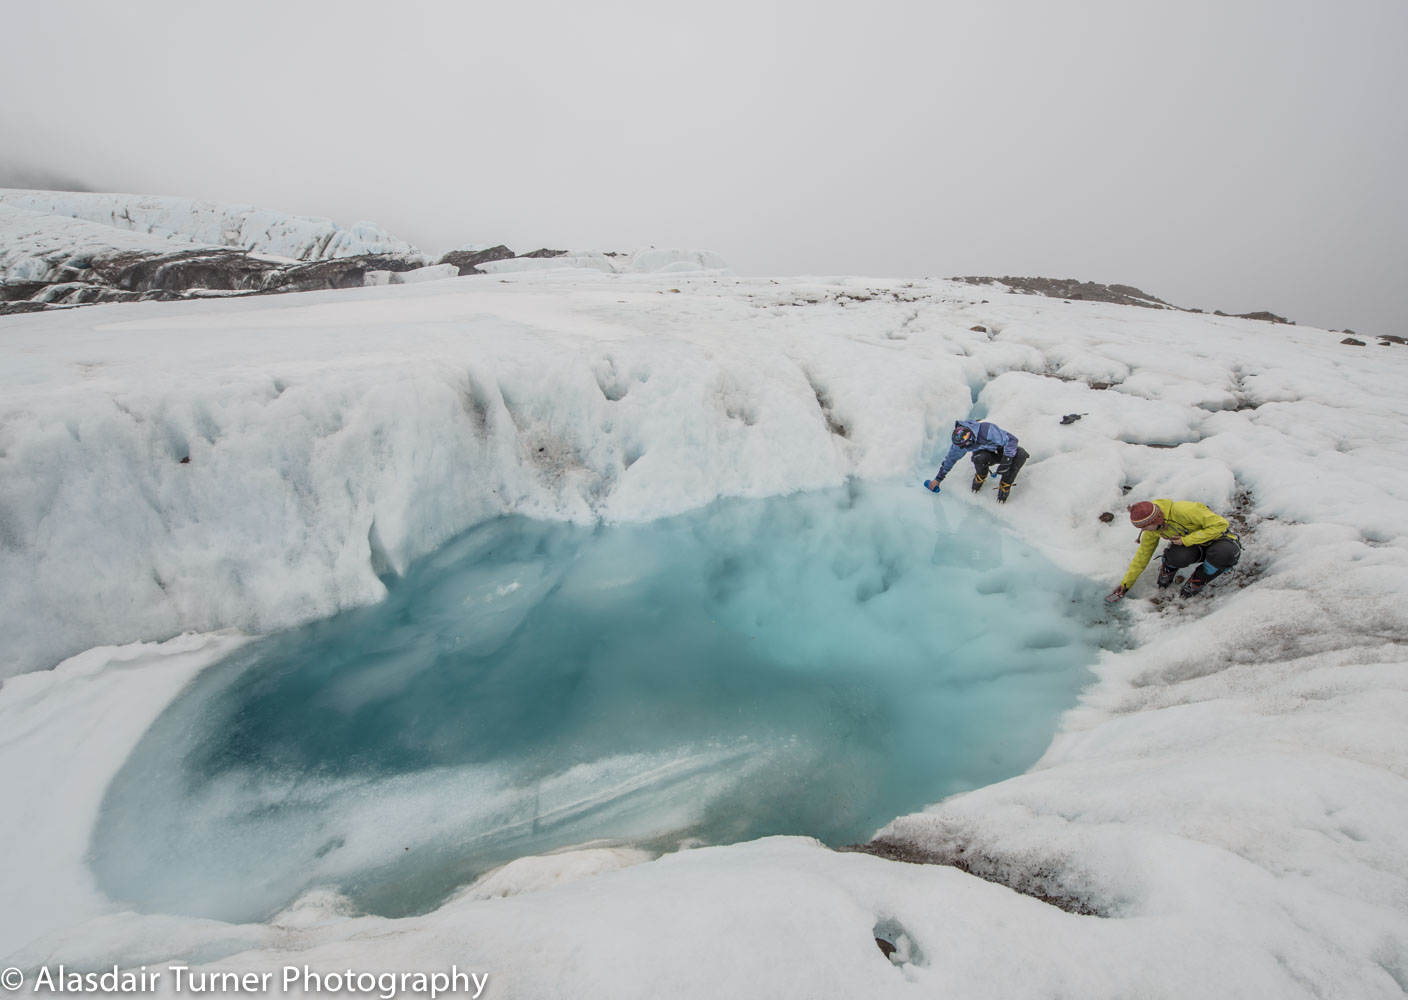
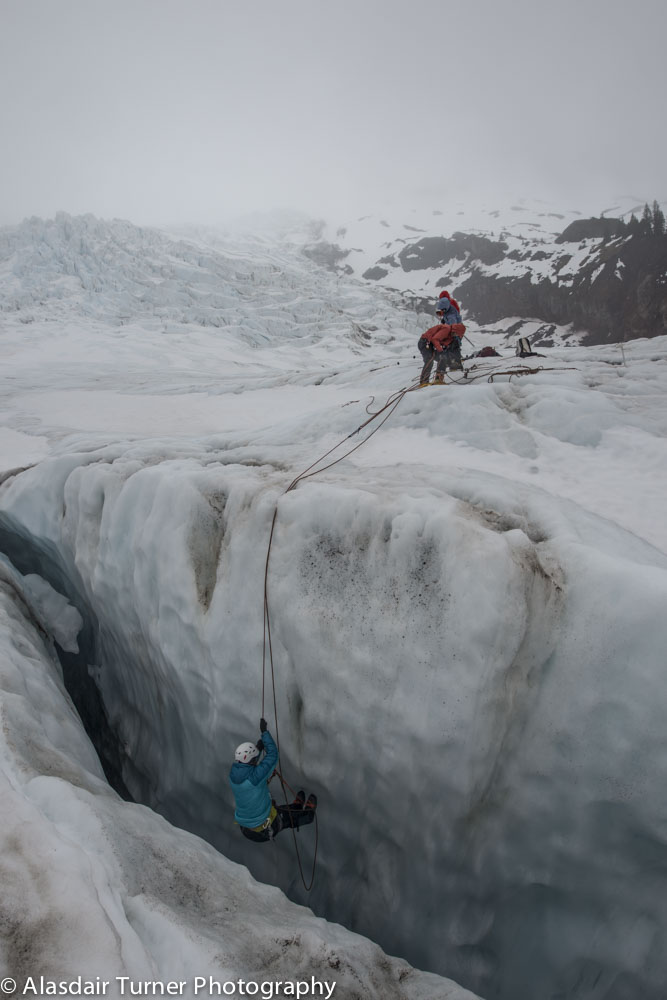
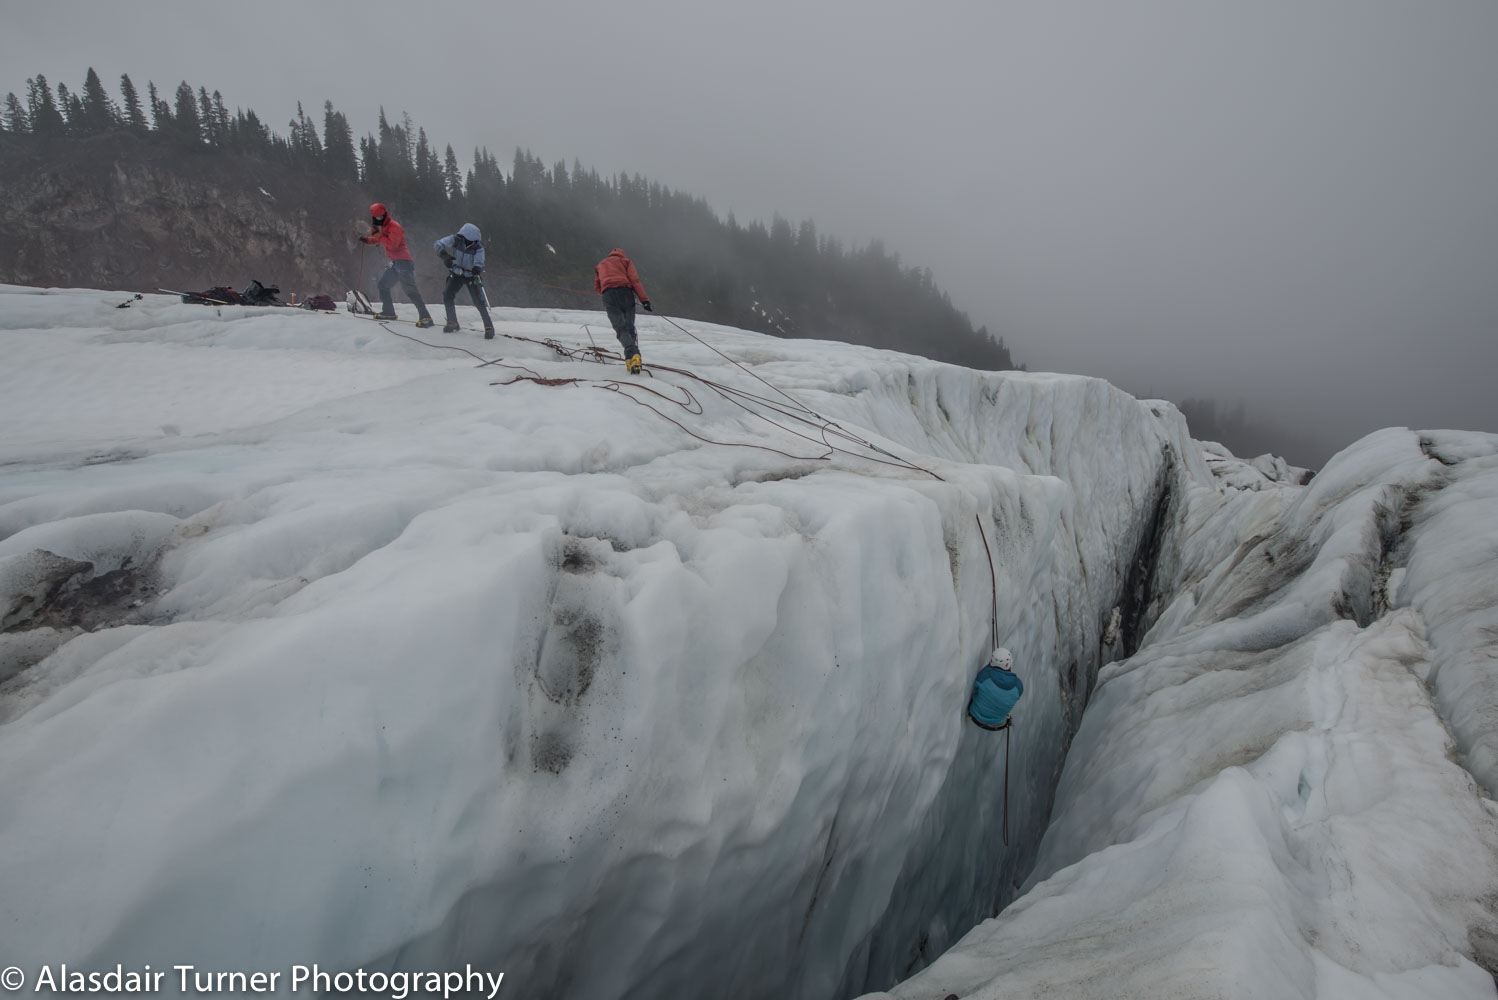
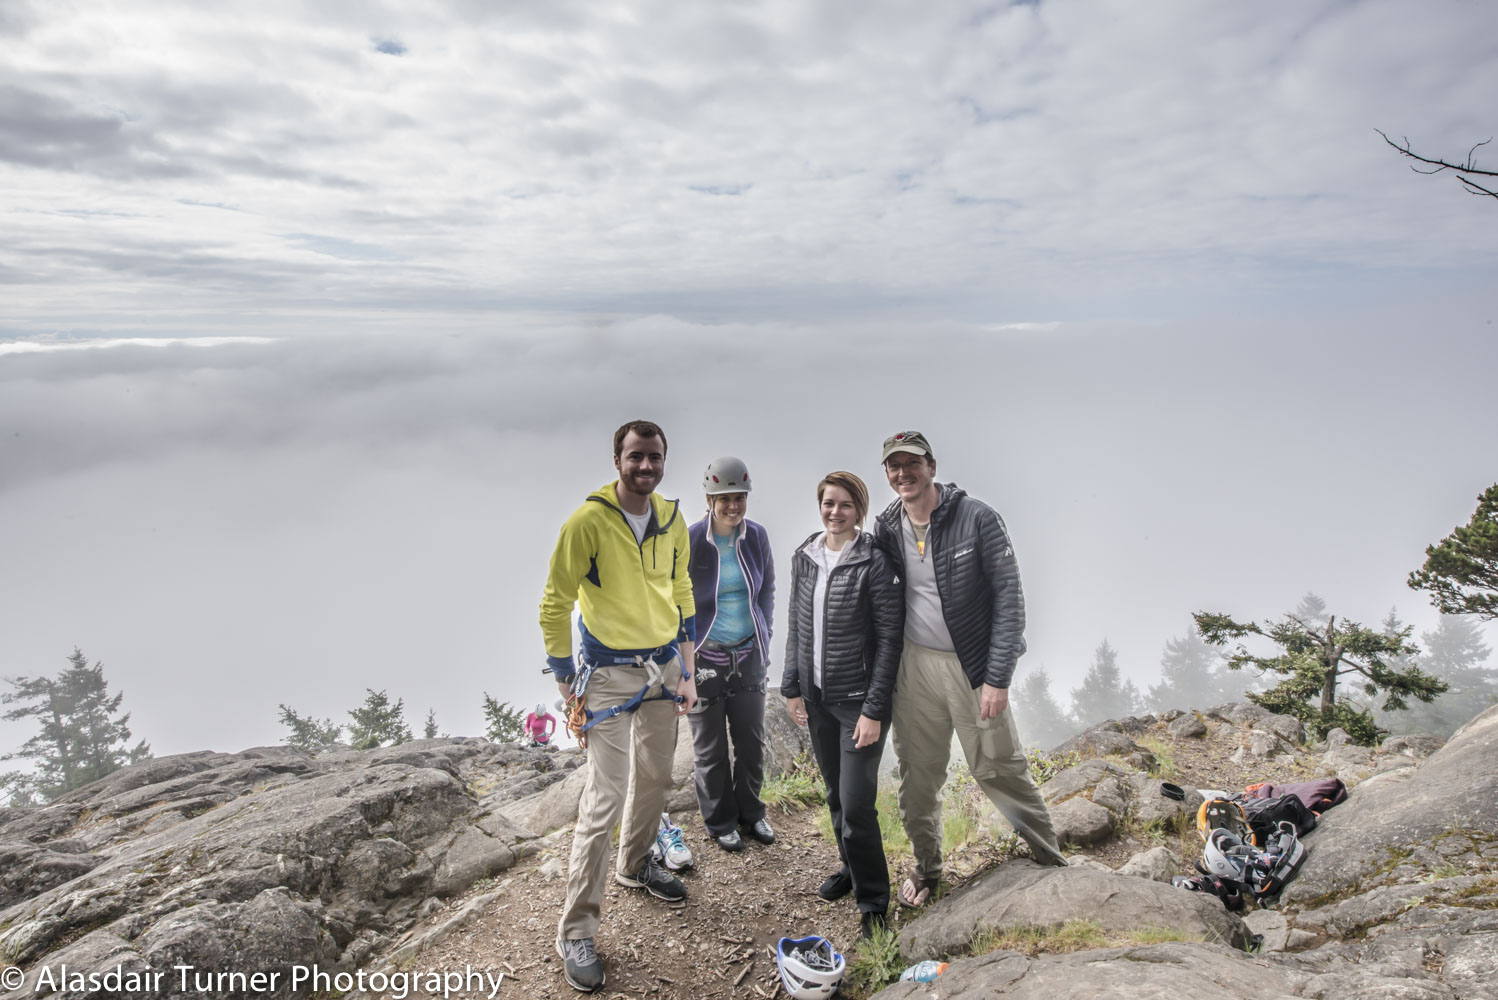
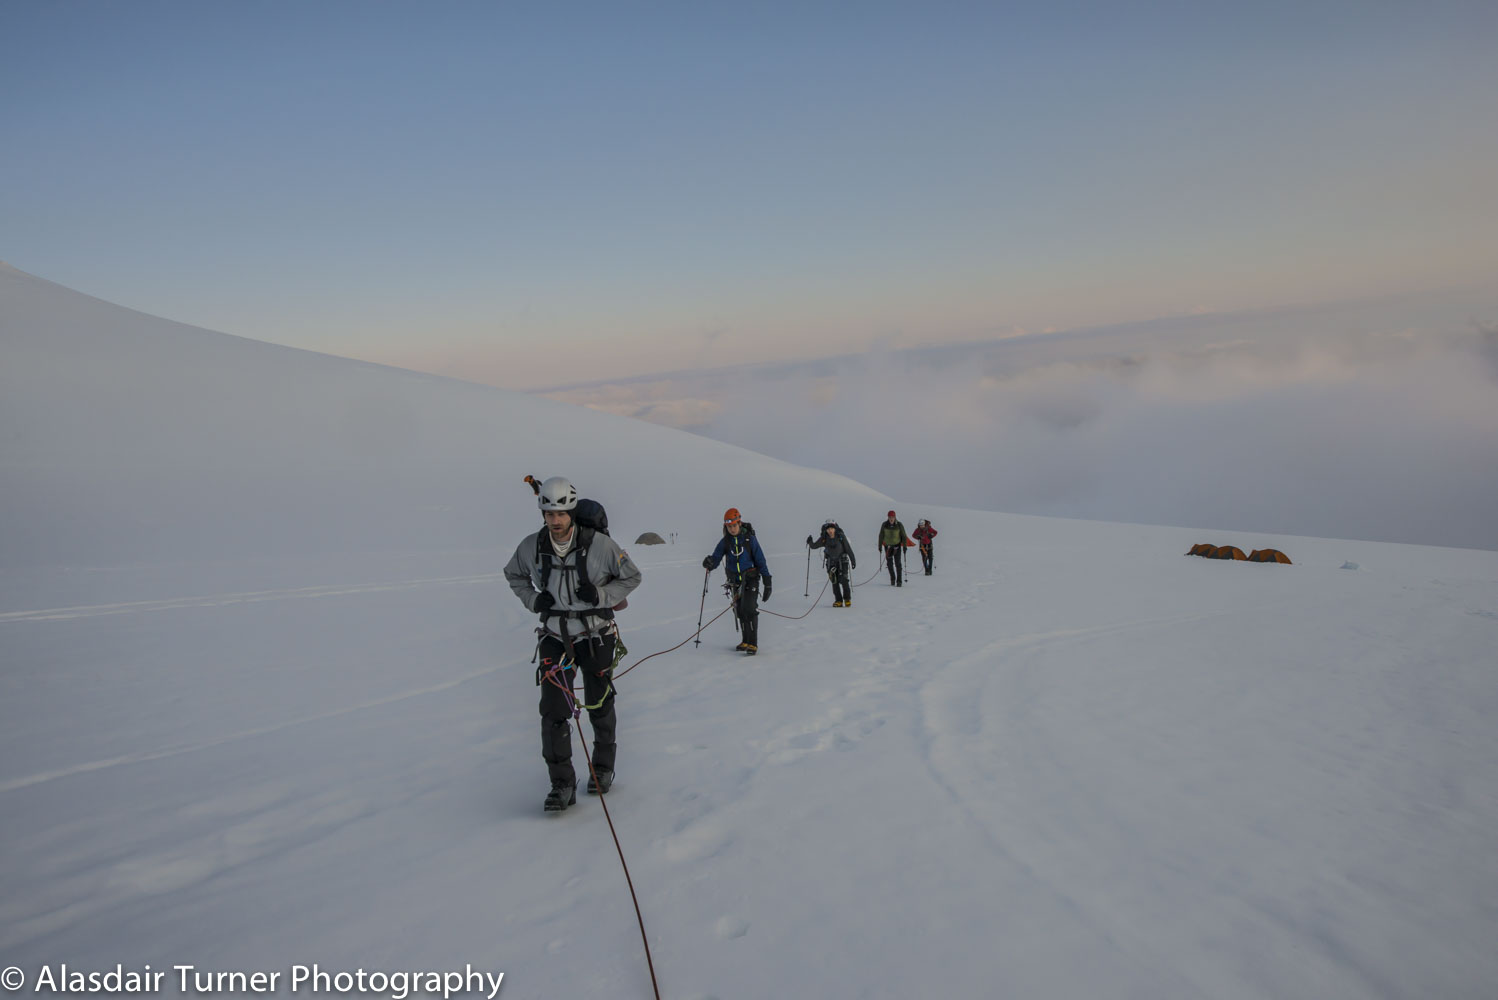
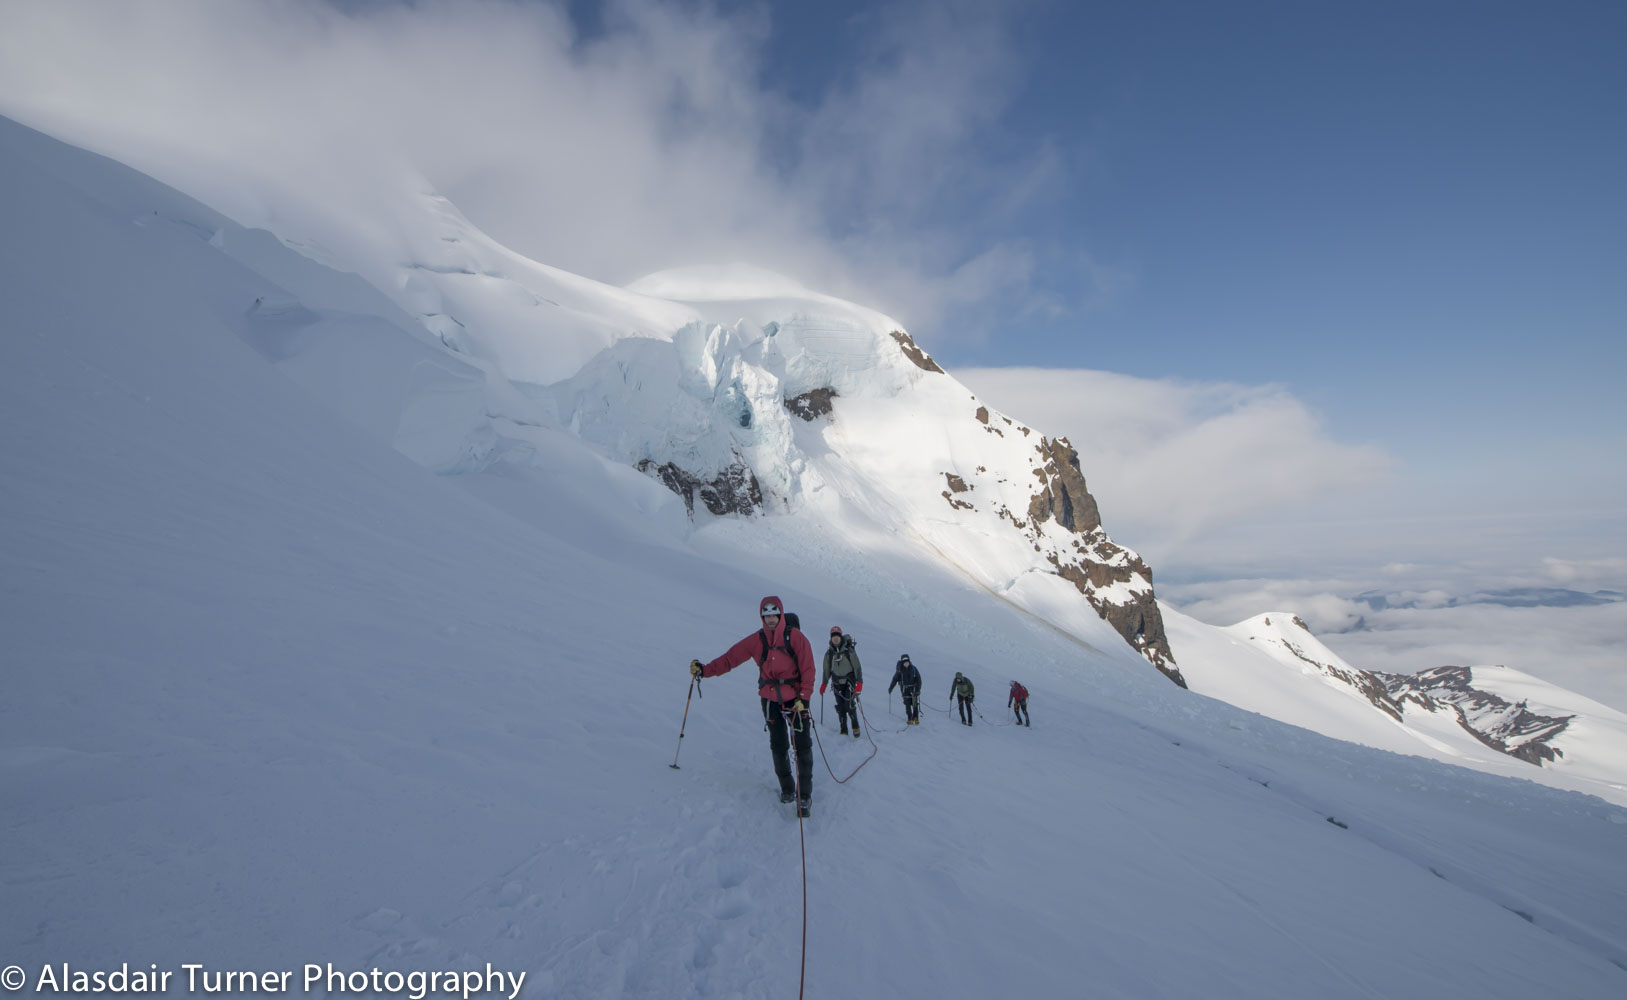
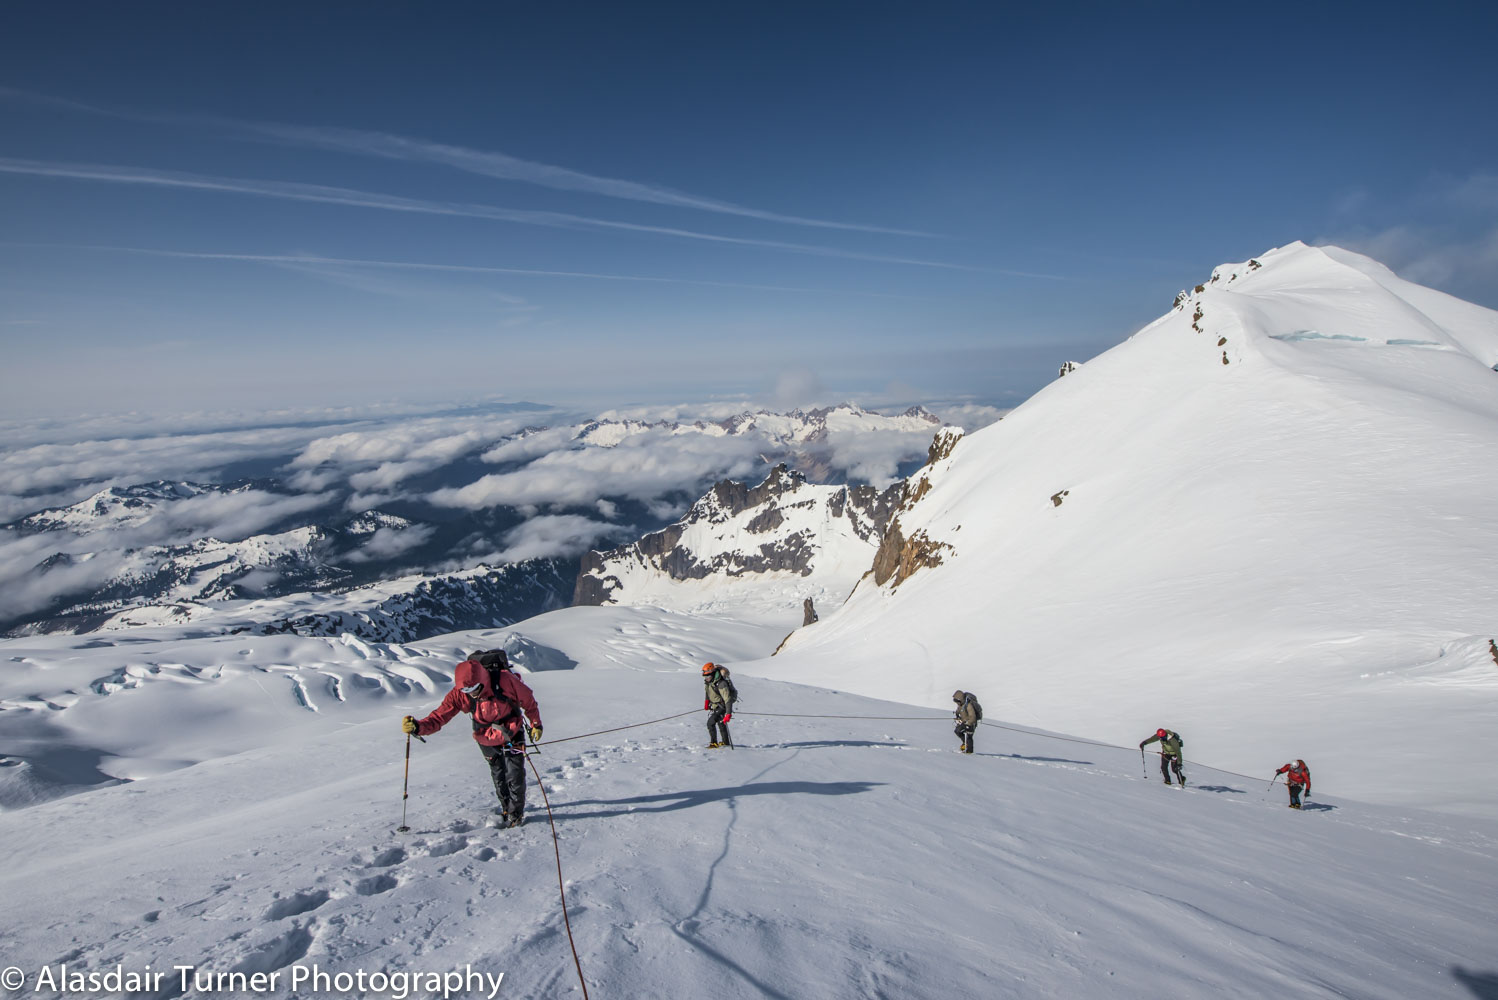
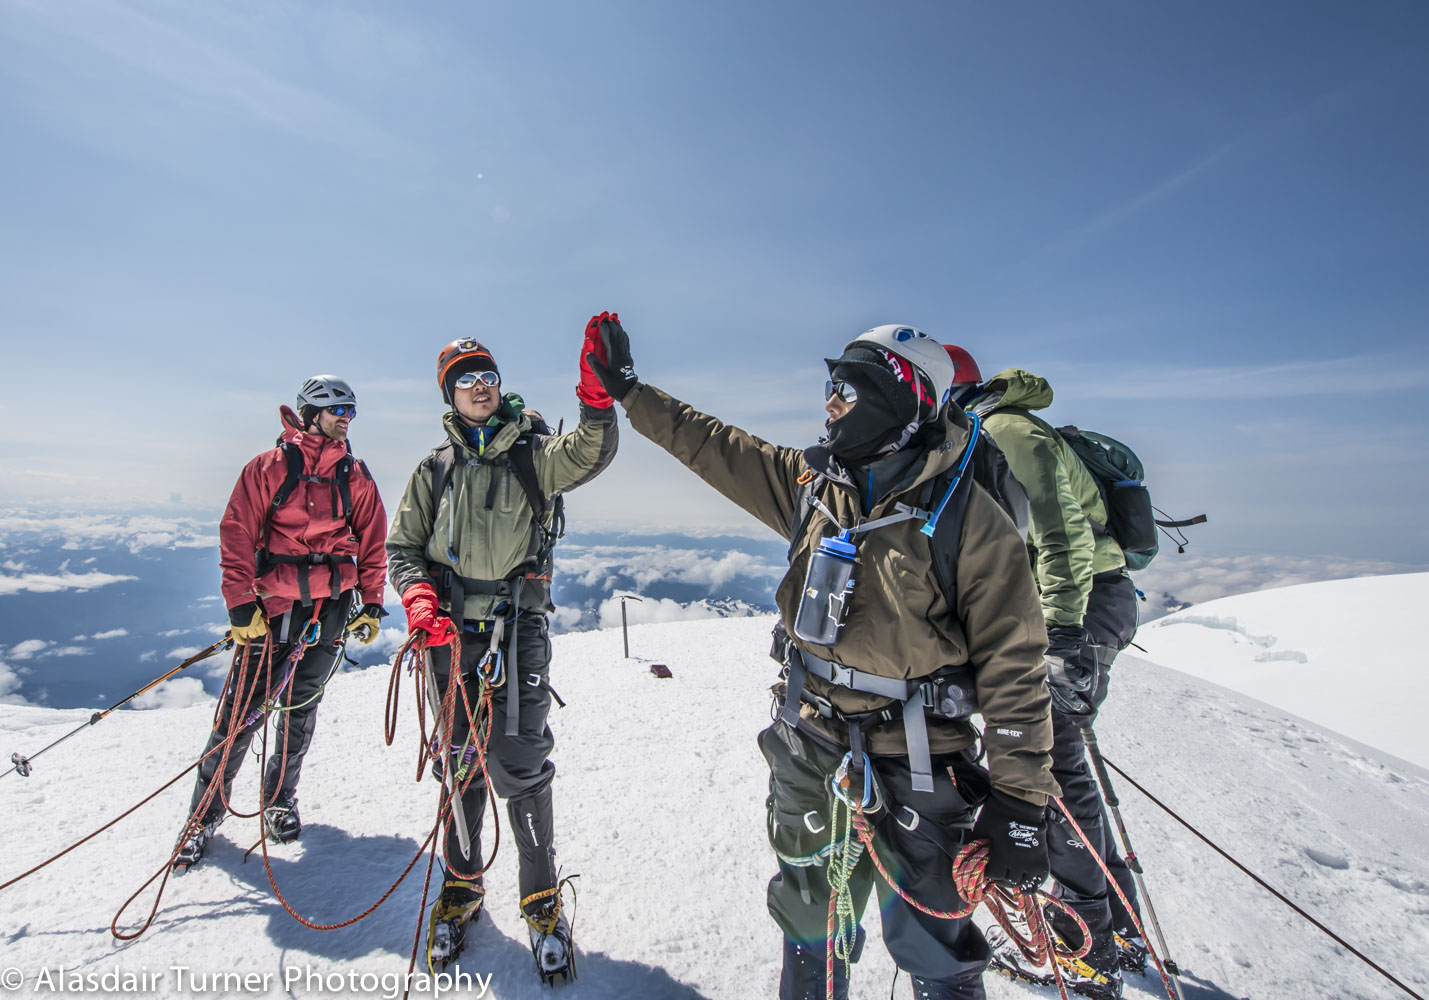
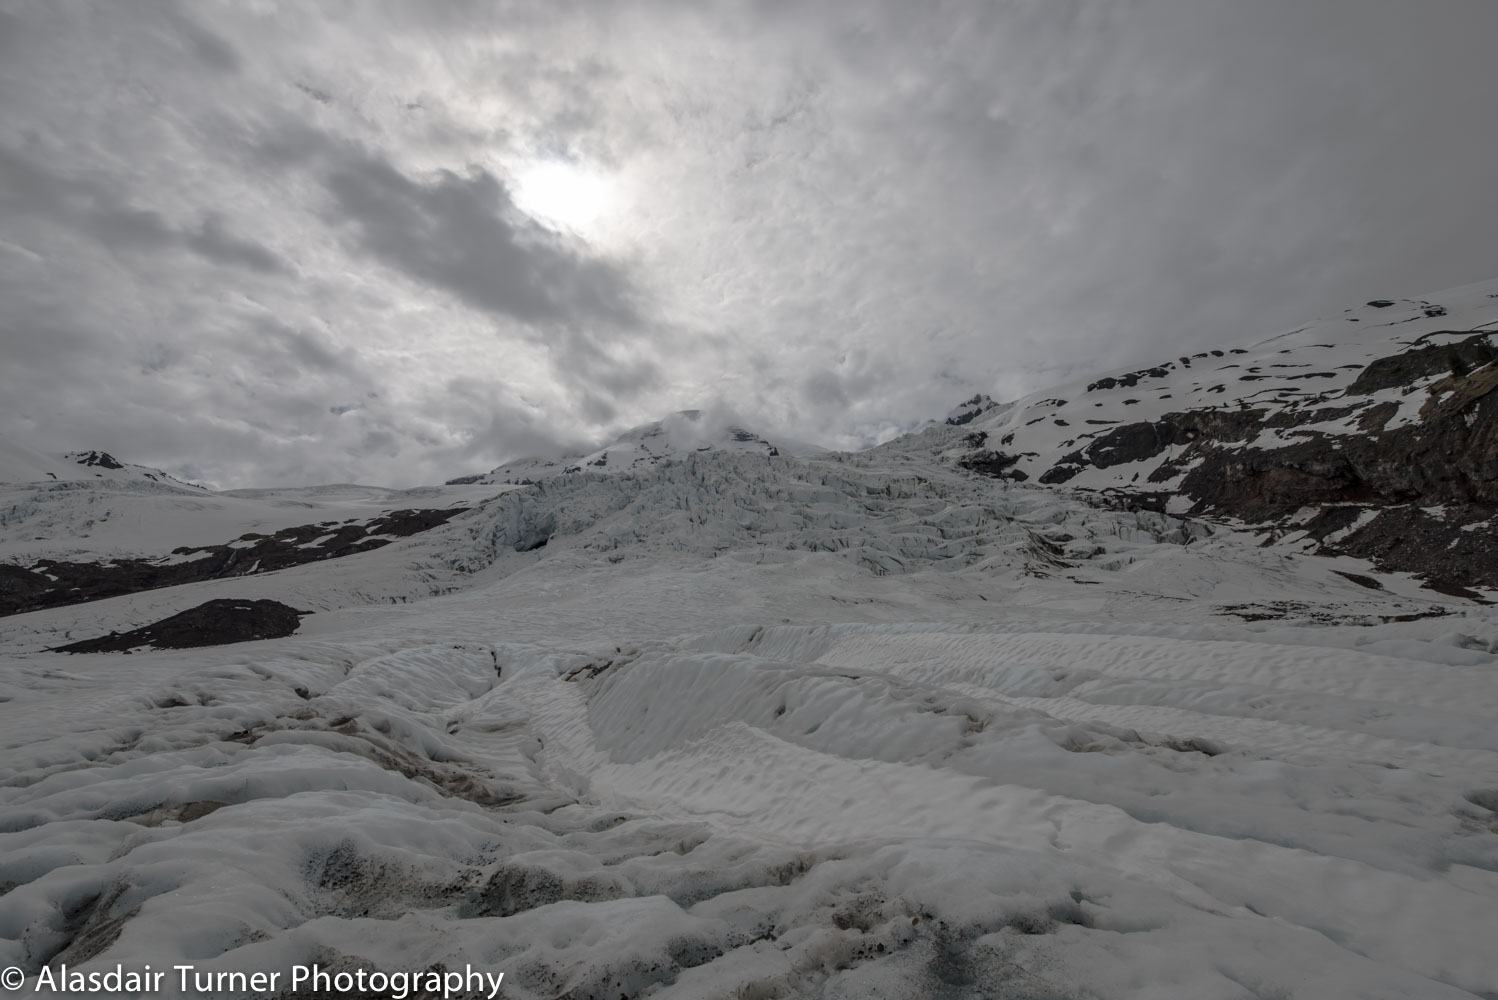
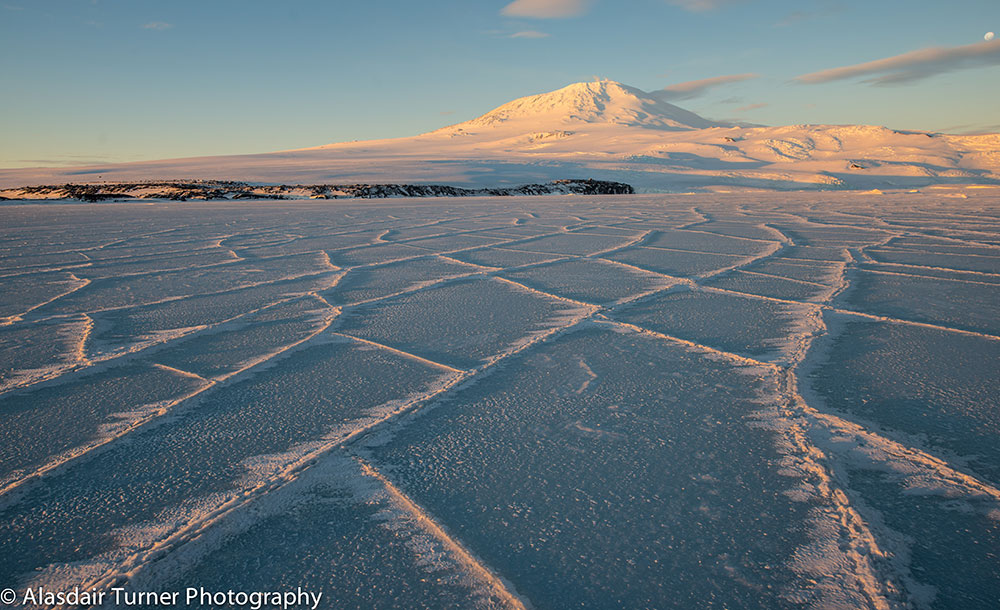
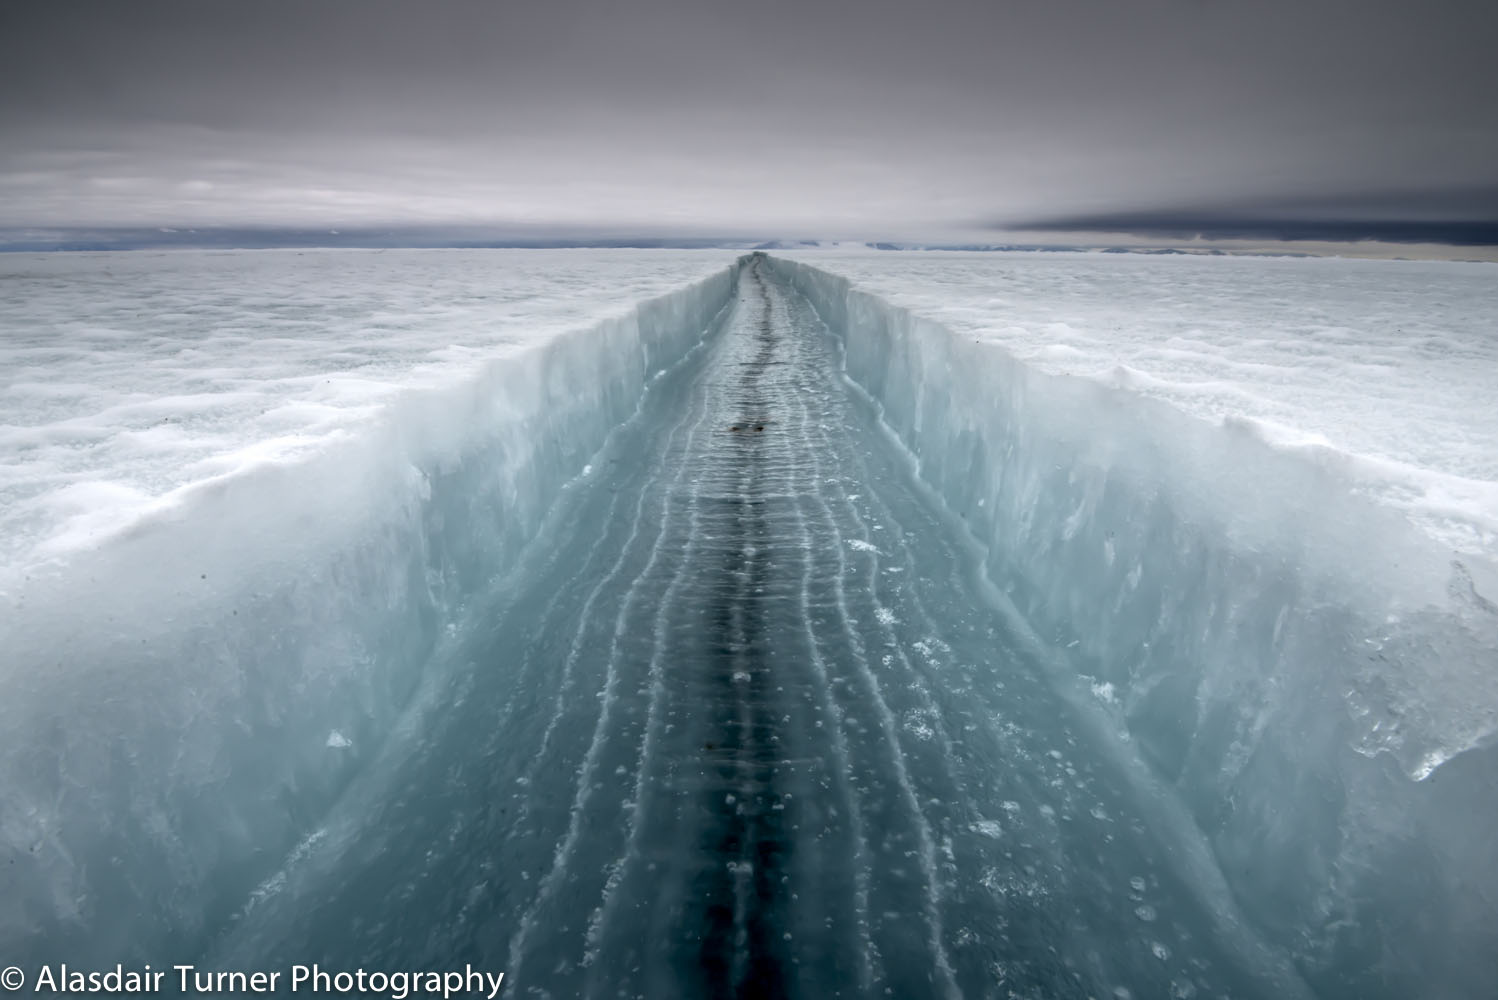
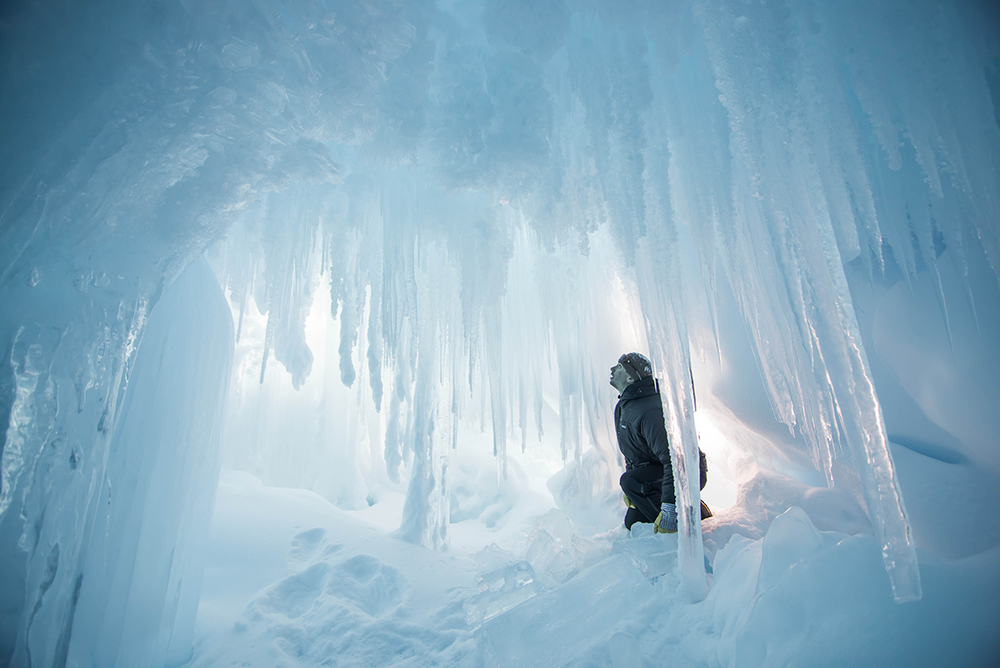
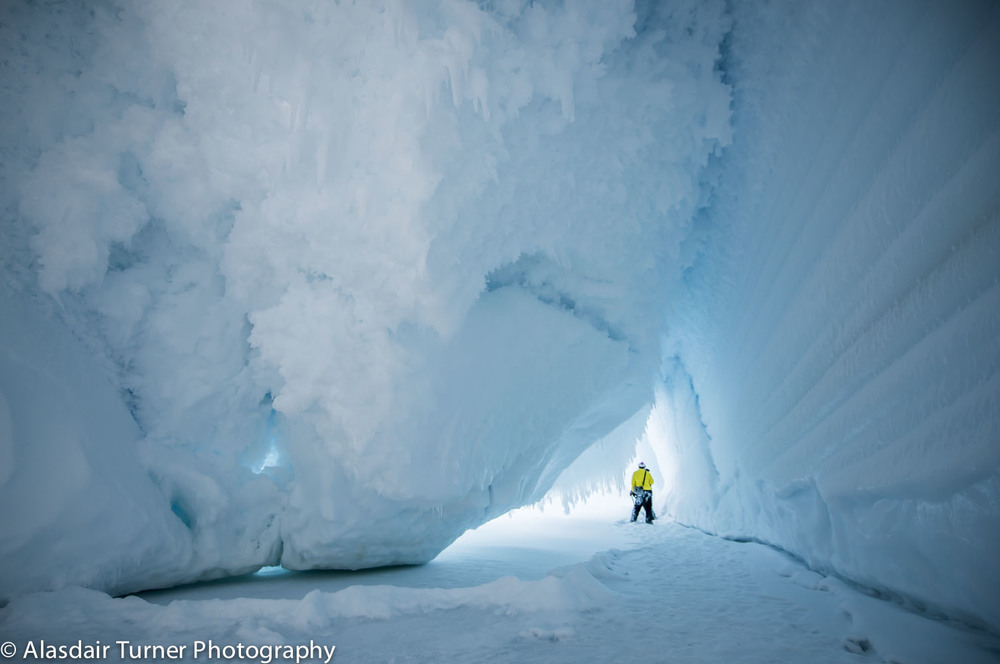
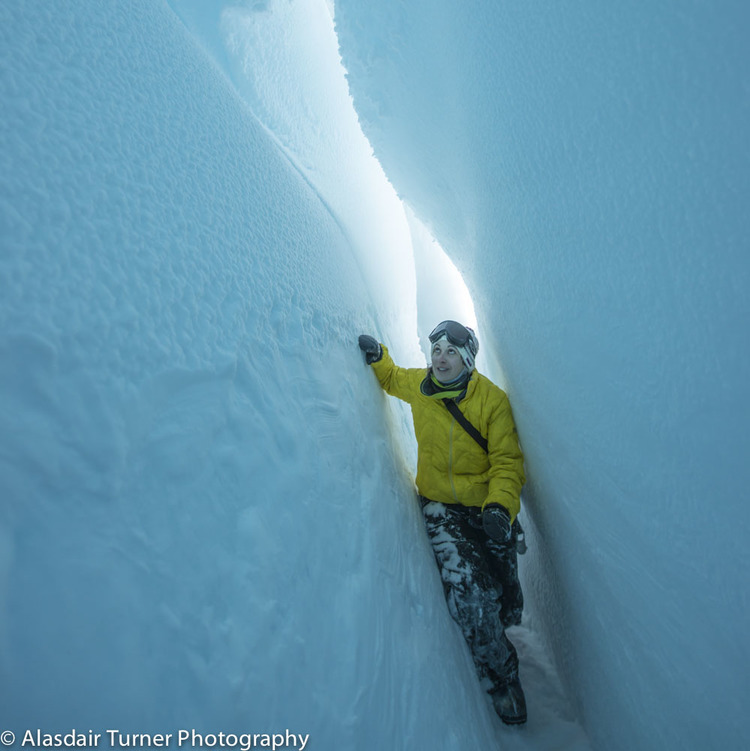
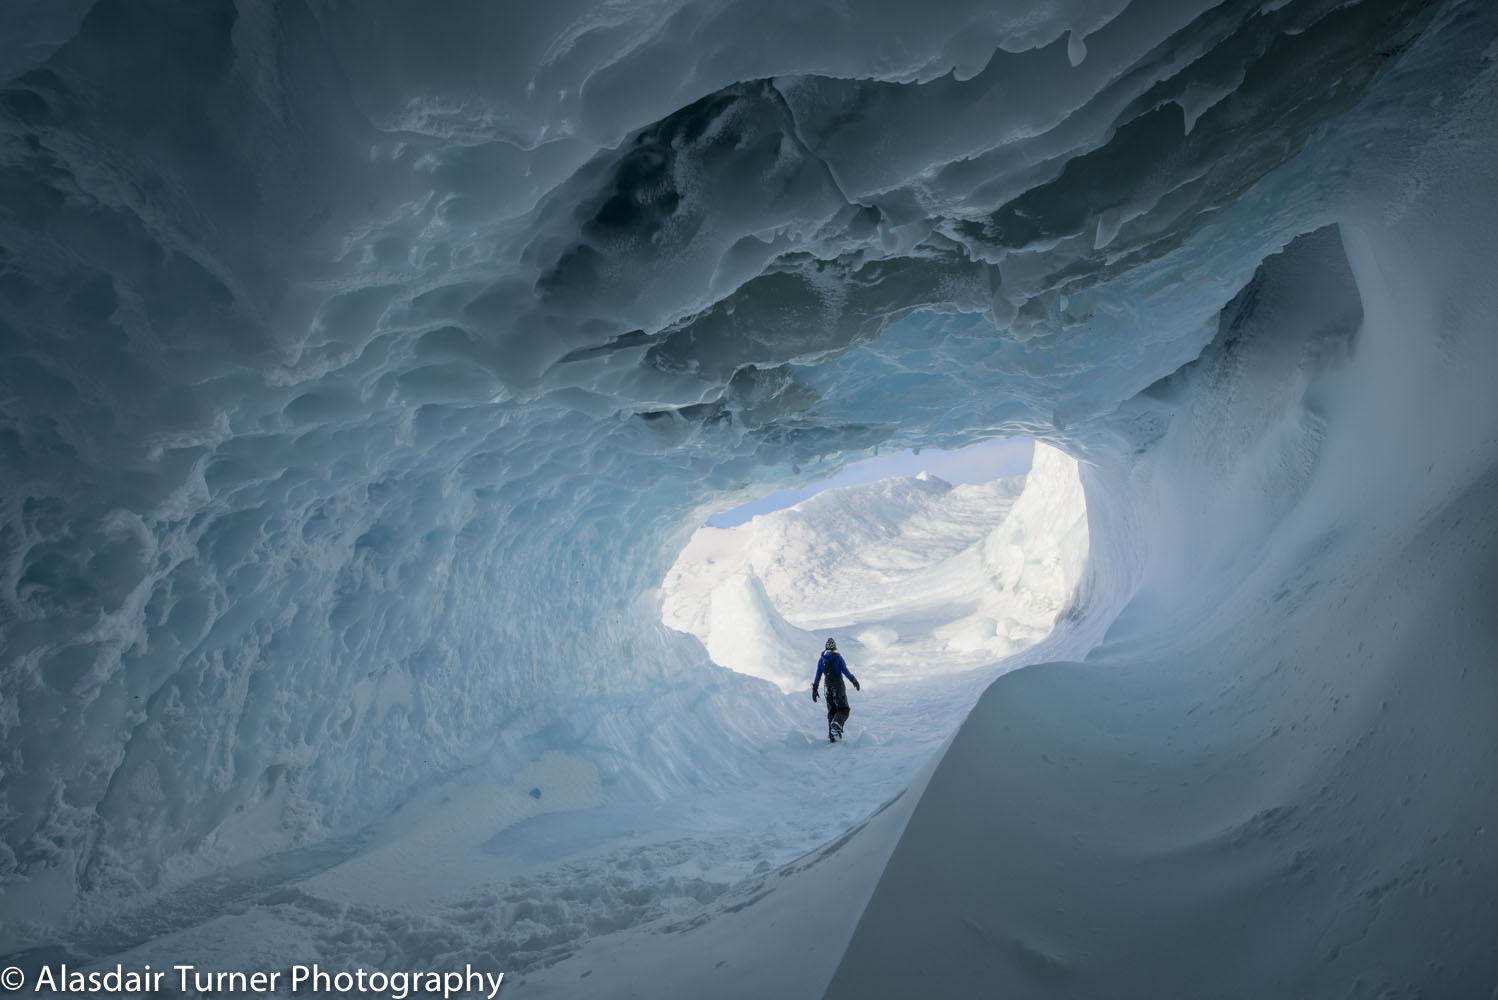
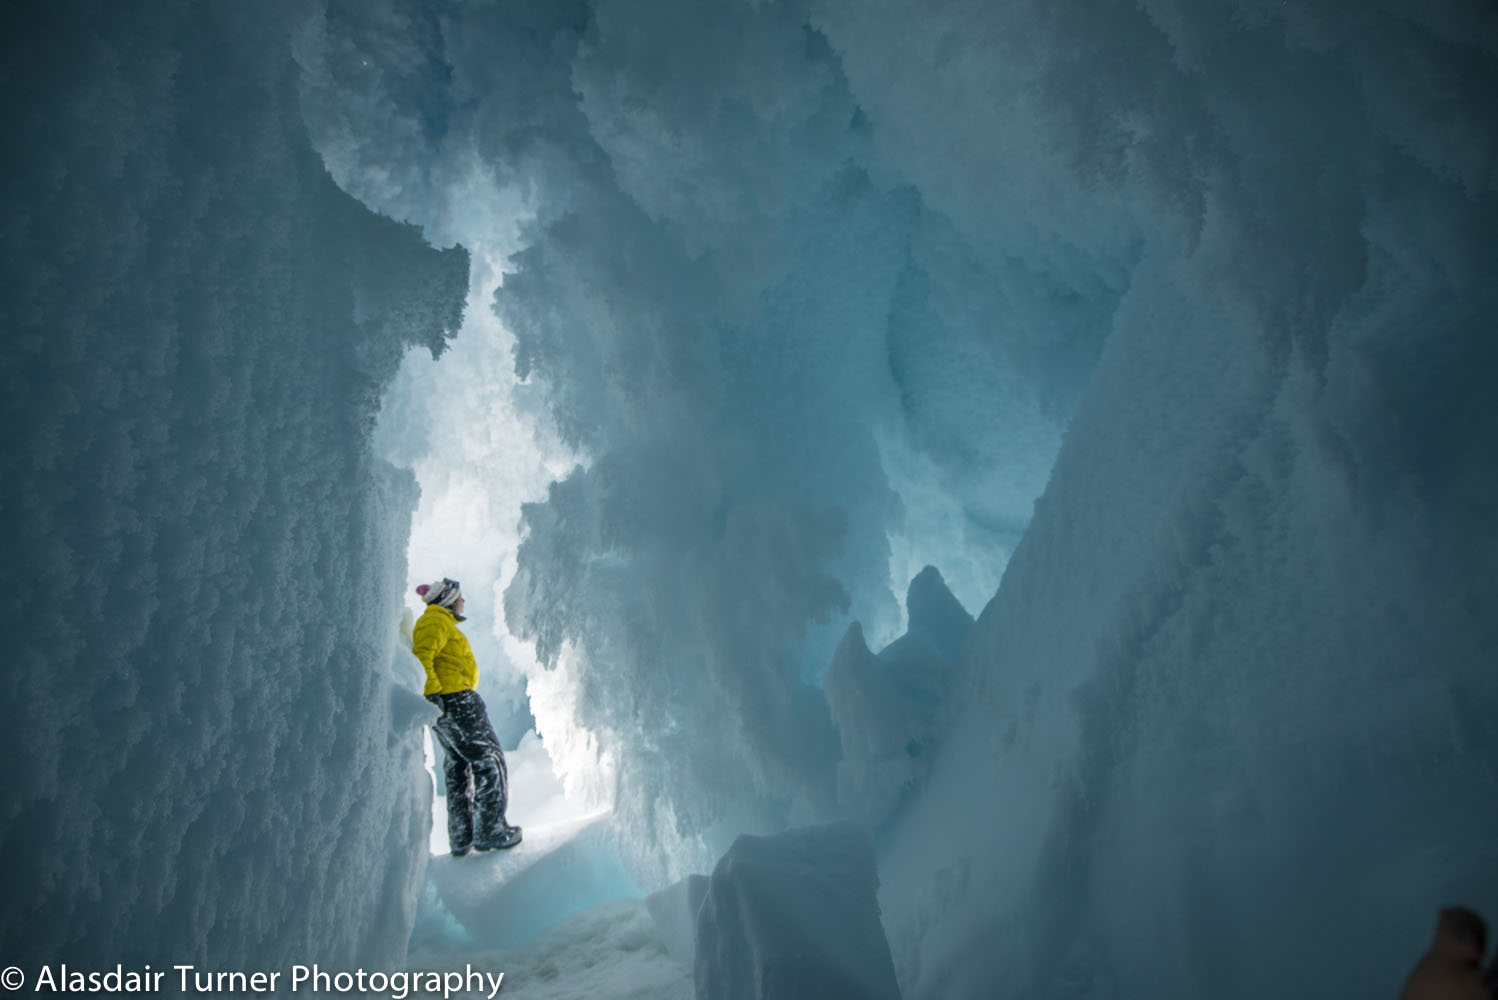
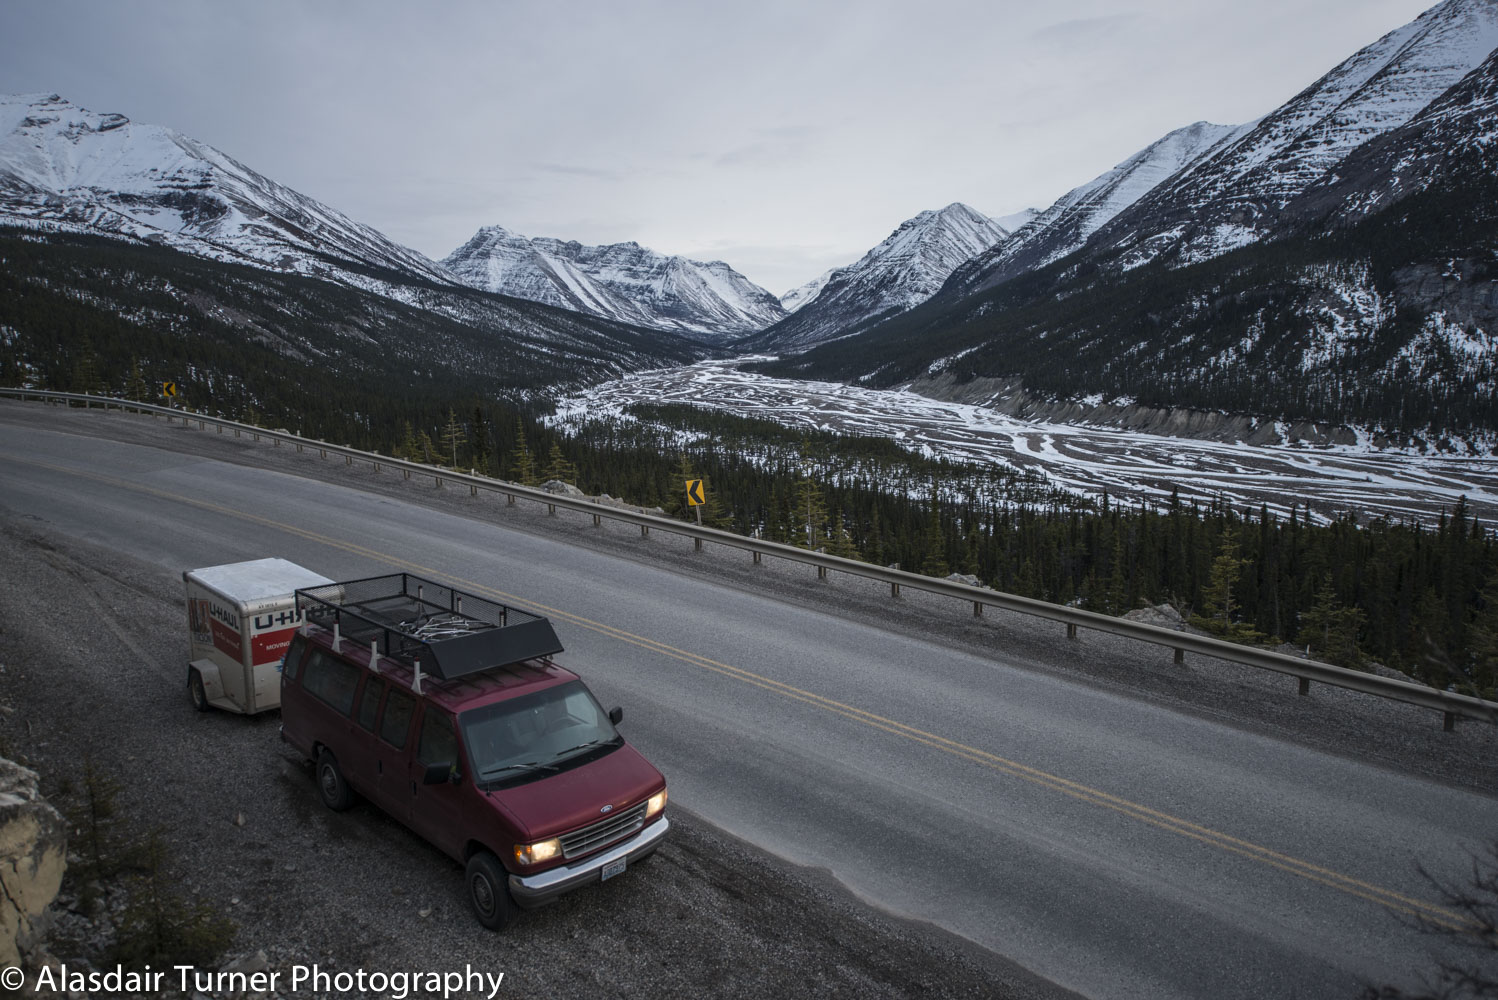
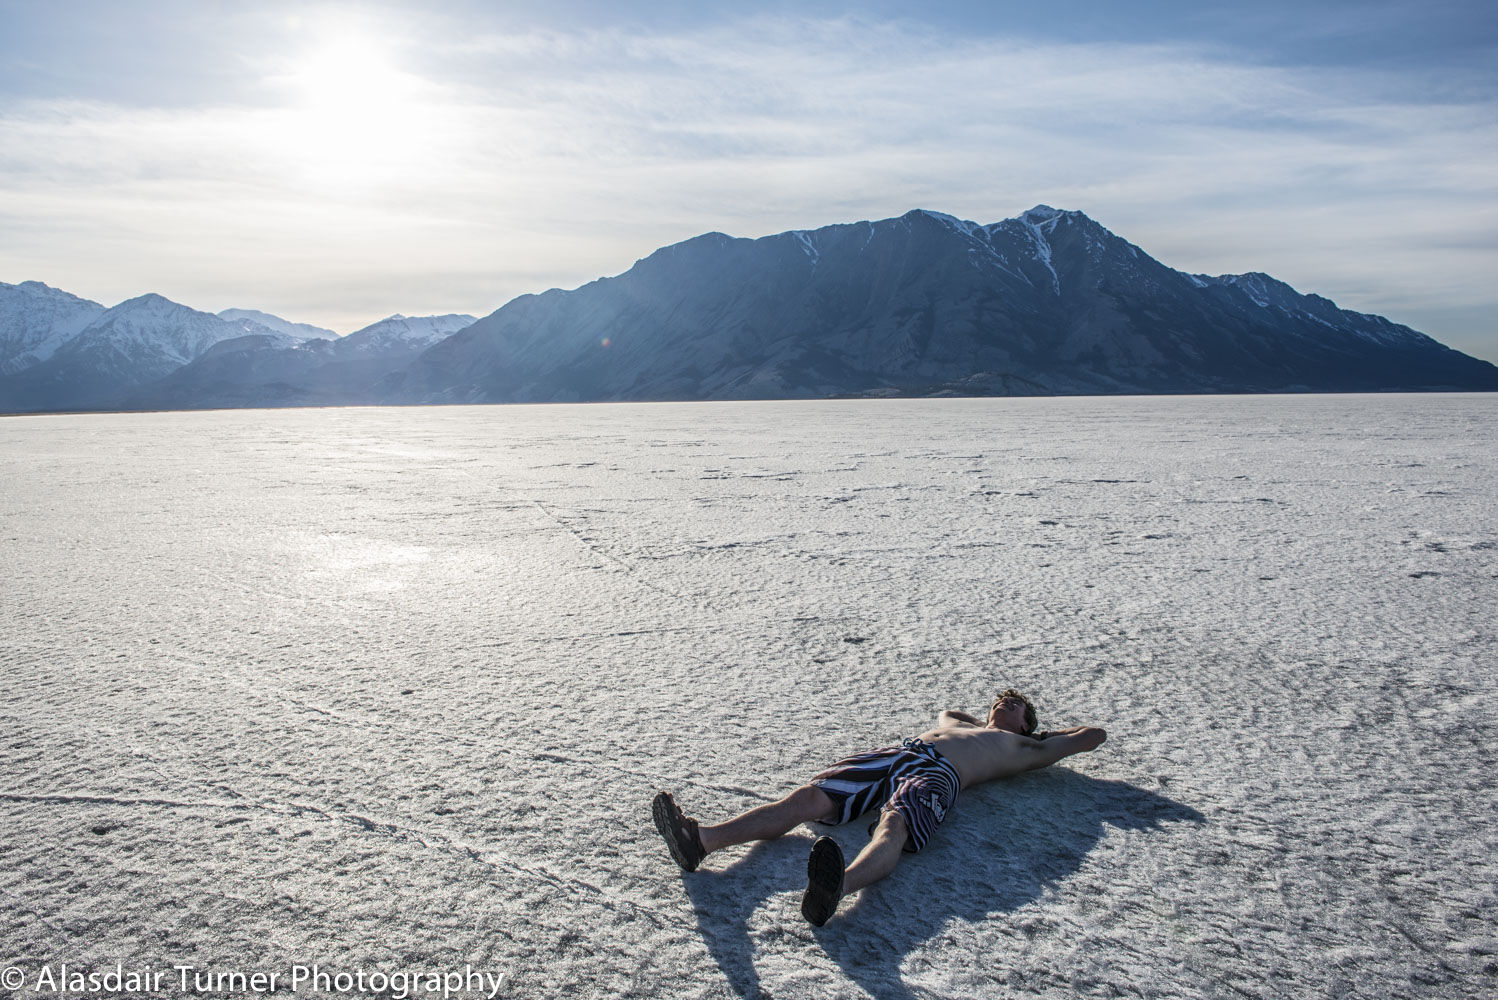
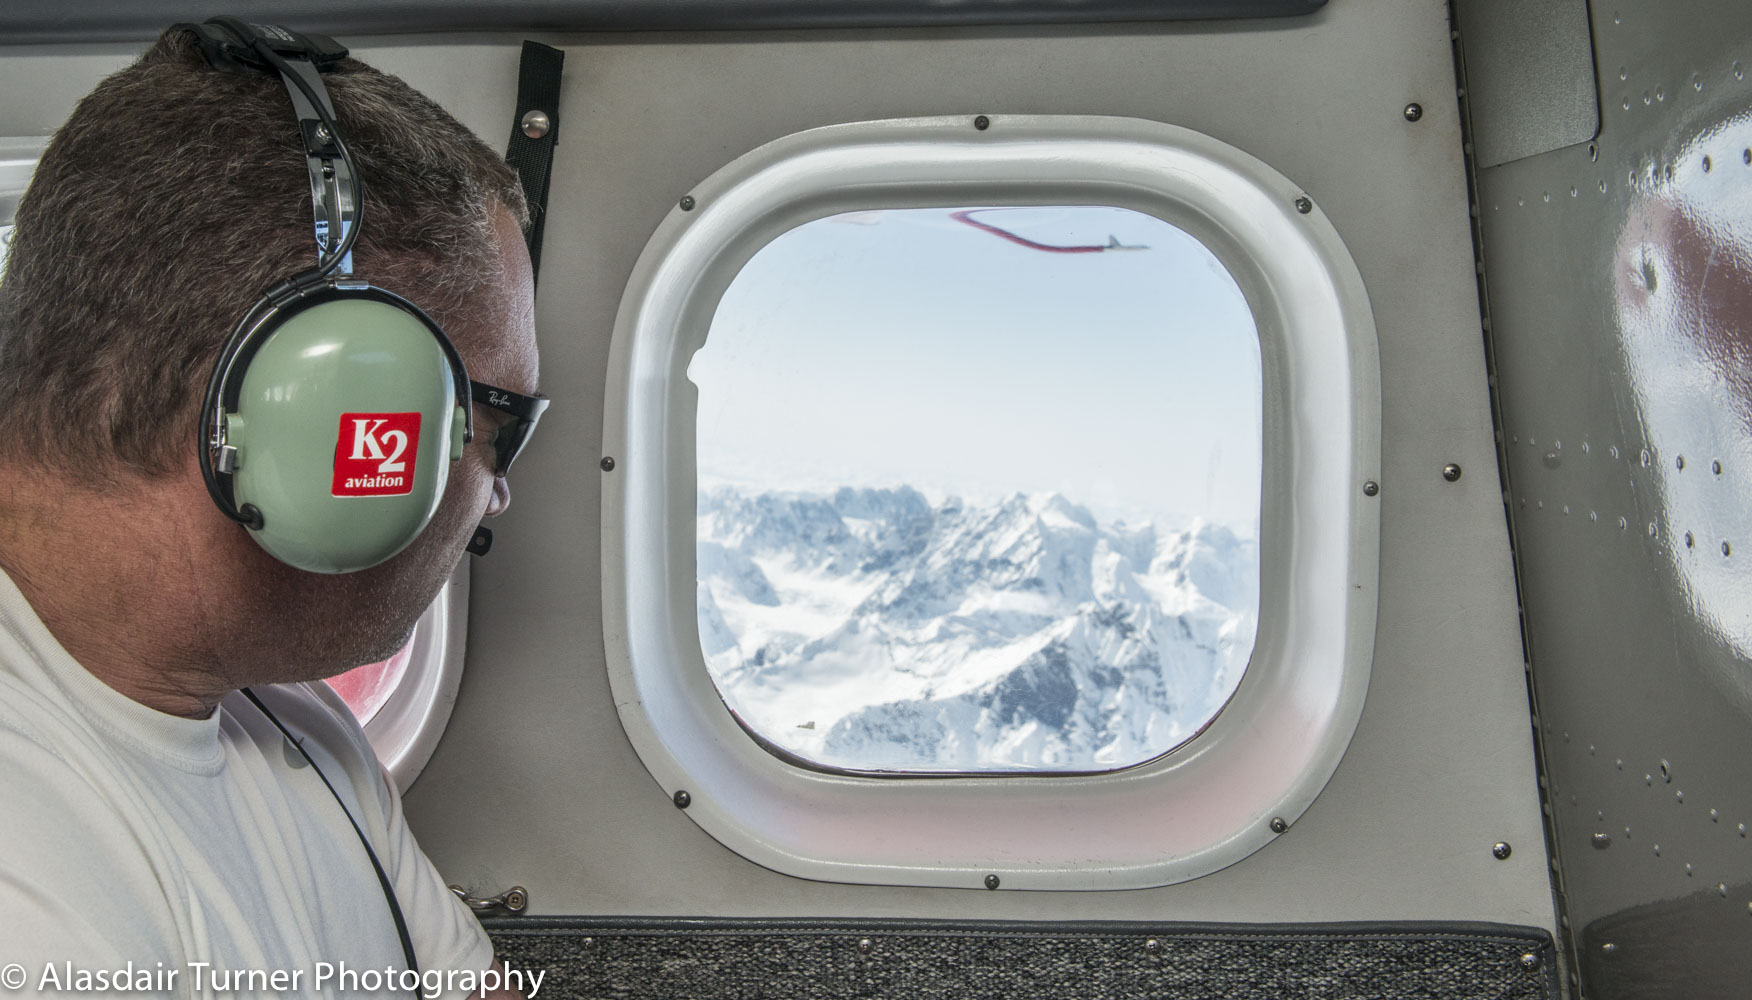
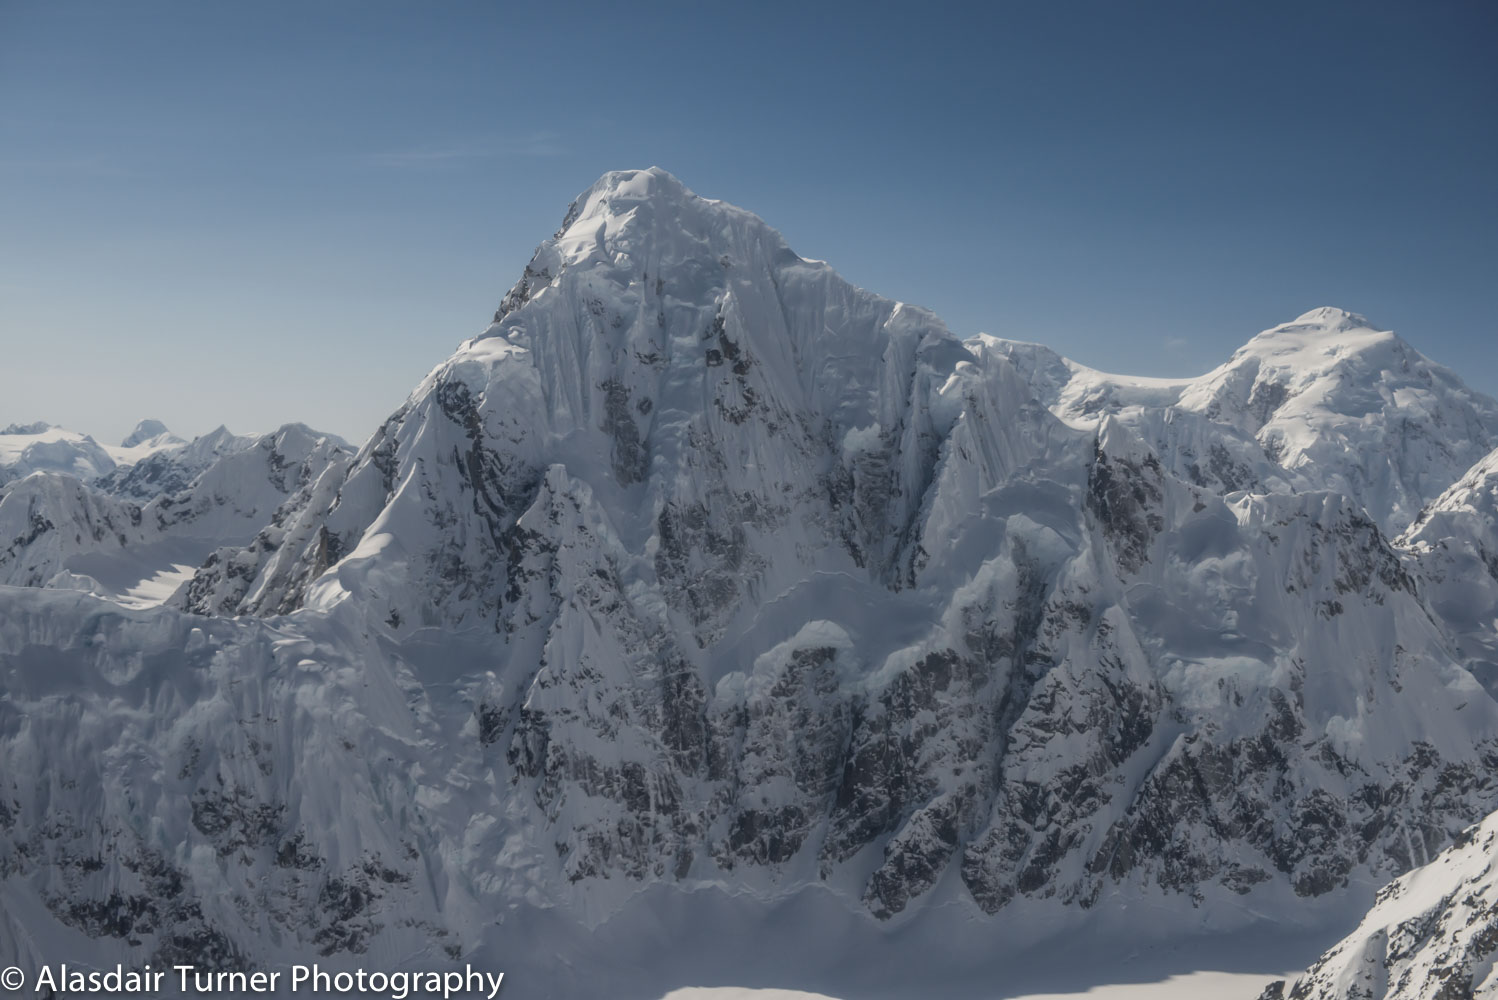
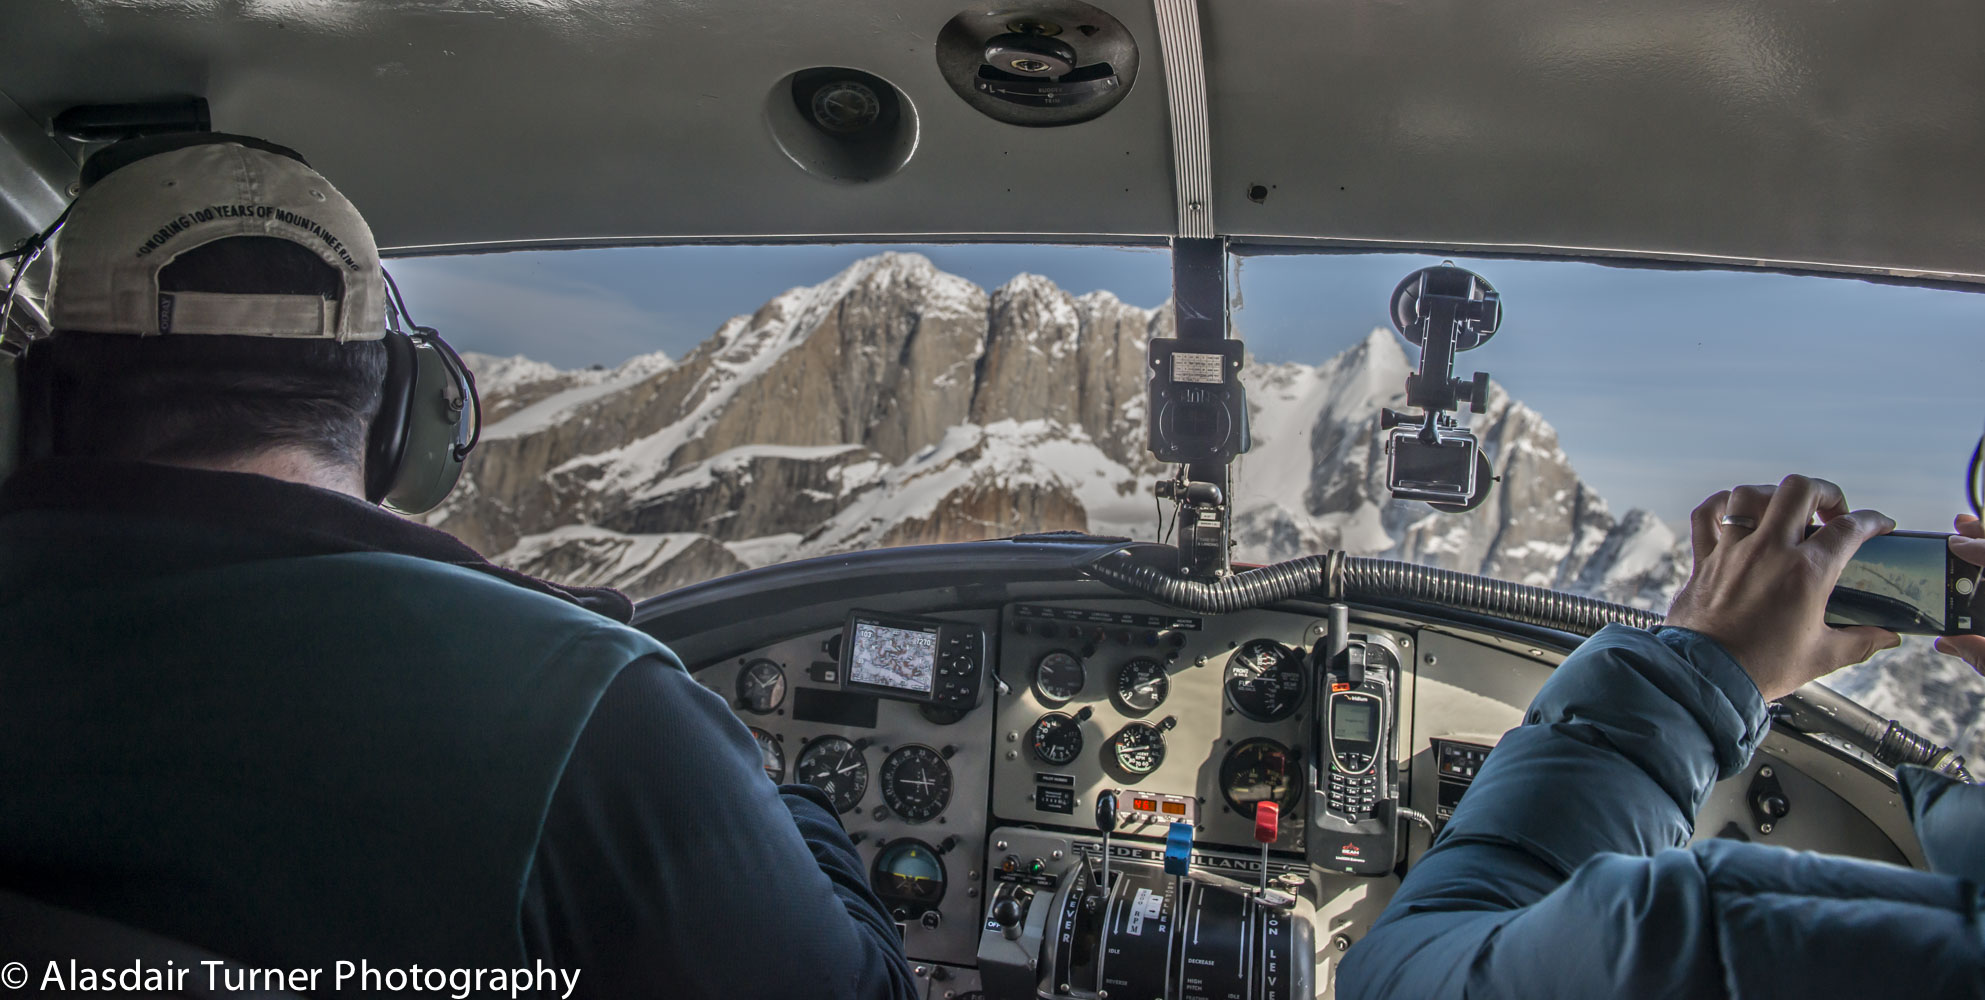
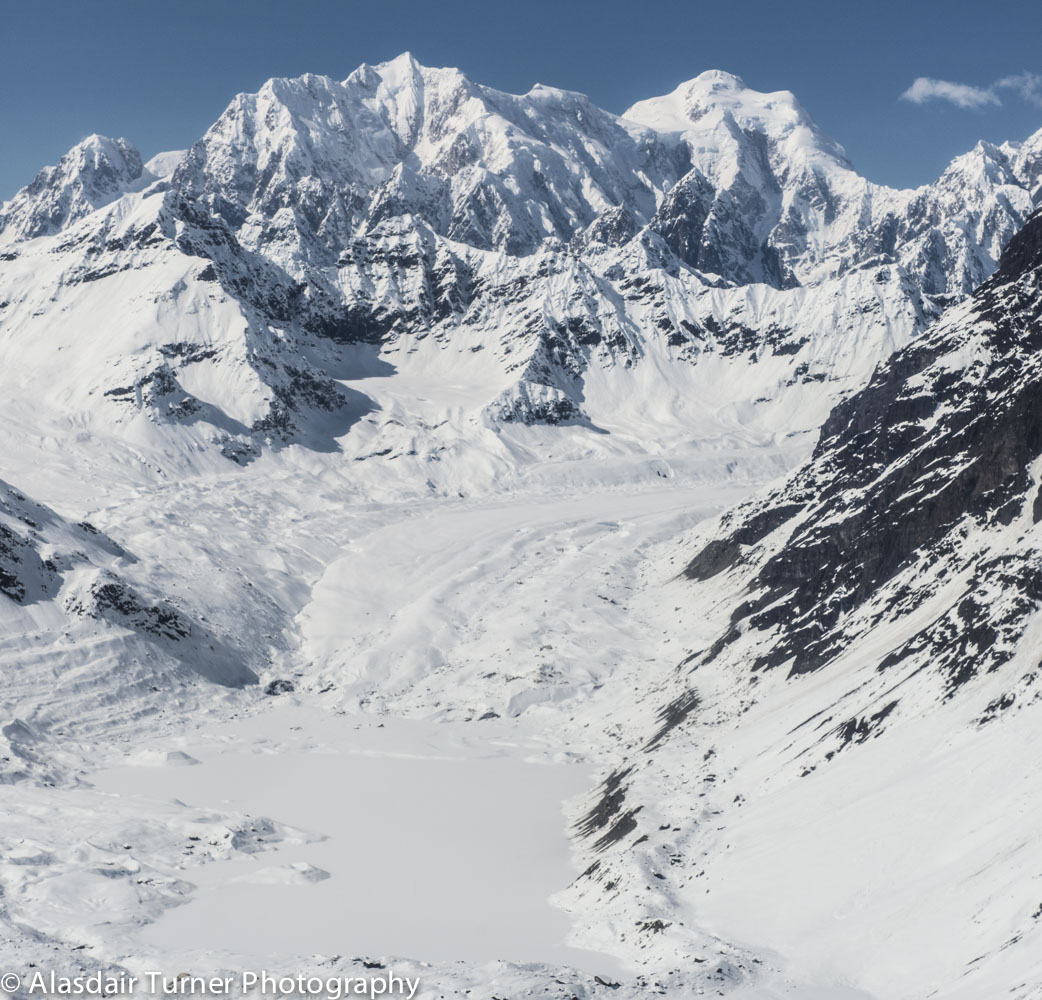
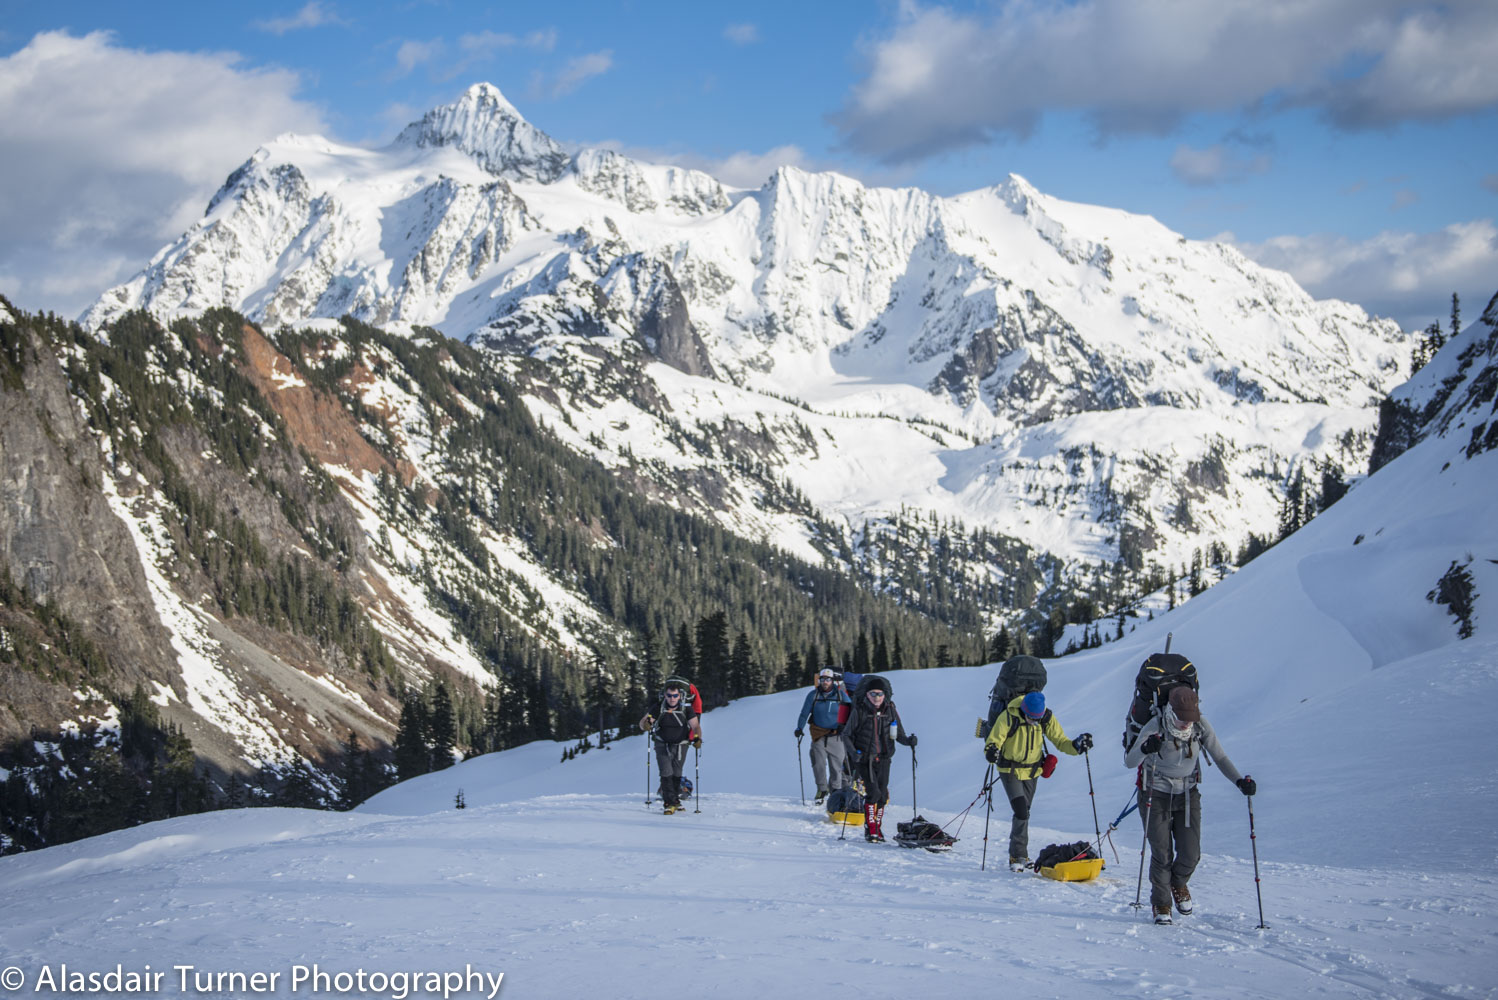
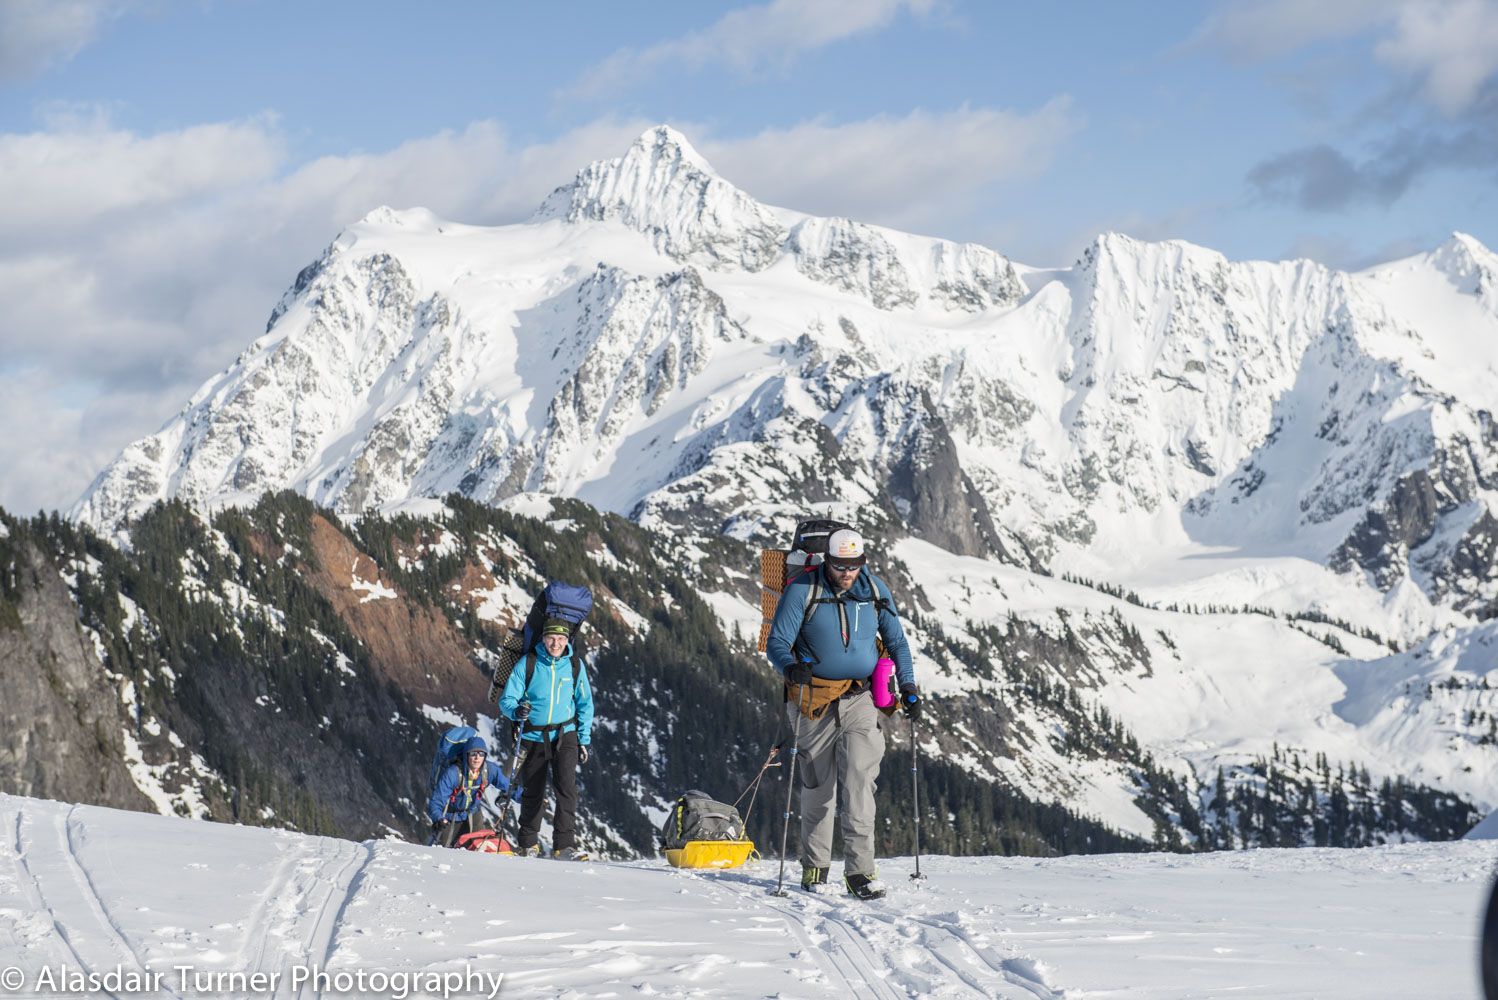
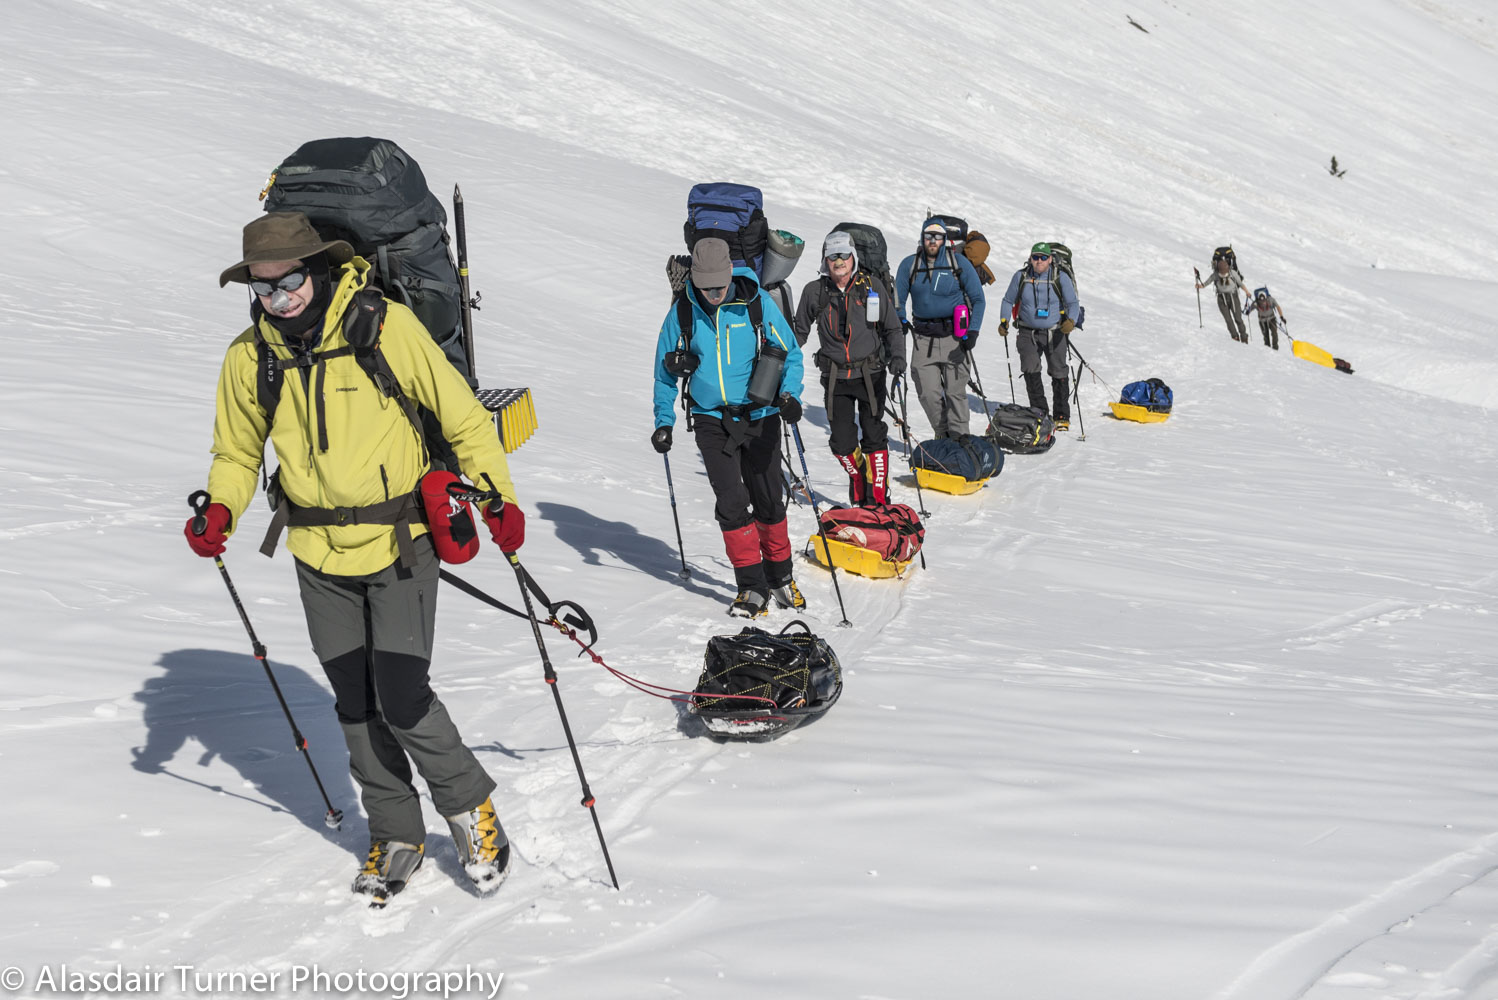
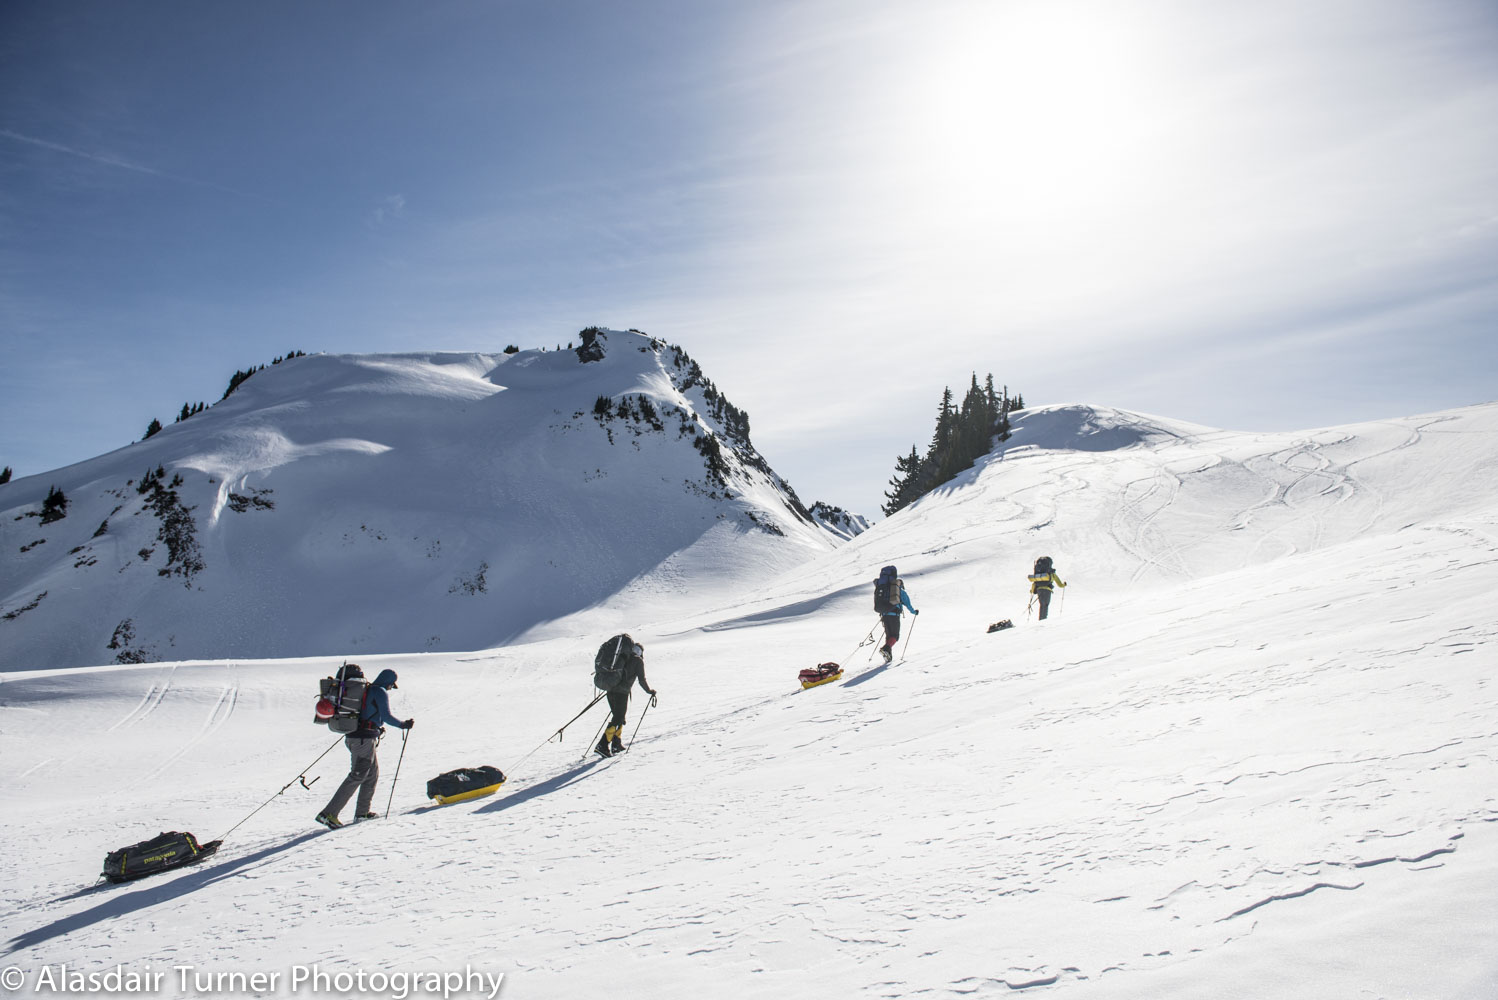
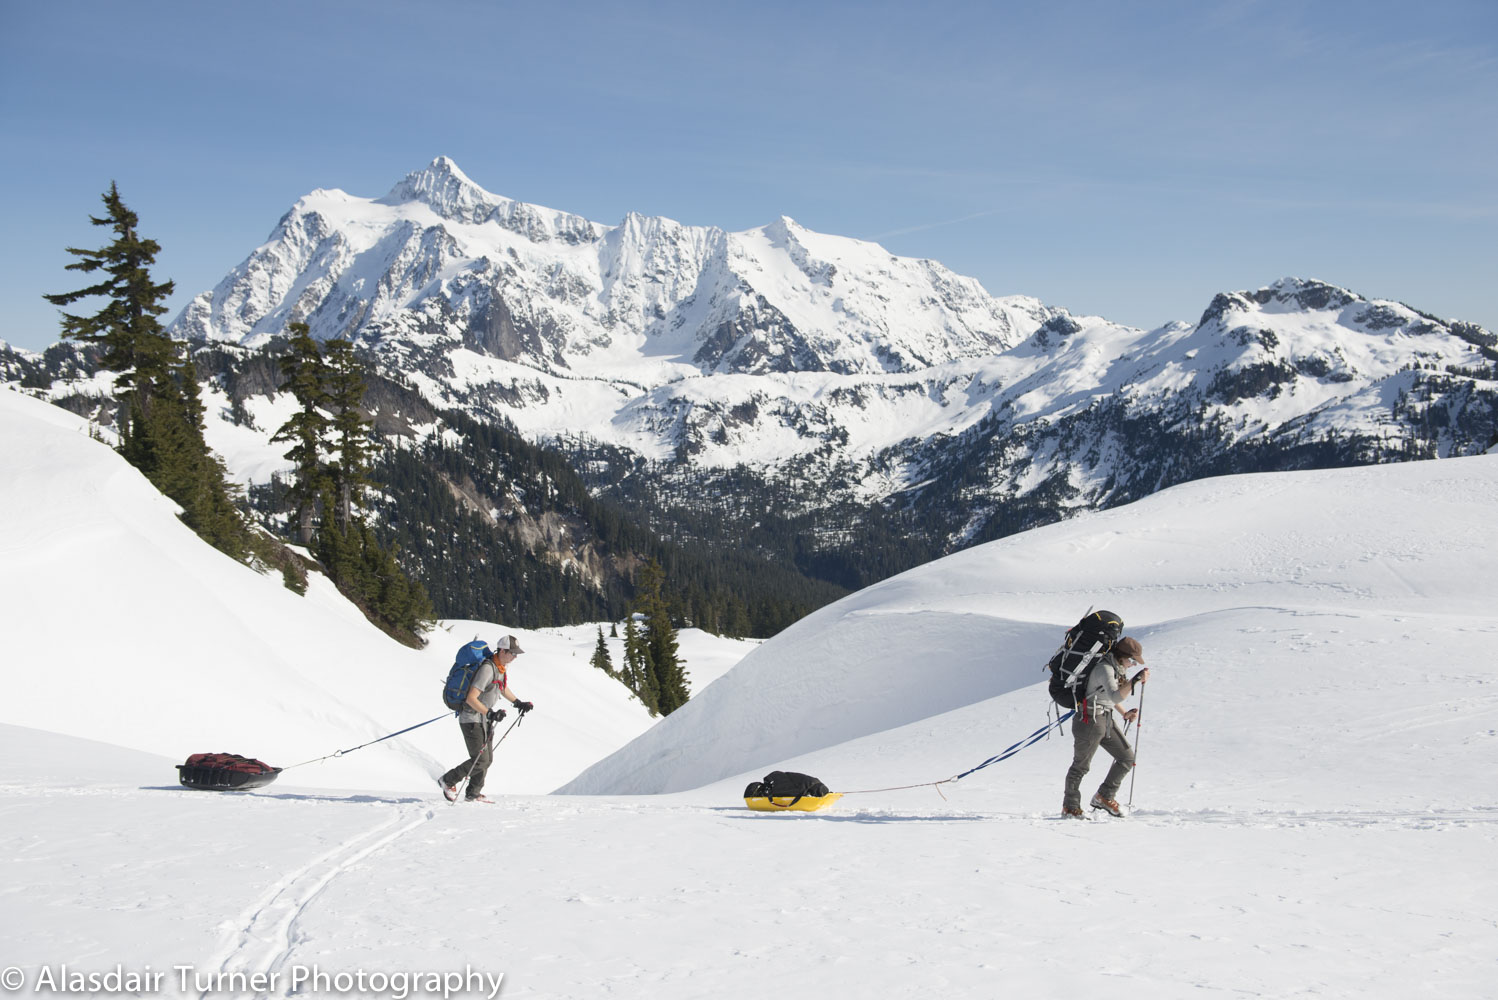
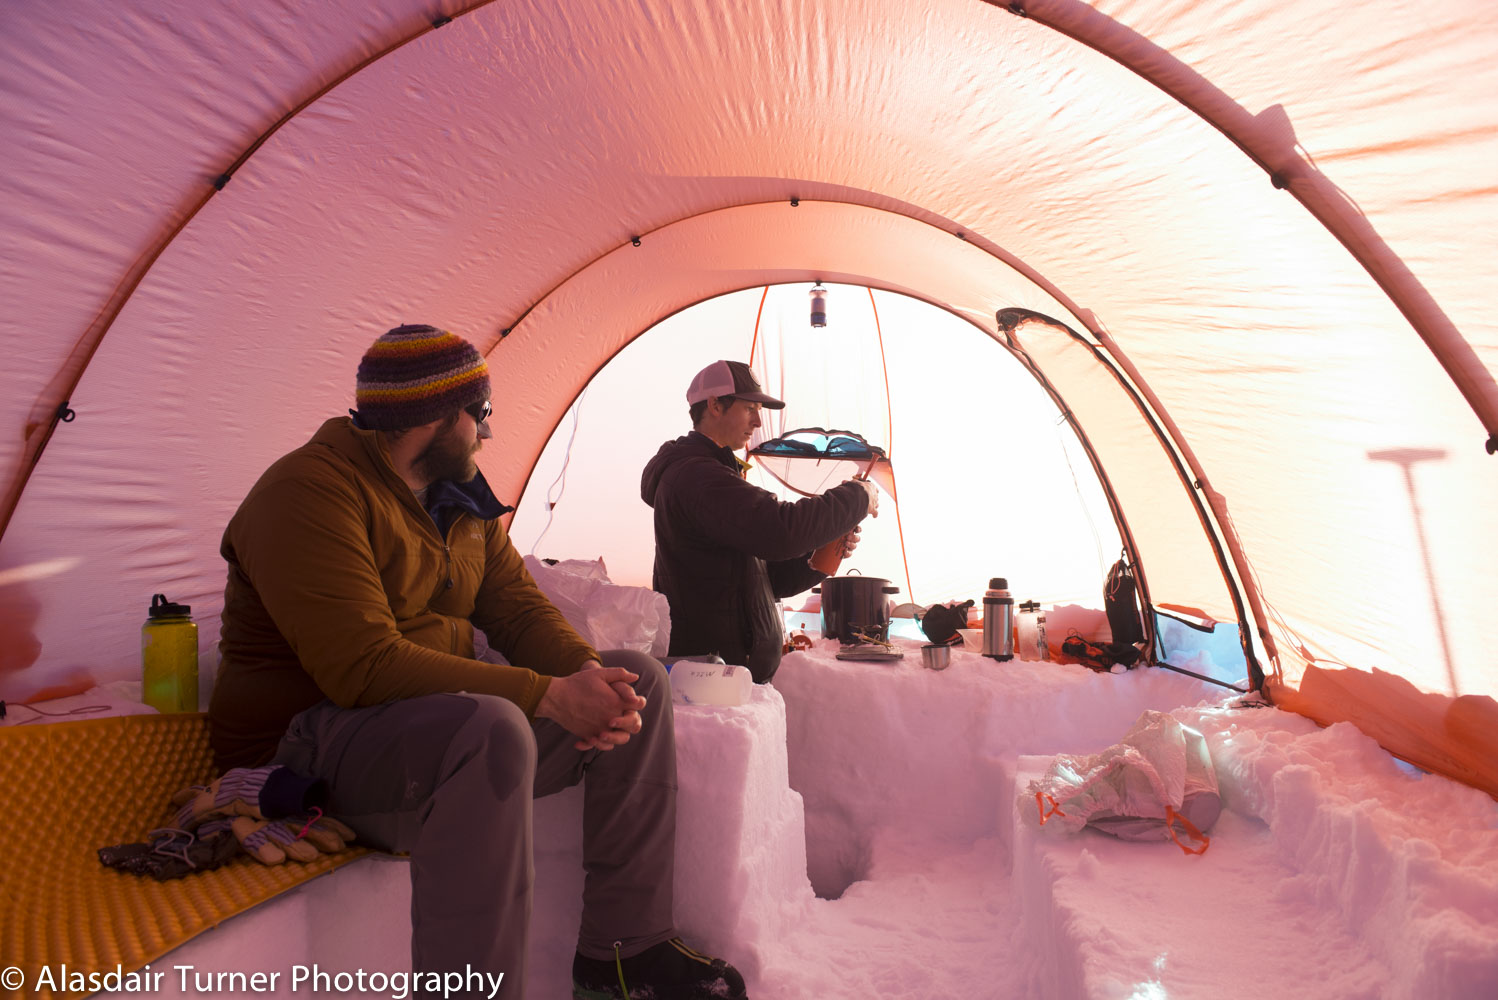
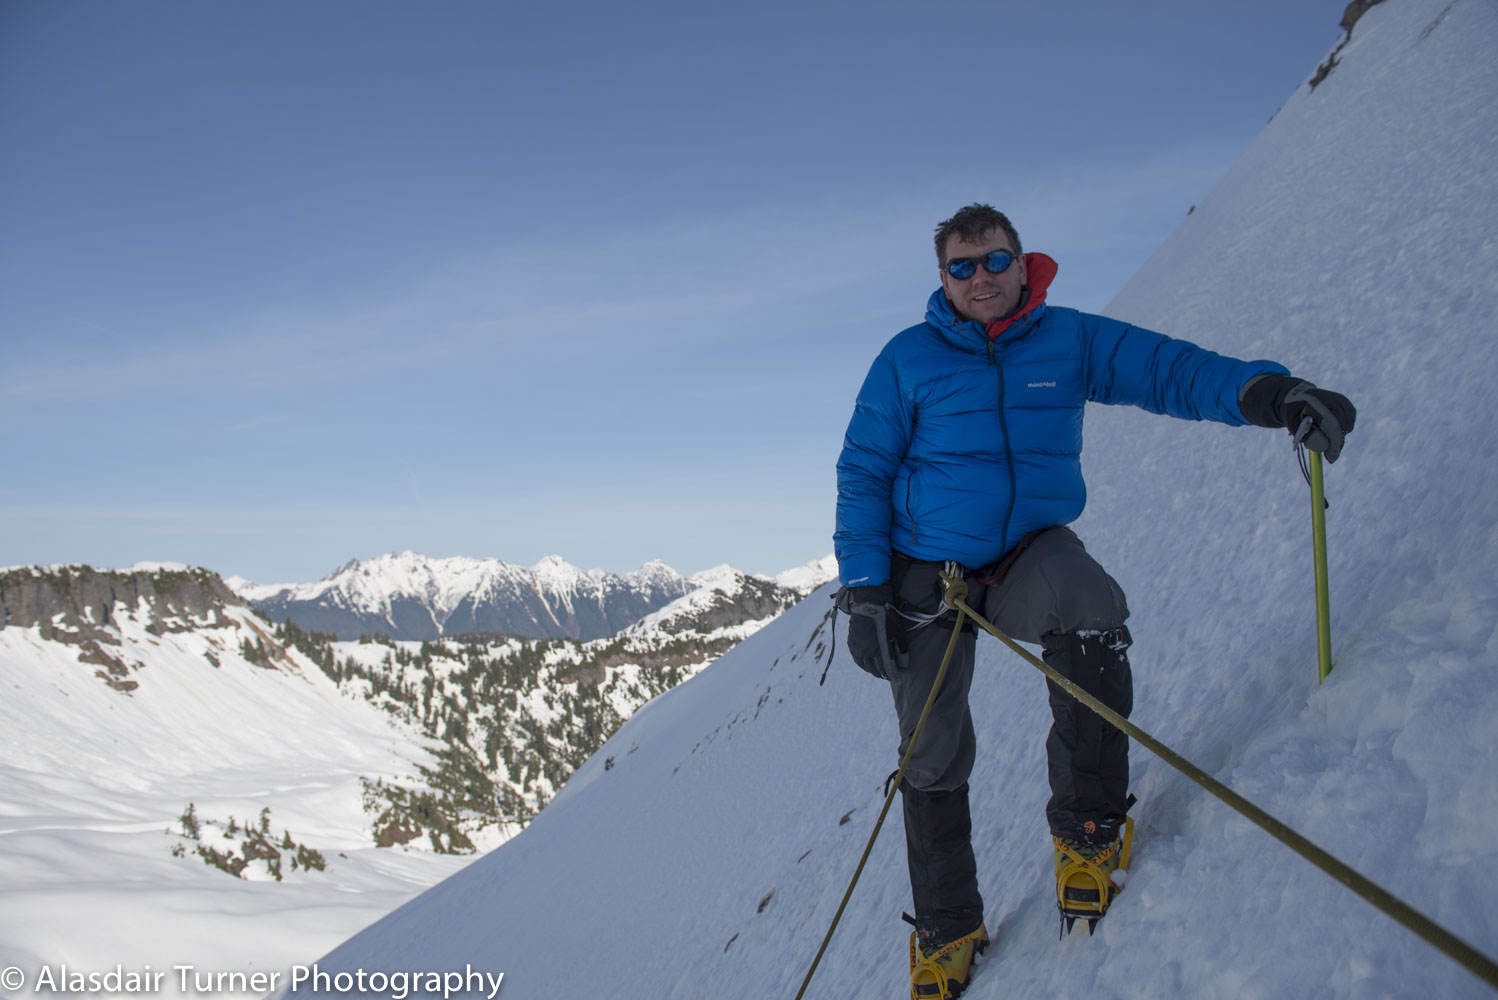
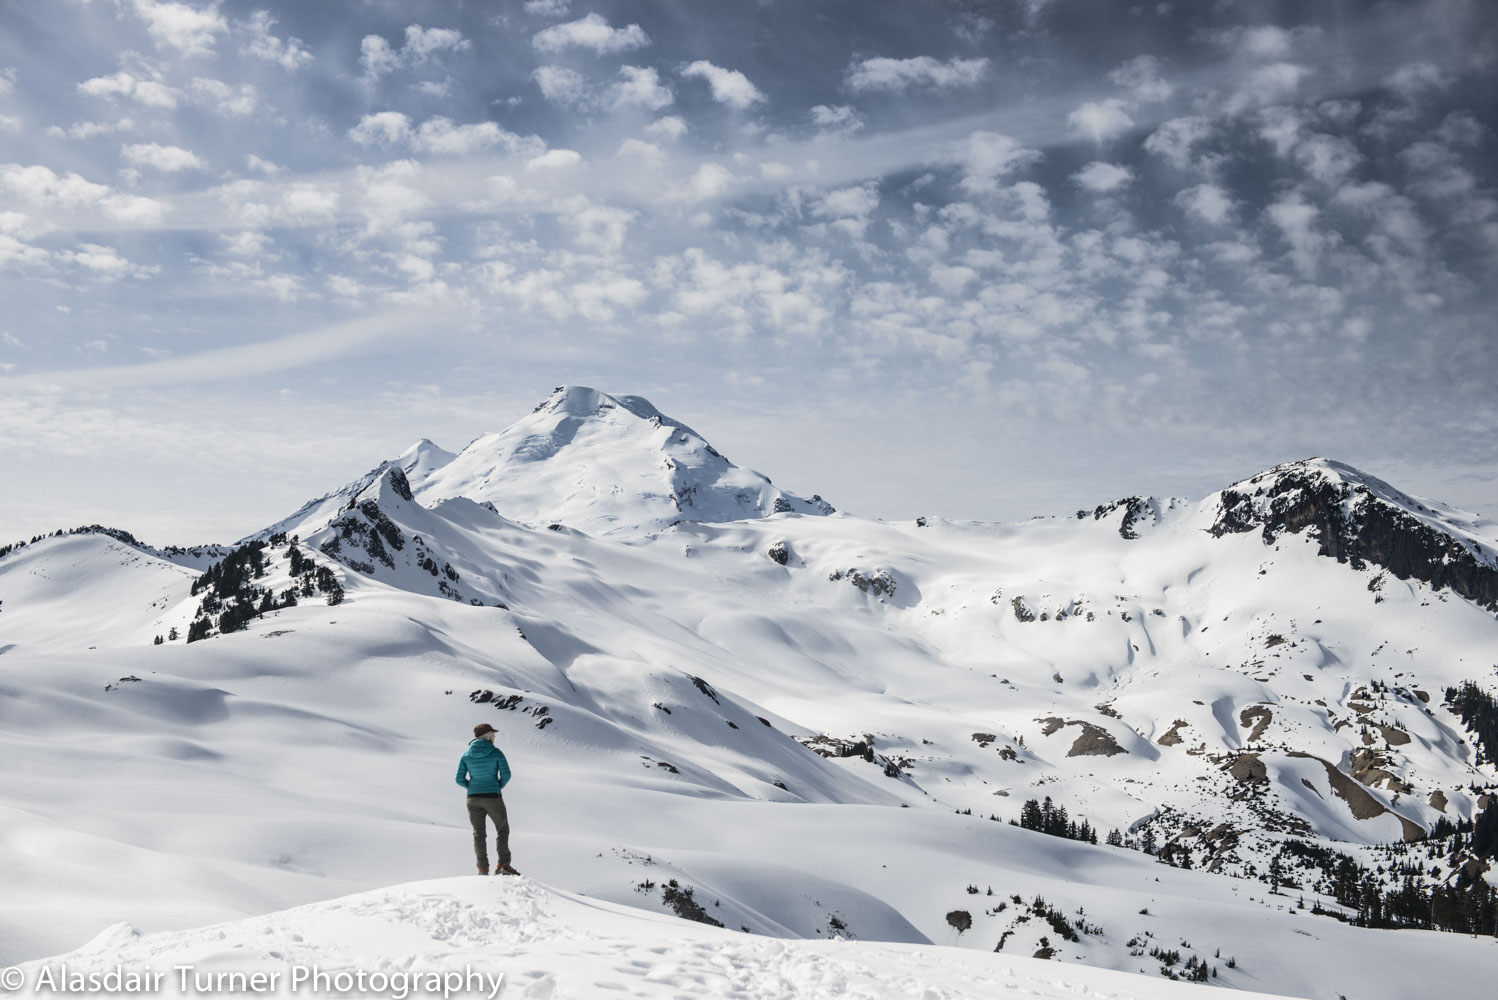
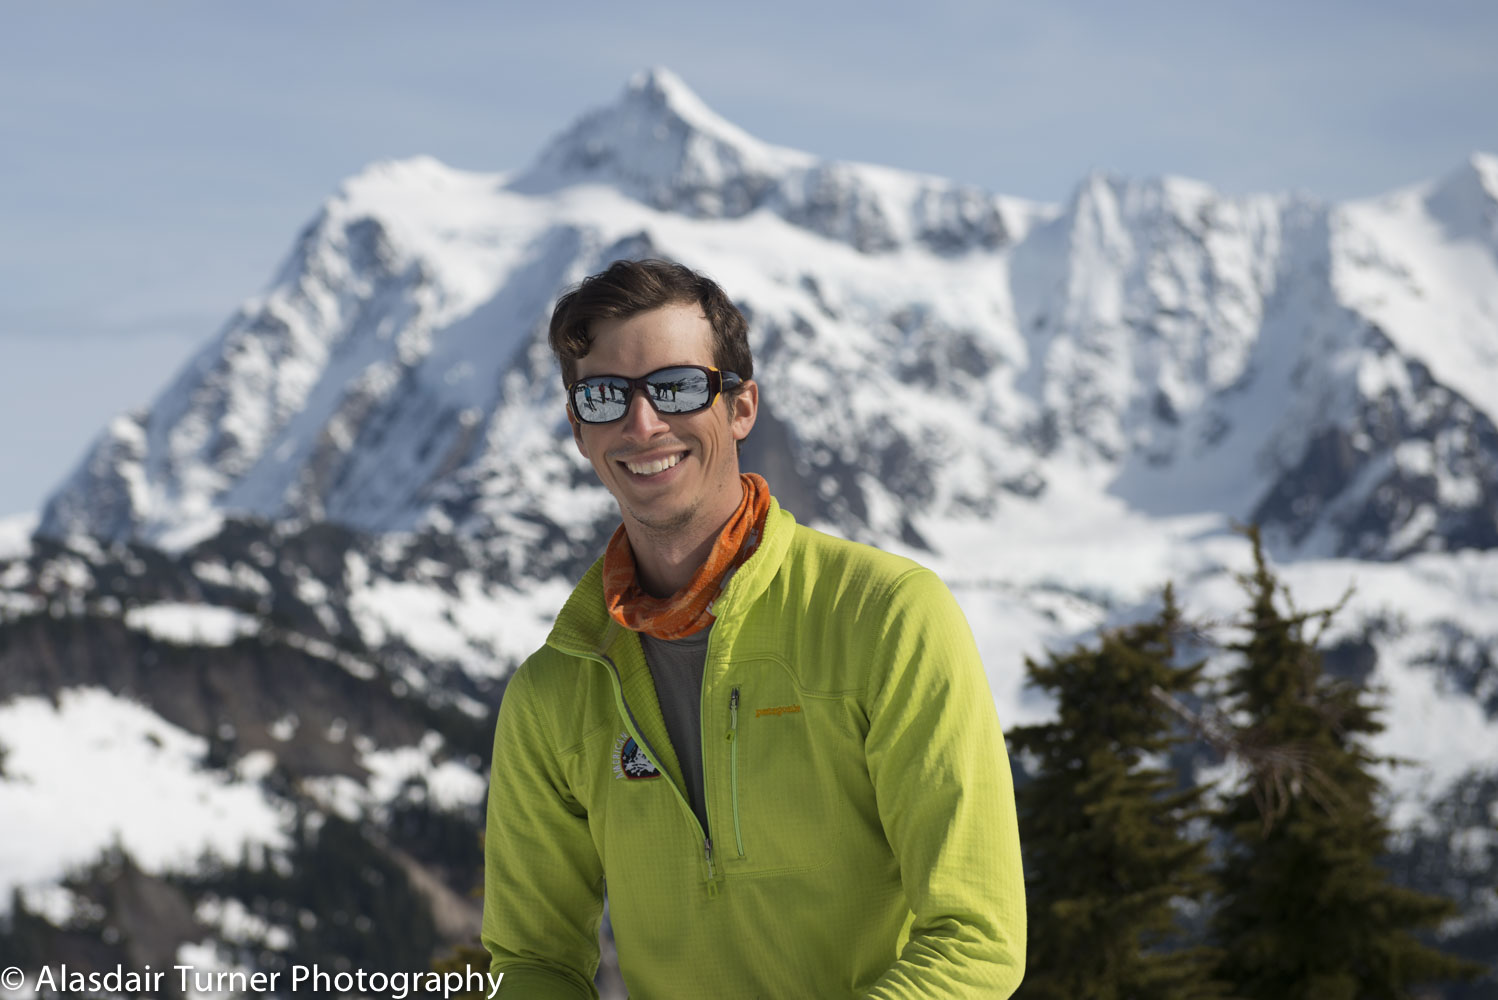
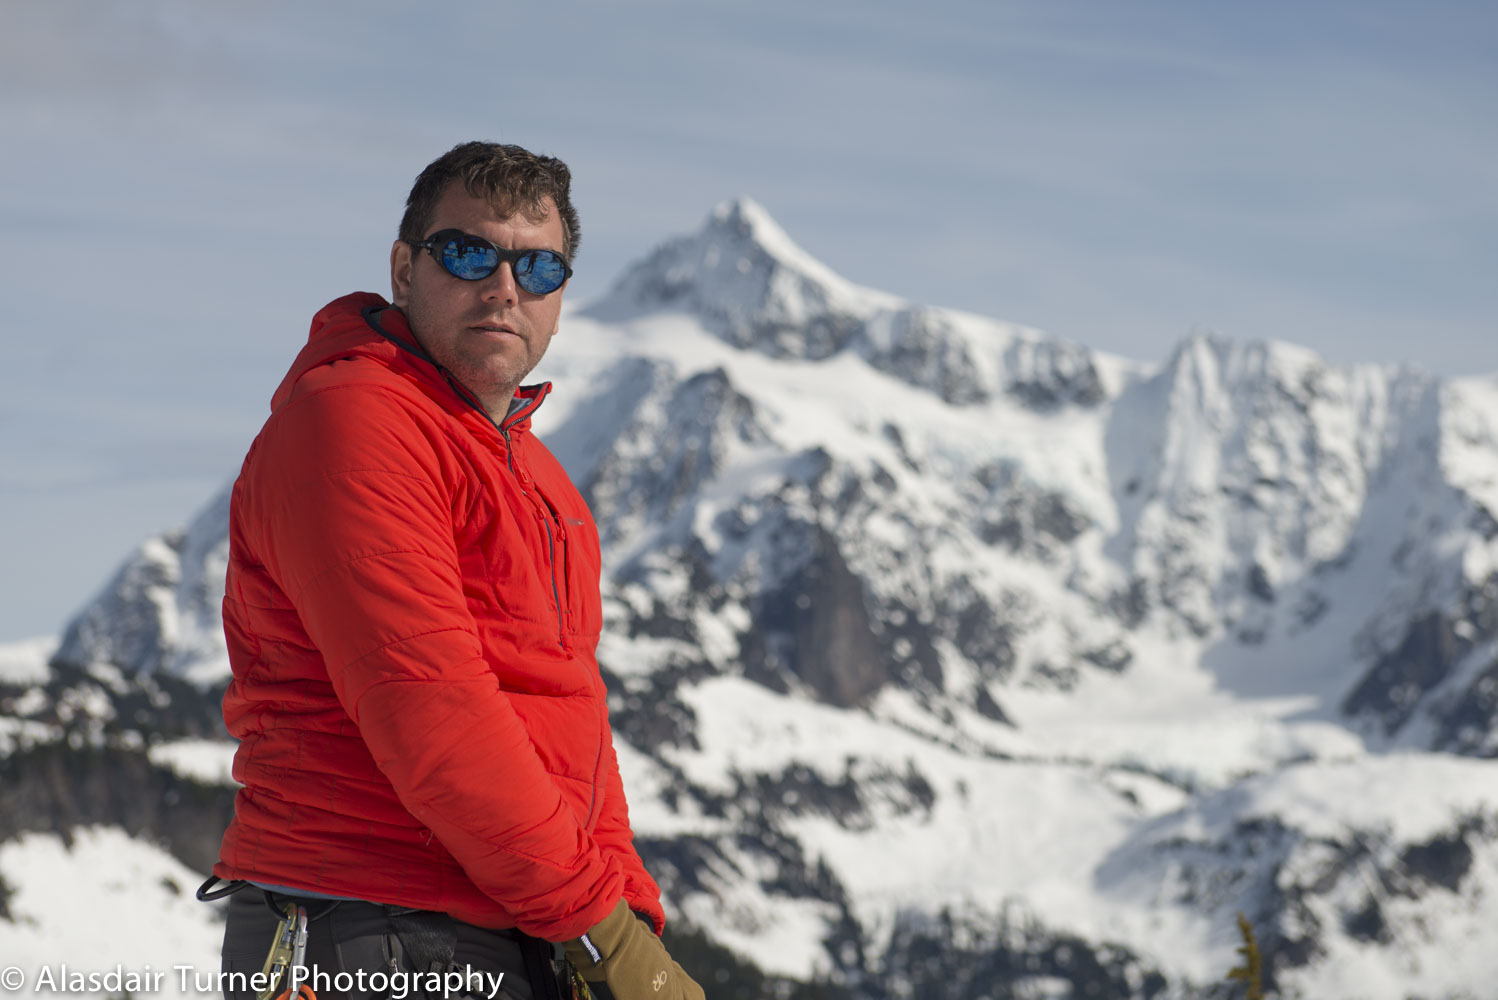
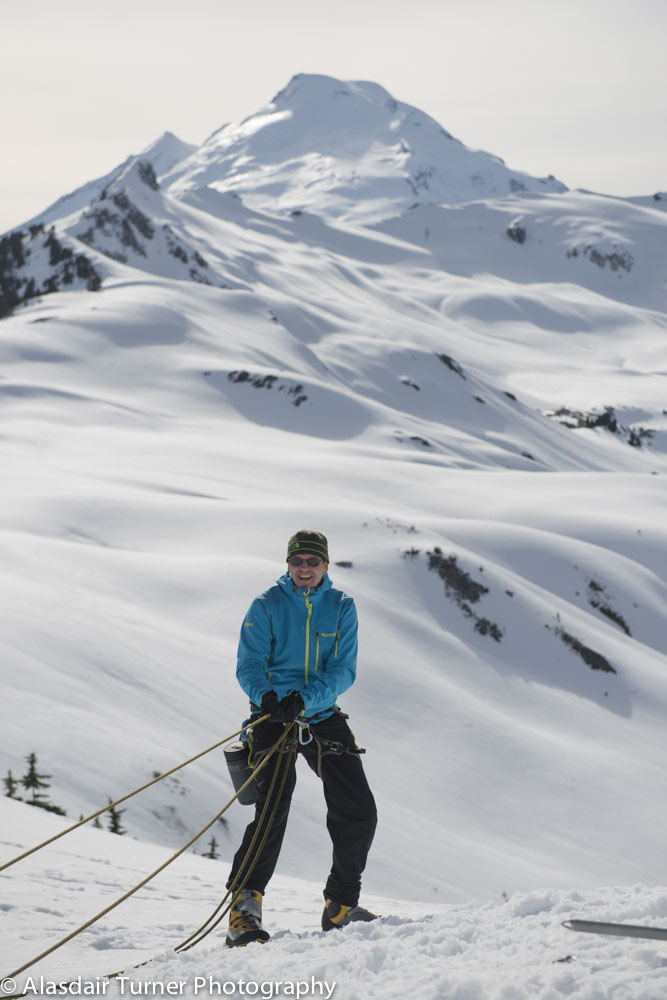
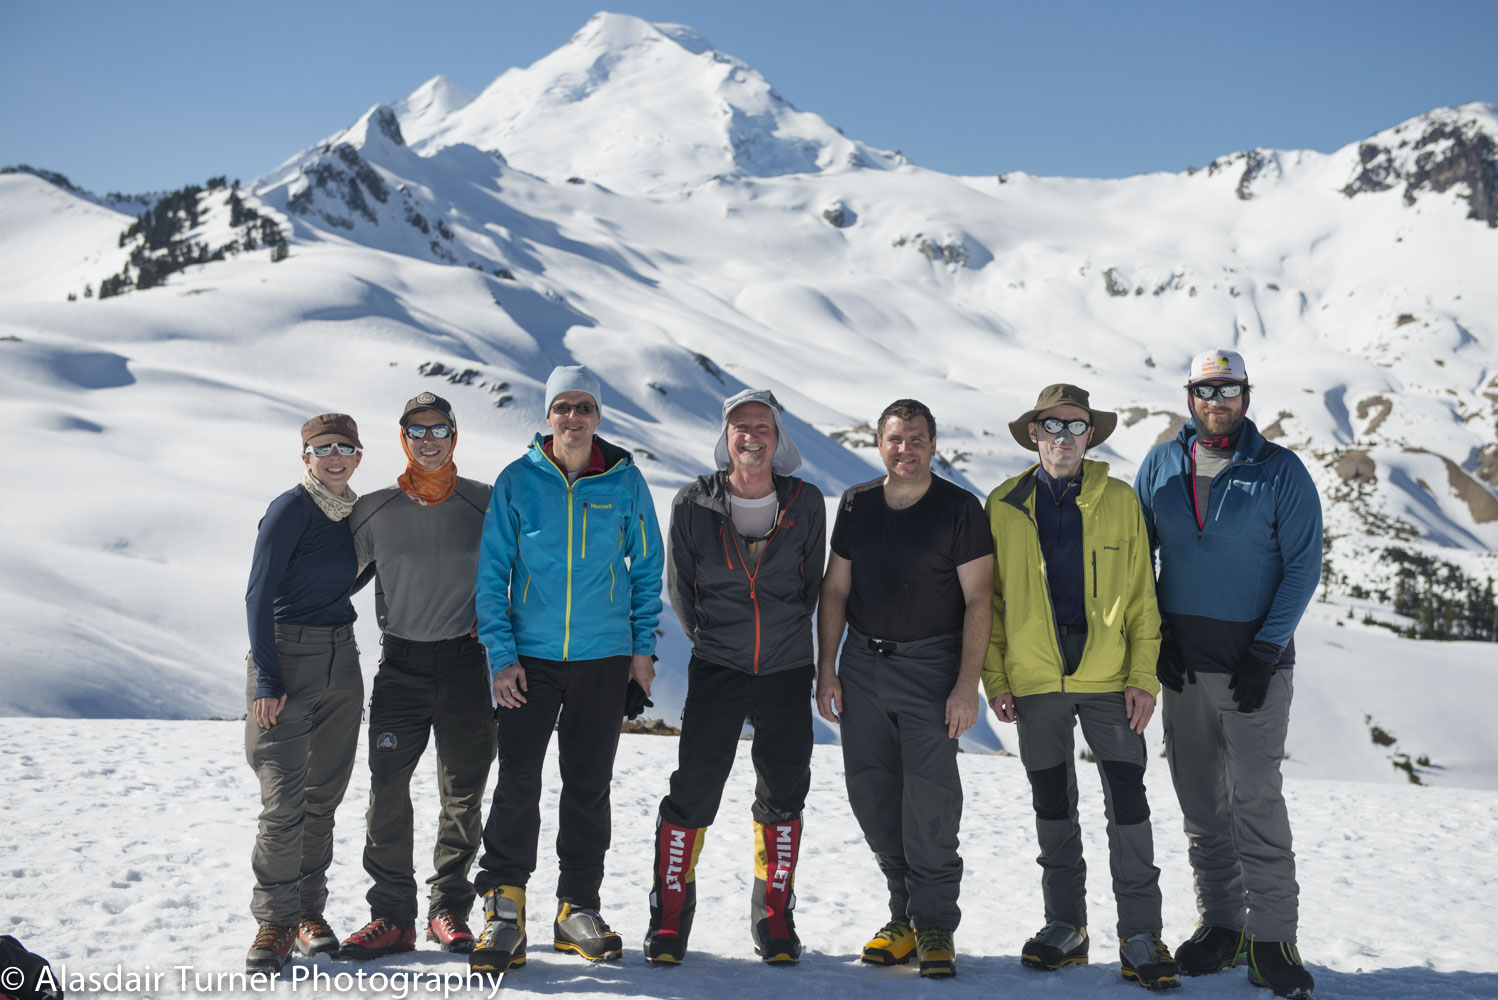
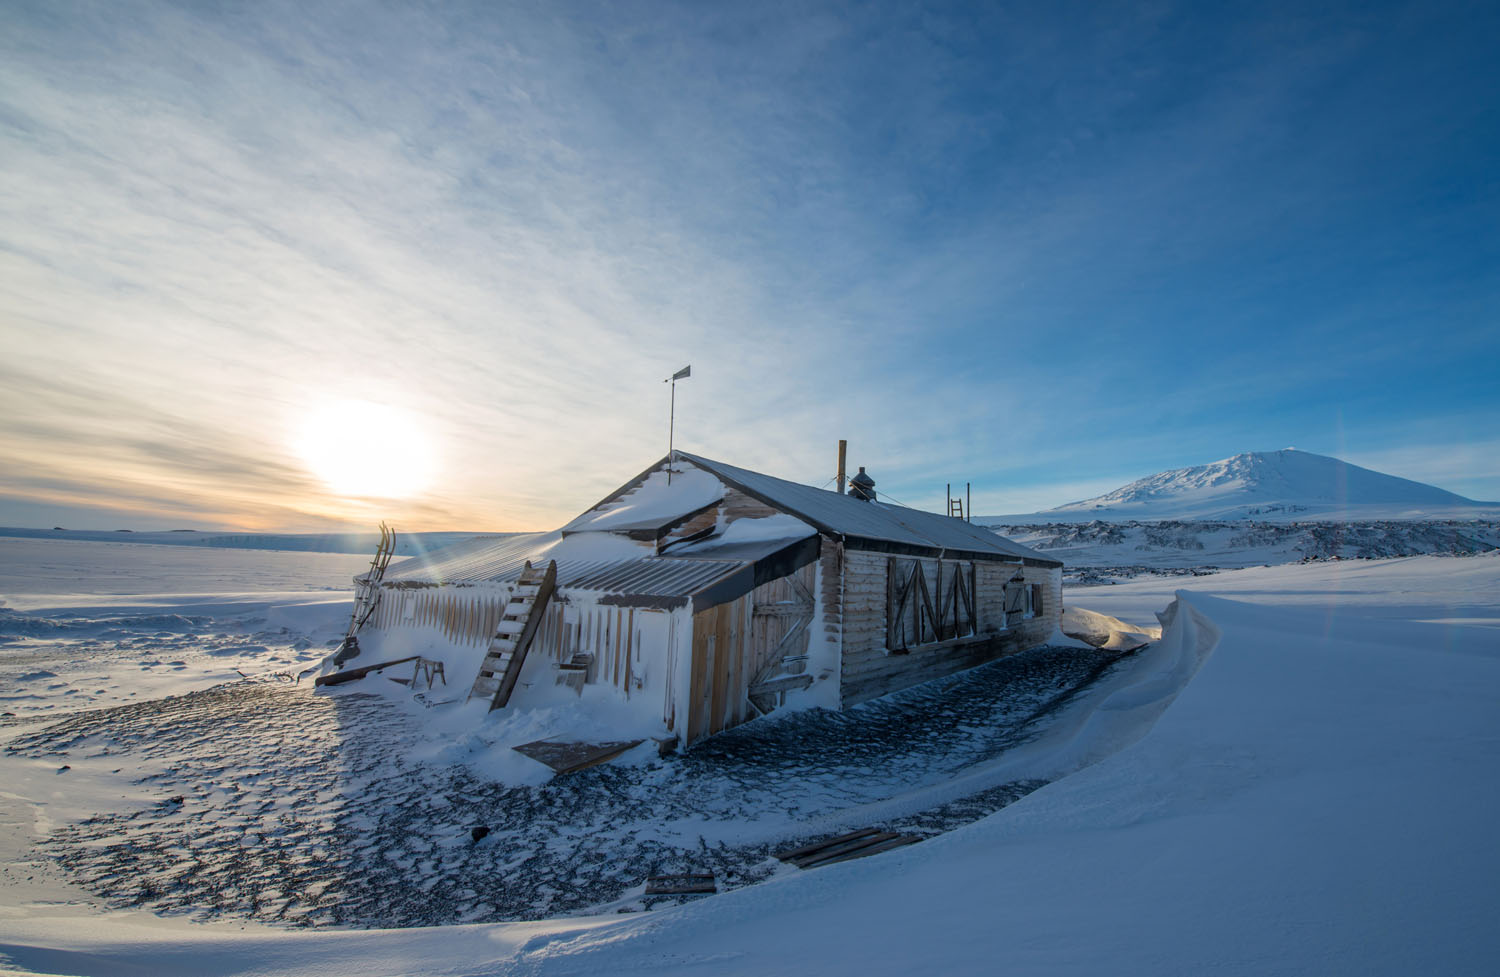
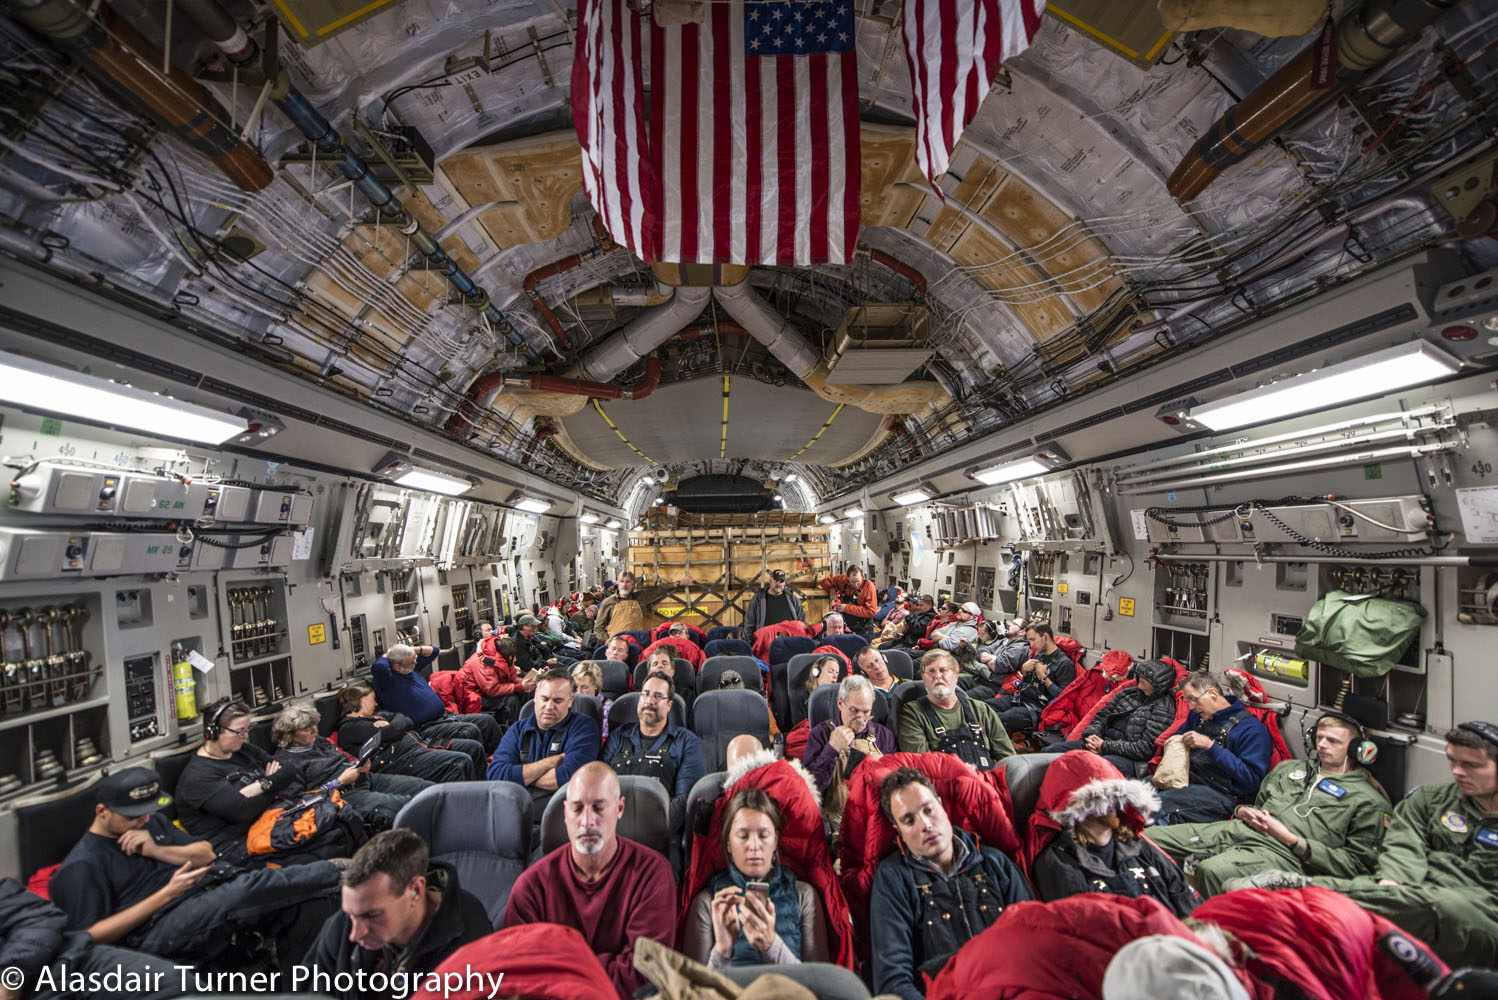
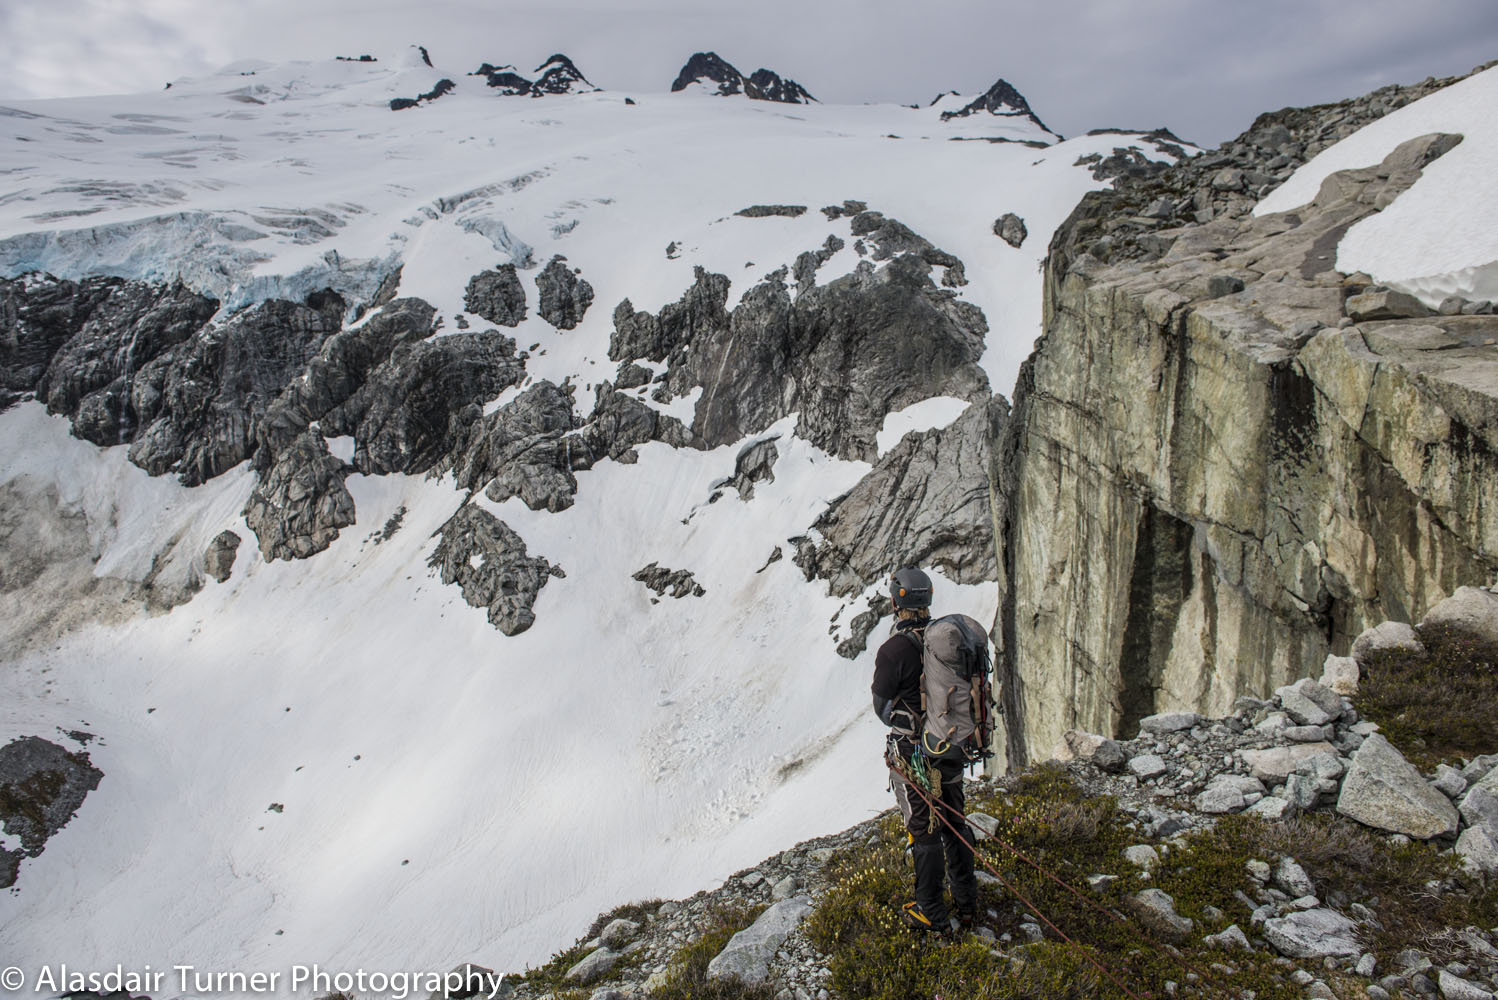
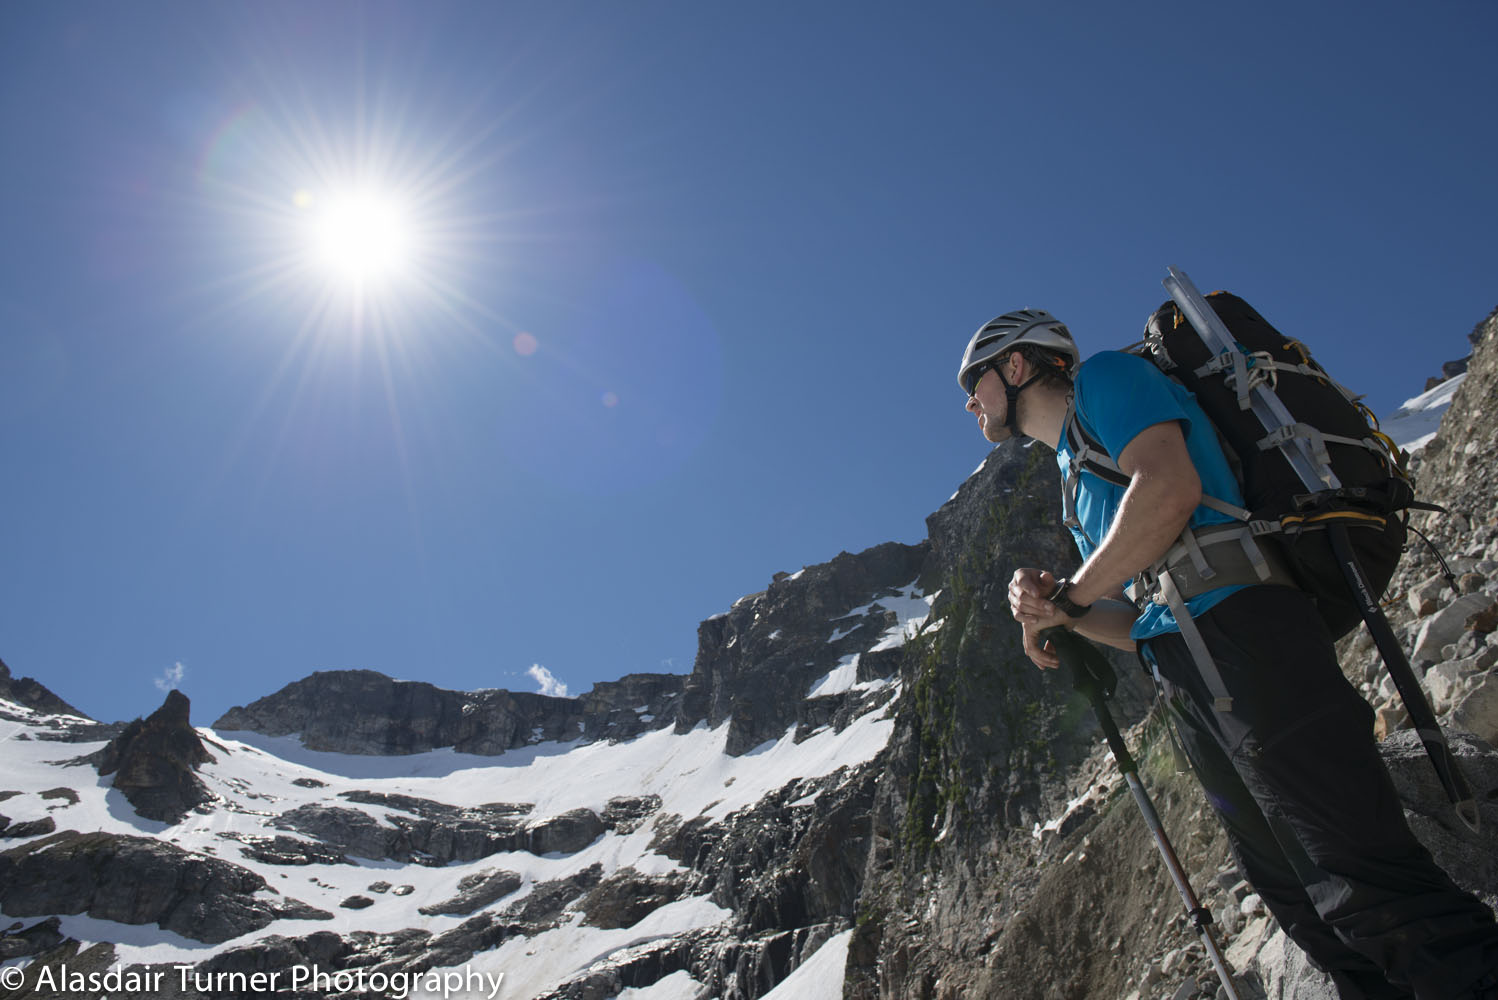
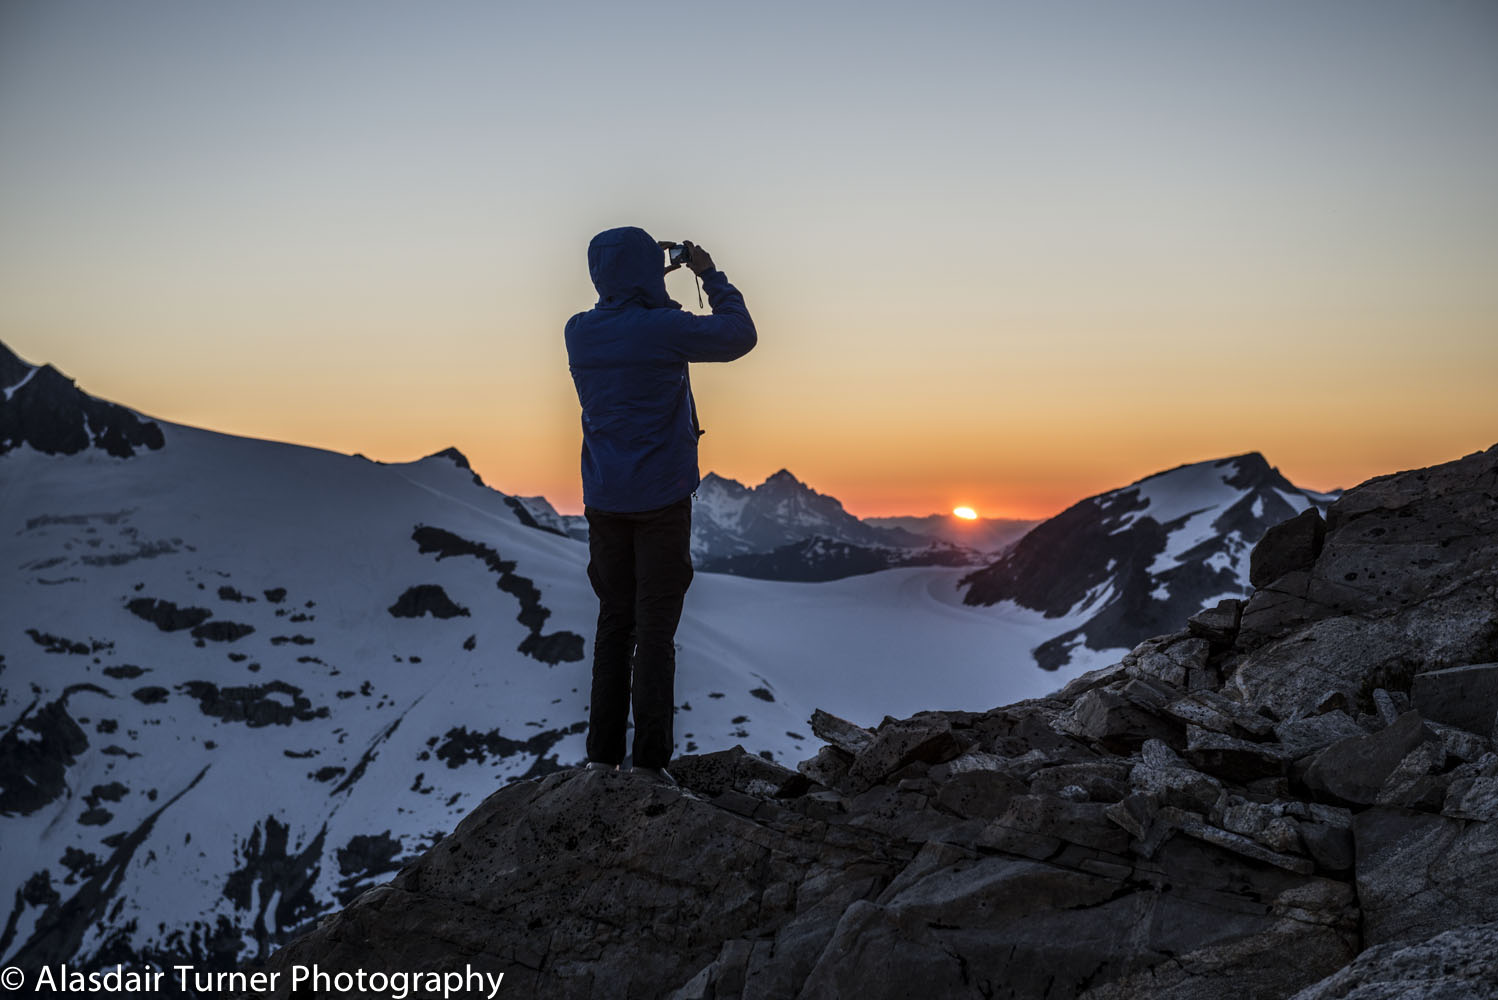
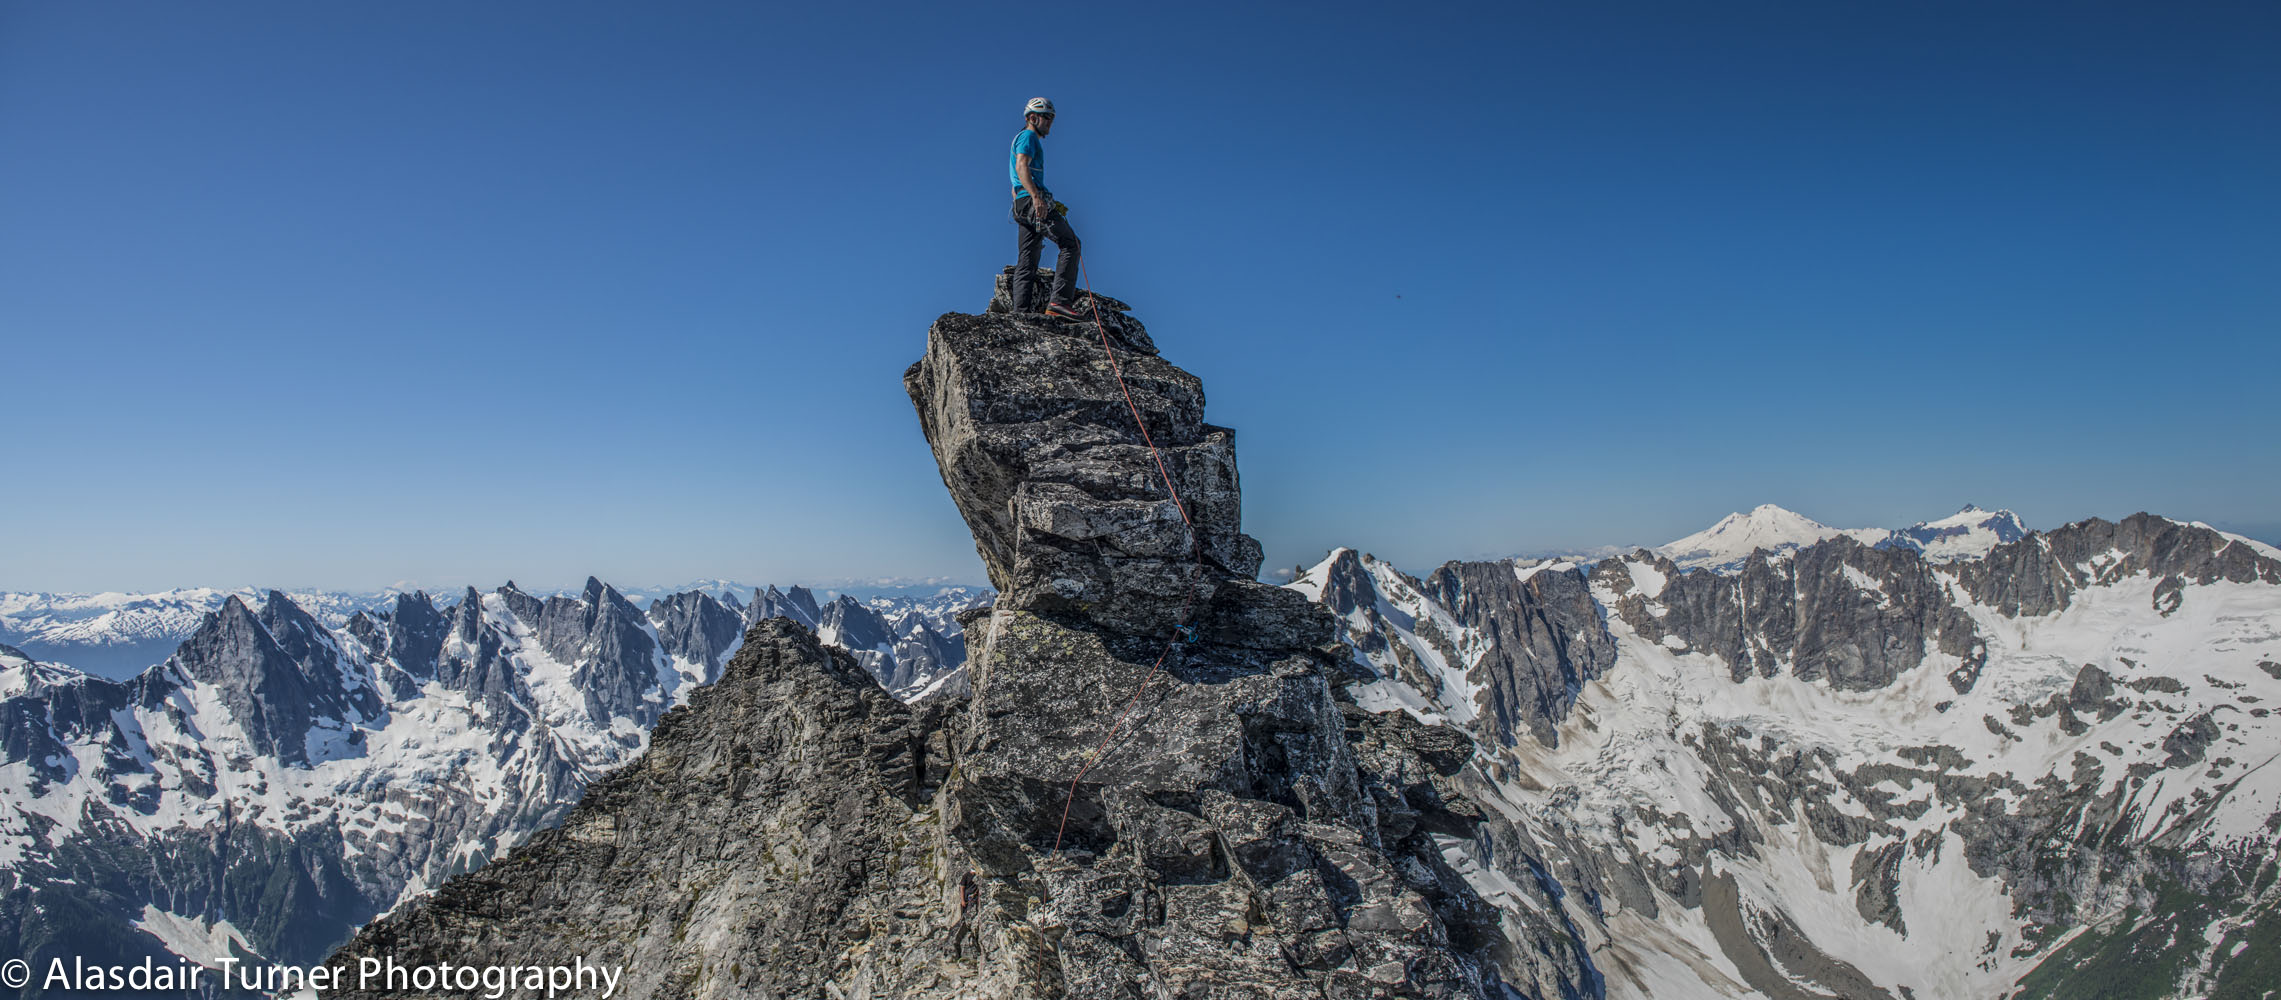
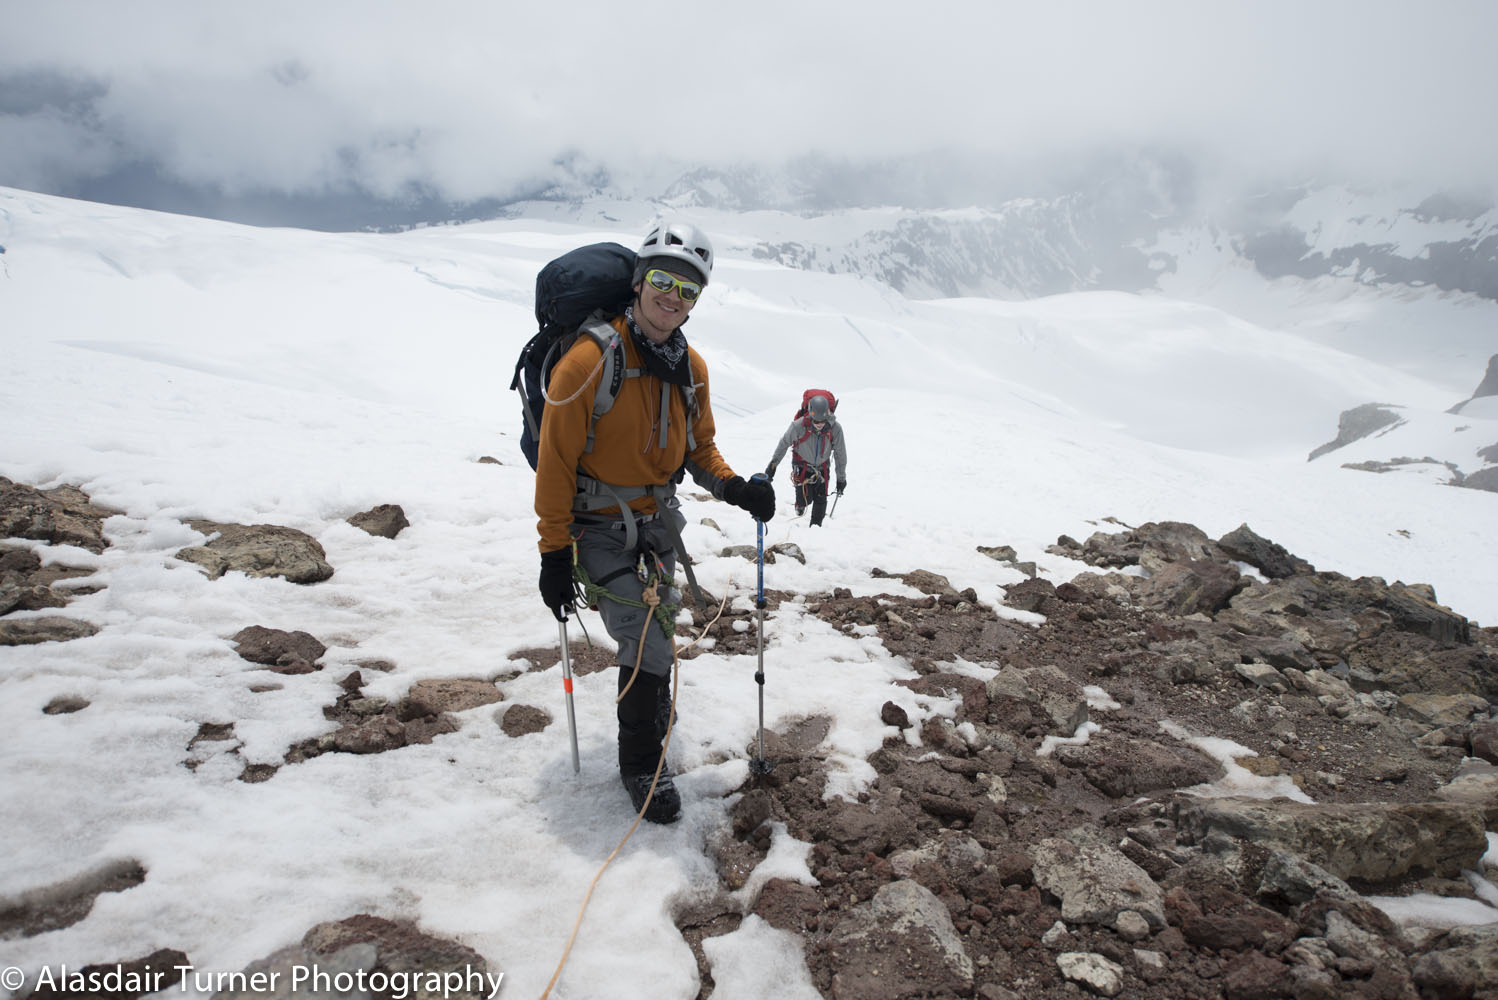
This is the time of year that many people who are planning to climb Denali start to think about the equipment and gear that they will be bringing on the mountain with them. Most of the people who climb Denali make the decision to bring a camera along with them, and just like any other gear, the choice of a camera can be a difficult one. Between person and guiding trips, I have not been that he Alaska Range more than ten times and have never left my camera at home. I have seen many different types and brands of camera on the mountain and some are clearly better than others. Which camera is right for you, and how you plan to carry it depends on what your photographic goals are, but no matter what camera you bring along there are some things you will need to do both before and while on your trip to assure you come home with great photos to accompany your great adventure.  

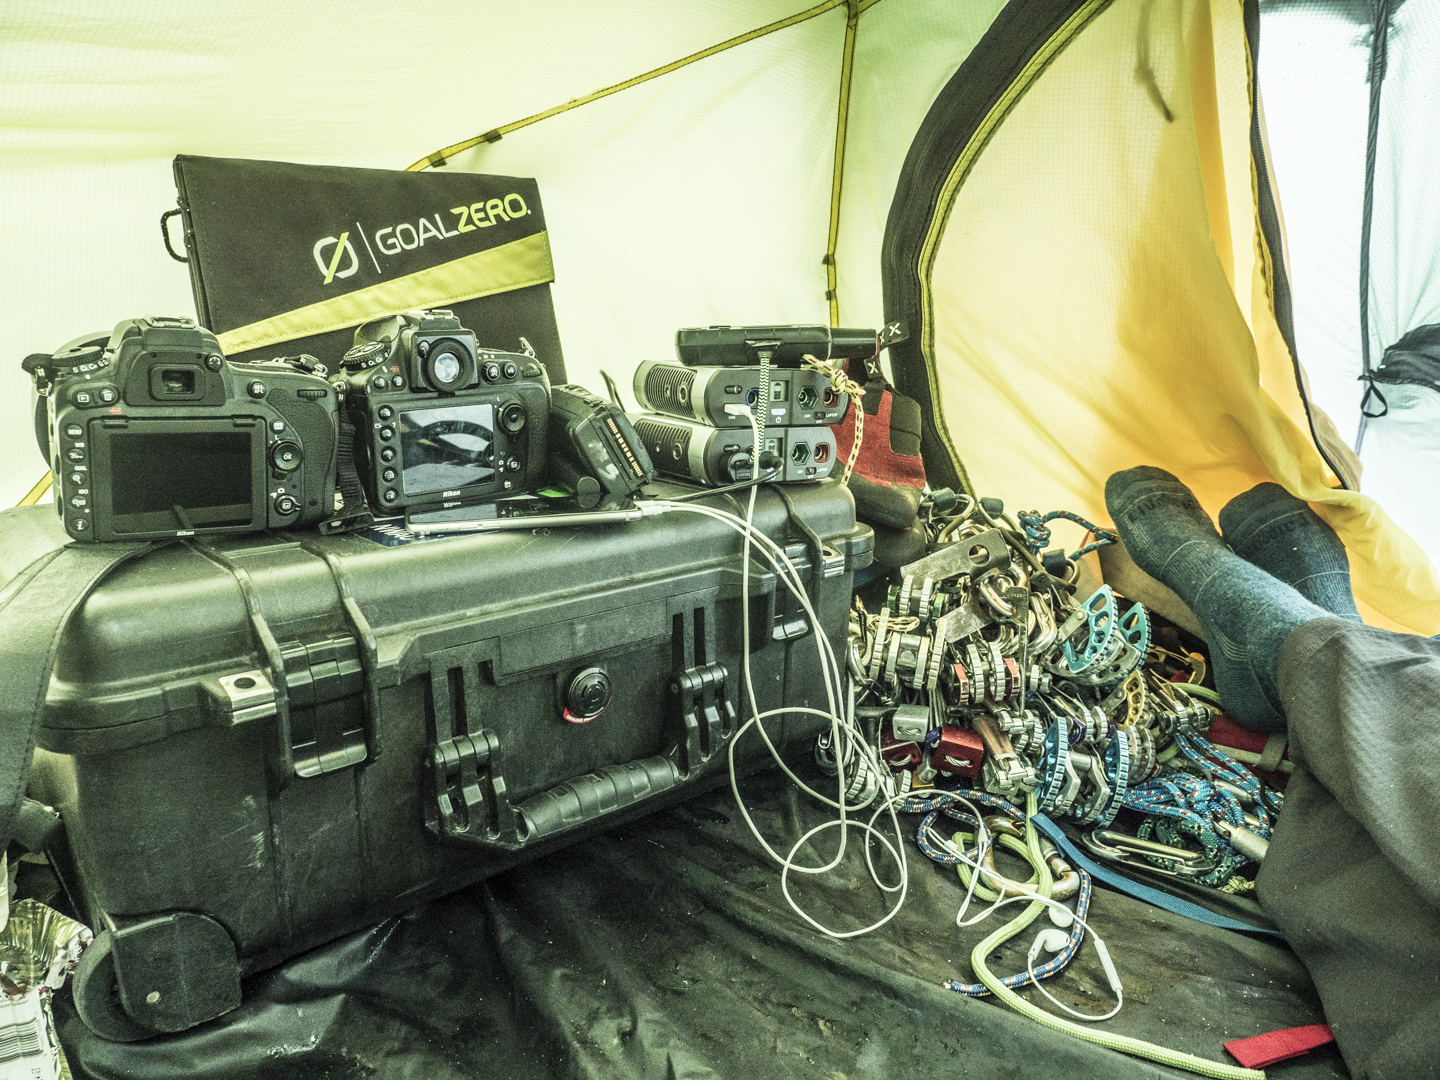
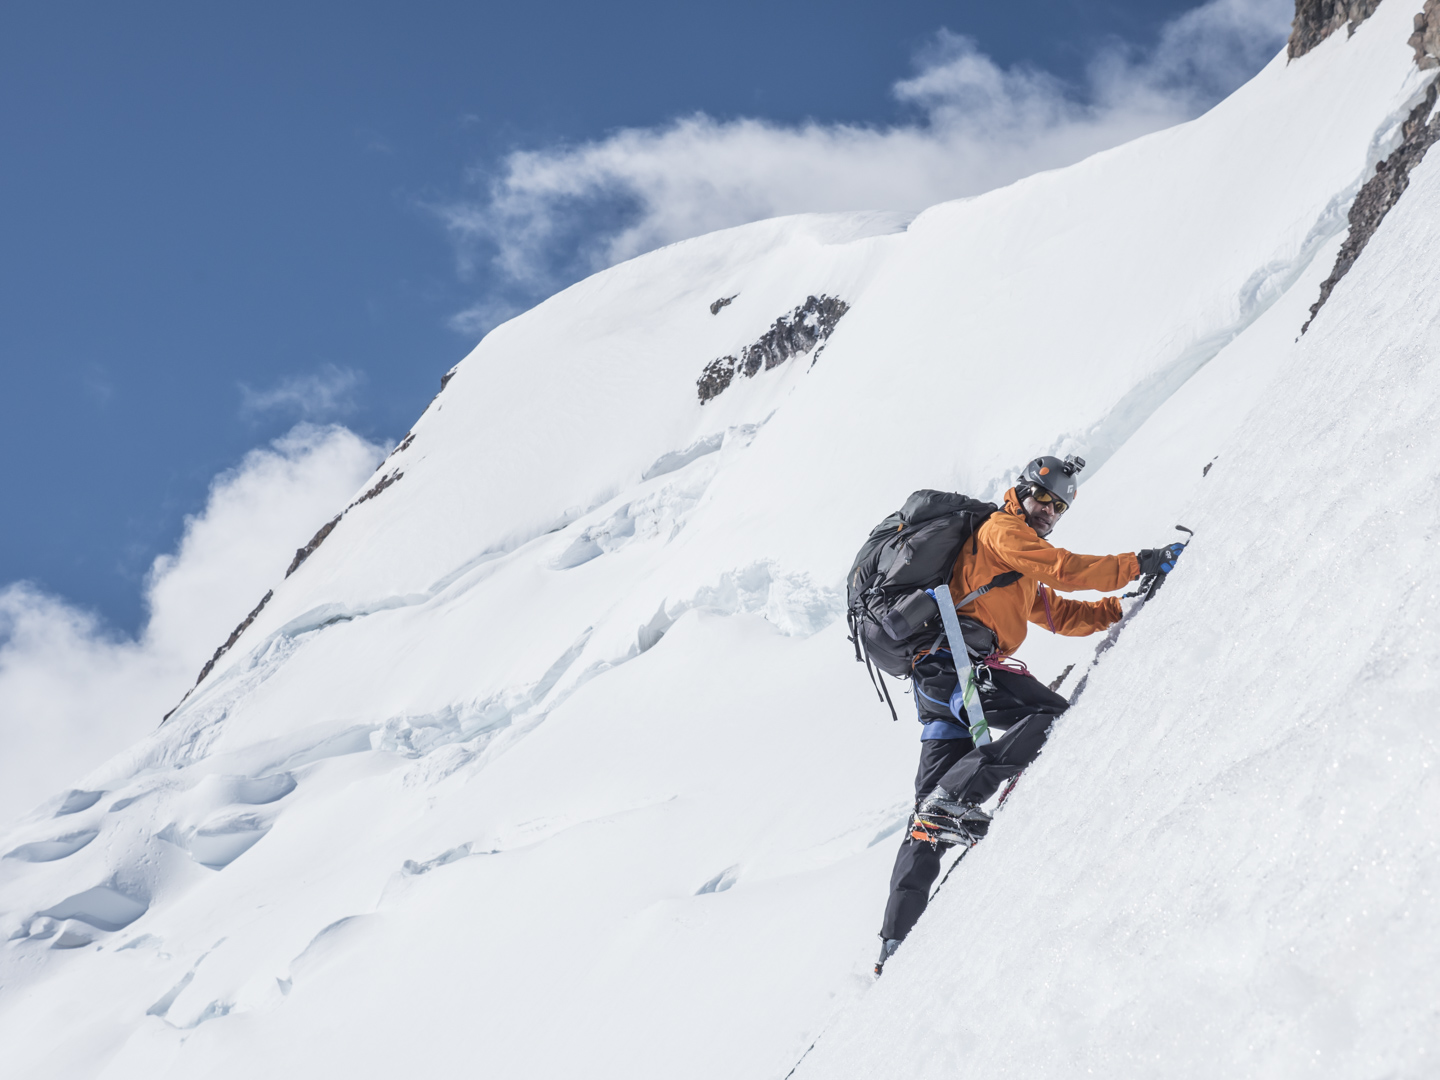
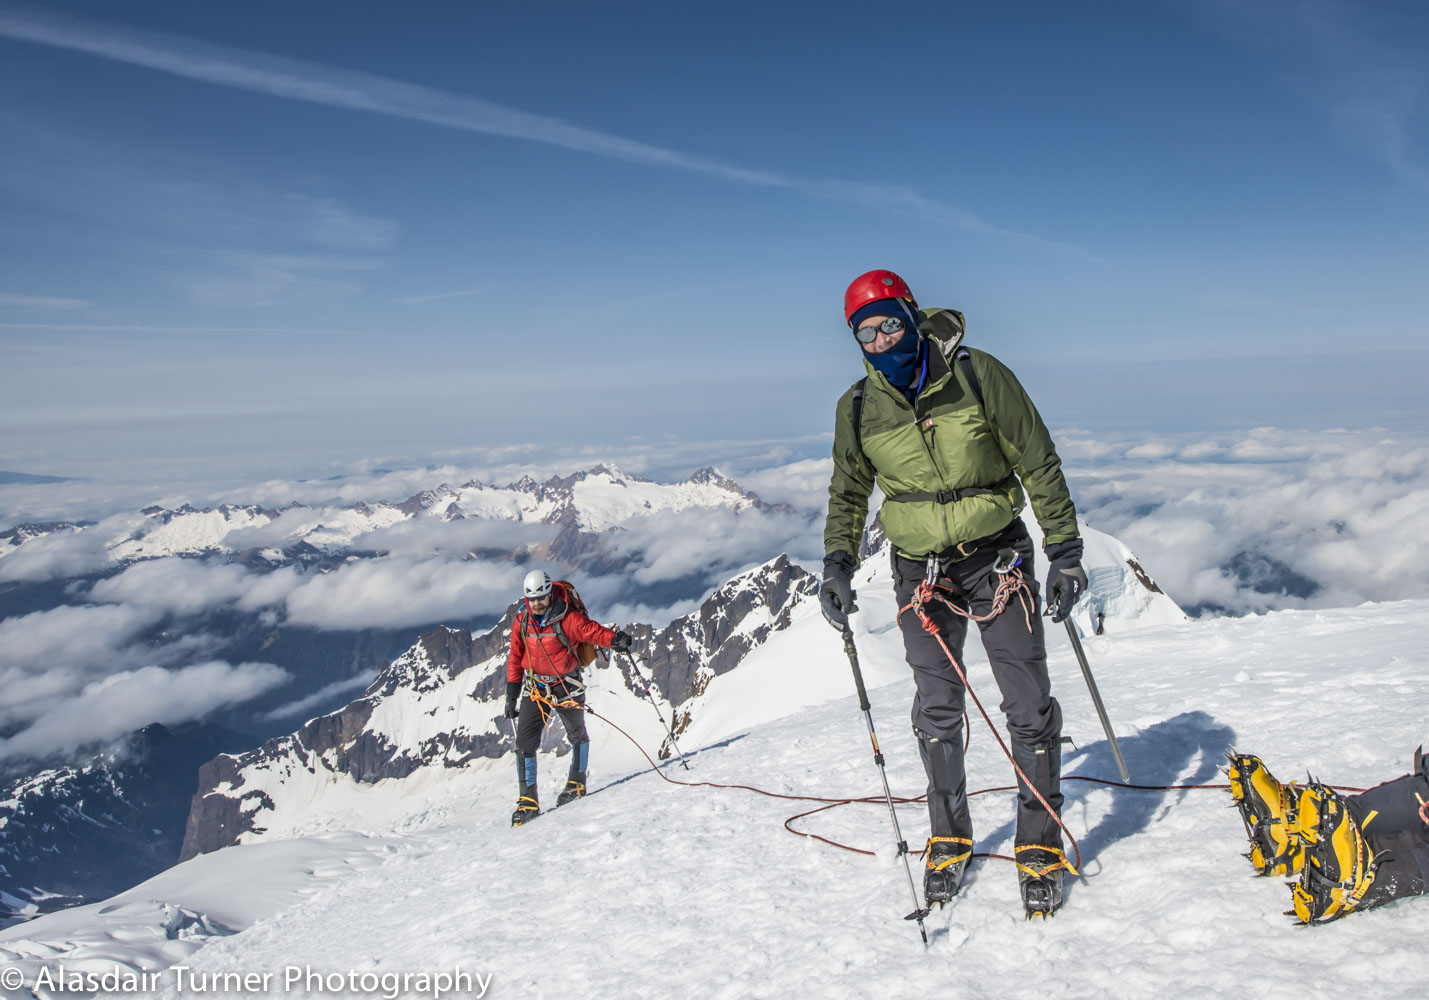
Like it or not some cameras just don't work in the extreme environments of a very cold mountain such as Denali. Many small cameras that use proprietary batteries just don't hold up to the cold temperatures. The camera works fine, but the batteries are just not designed for the extremely cold temperatures. Large SLR cameras work great but are very heavy which rules them out for all but the most serious photographer. Luckily there are many camera options that work on Denali and I hope to give you some ideas of which one will work best for you.

Point and Shoot vs SLR vs Mirrorless
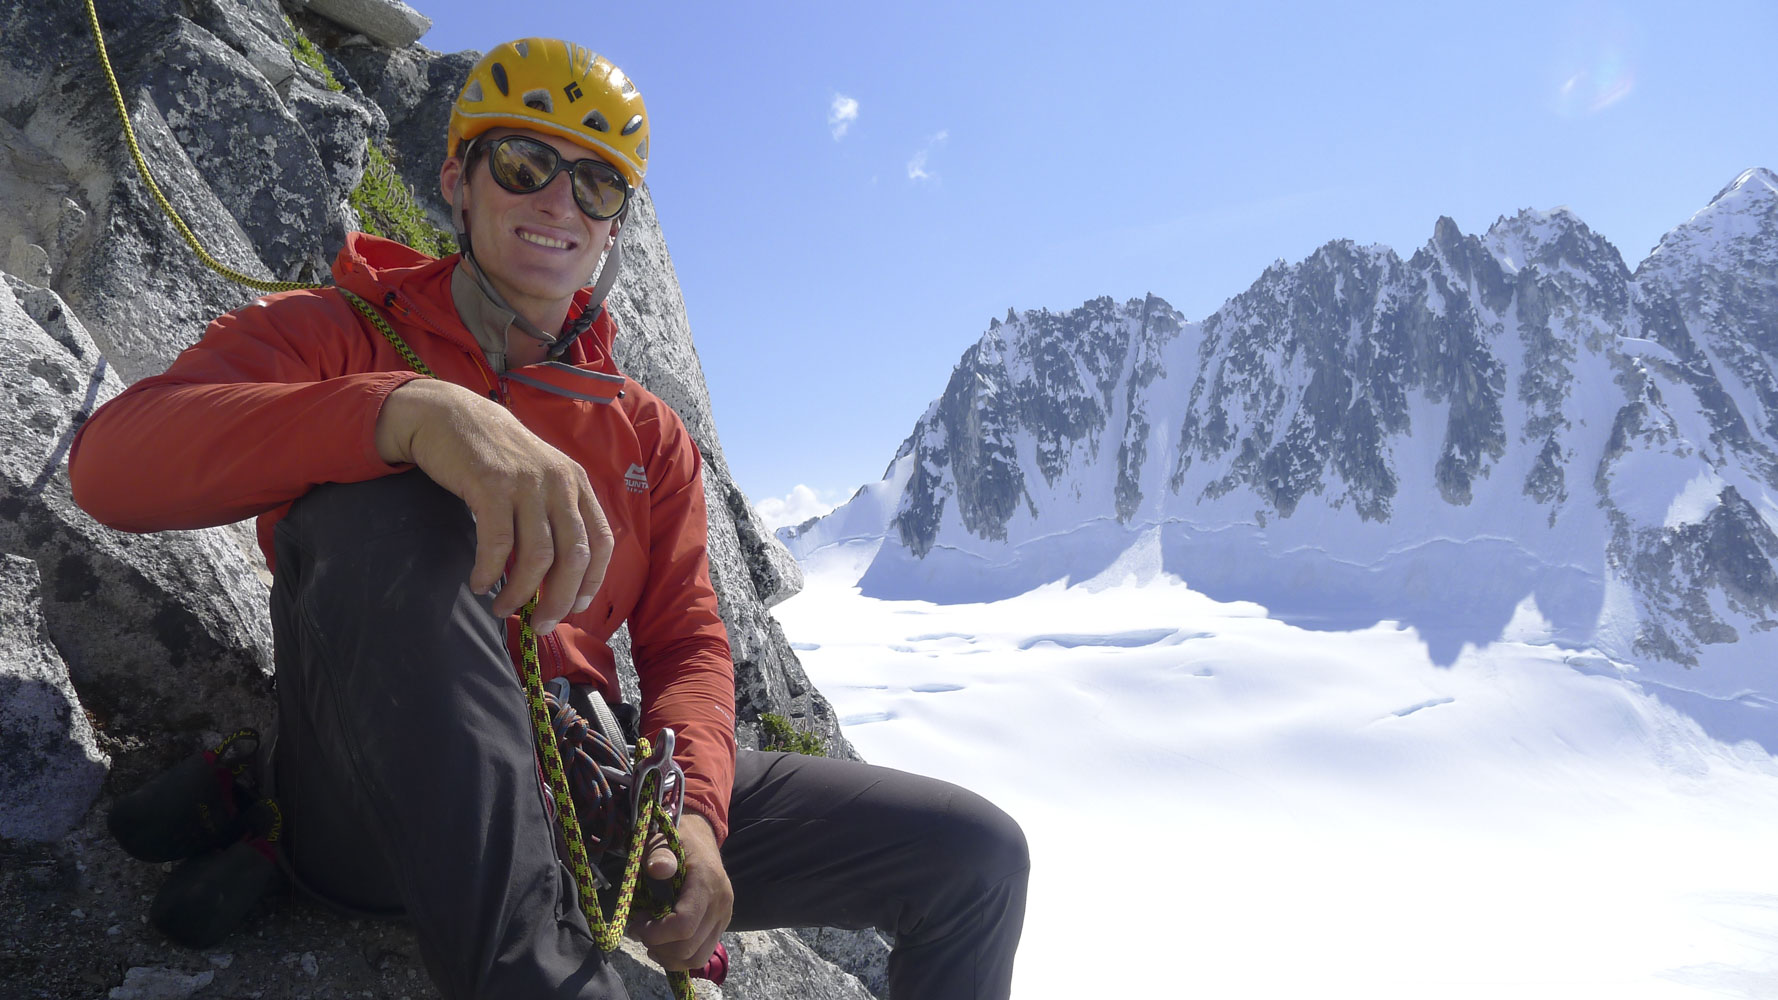
A point and shoot camera is lightweight and easy to carry and cheaper; a single lense reflex (SLR) is bulky and heavy and expensive. Most people I know use point and shoot cameras, and for most people they are the best option. In the past few years mirrorless cameras have come onto the market and produce very high quality images in a small package.  I usually carry a Nikon SLR with a multi purpose zoom lens (and sometimes a tripod), because it allows me more freedom to shoot the exact photo I want.  When weight is the most important factor I carry a Panasonic GH4 mirrorless camera.  Which is best for you?  The debate here goes on forever all across cyberspace. Everyone seems to have an opinion, but almost no one has had the experience of dragging multiple different cameras up Denali. The answer lies in how serious you are about your photography and how much weight you are willing to carry.

SLRs
If you are a very serious photographer then by all means bring along an SLR, but remember, when you get to 11,000ft on the mountain you will begin to worry about how much weight you have. It is amazing the amount of items that get left at caches because they were just too heavy to carry. 

Any Nikon or Cannon SLR should work fine.  I have not used Sony cameras so I can't speak to them.  

Lenses
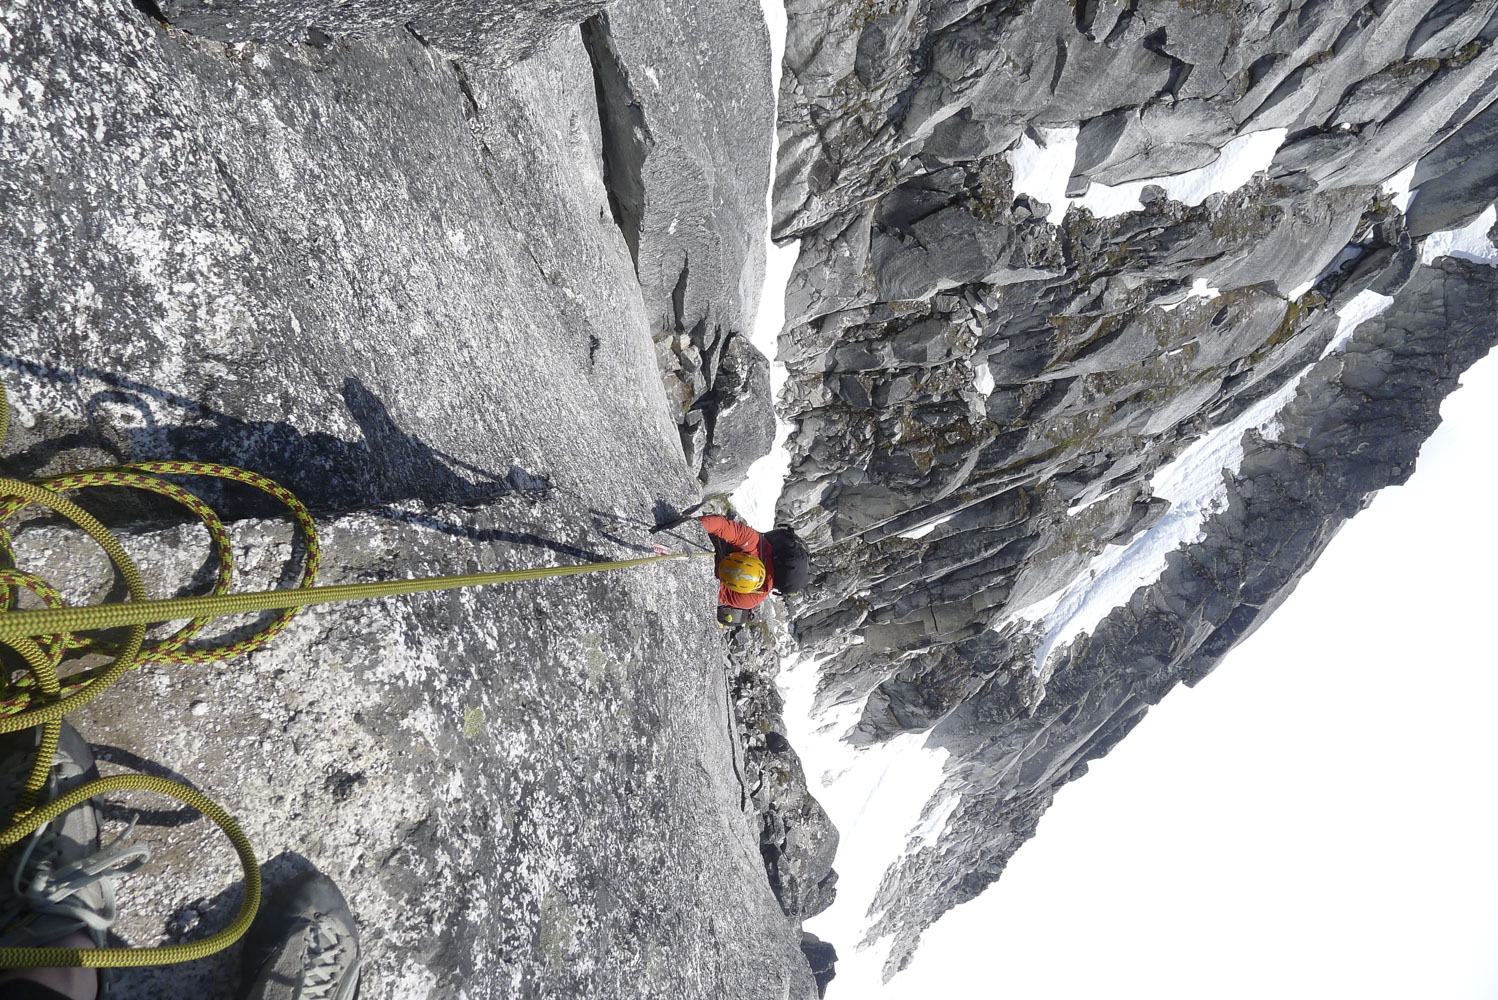
If you do bring an SLR bring just one lens. Find a multi purpose zoom lens that will give you many framing options. You will not be able to wander away from camps or off the regular route to shoot the exact photo you want, so having some sort of a zoom lens will be a necessity. There is lots of light on Denali. Even during bad weather there is more light that you need for photography so you do not need a fast lens. This is good news, because fast lenses are expensive and heavy. Many of the standard kit lenses are a great choice. If you use a nikon the Nikon 18-200 is a great option that I have used on the mountain several times.

Mirroless
If you really want great pictures but are worried about the weight then one of the mirrorless options is probably right for you.  The two recommended below shoot top quality photos and work great in cold temps.  


Panasonic GH4 - This is the new standard for high quality photos and video in cold environments. This camera also shoots 4K video, however video will burn through batteries on any camera including this one.  The battery life is better than any other camera out there and this is currently the best choice for high quality cold weather photography.  You will want an extra battery for this.  
 

Point and Shoot
Specially designed "rugged" cameras that are supposed to be extra tough are terrible. I have never seen one of these work effectively on the mountain. You do not need a waterproof camera on Denali. The water is frozen, and the air is very dry. Even if your camera does get a little wet it will dry out quickly in the sun.  

I have attempted to use GoPro cameras on the mountain several times, and while they work fairly well initially, the battery life is a deal breaker. GoPro has still not figured out their cold weather battery issues and until they do you should leave your GoPro at home. It will only last a few mins in cold temps.  

So what works, and what does not? In my experience any camera that uses AAA or AA batteries is a great choice. There are several cameras that do work well on the mountain not all of them use AA or AAA batteries but all have good battery life. Another feature that is nice to have is a eye peice viewfinder vs. an LCD screen. Some screens do not work in cold temps, and it is often too bright to see the screen even on cloudy days. The screen also uses a lot more battery power. Below are a few compact cameras I recommend:


Subcompact:
Nikon Coolpix L840 A nice camera that shoots high quality photos

Cannon G16 The best of the best for small cameras. Buy extra batteries as it does not use AAs.  

Pocket:
Panasonic Lumix None of the Lumix line use AA batteries, but they do have very good battery life and great lenses.  

Sony WX350 Another good pocket sized camera with good battery life, but bring extras.  


How to Carry Your Camera
Now that you have your camera you need to figure out how to carry it. Don't stick it in an inside pocket. I often hear people say you should keep the camera warm by sticking in your clothing. Don't do this. You are the only source of moisture on the mountain.  

Carrying is easy with a point and shoot type camera, because it fits nicely in a pocket (an outside jacket pocket that is). I recommend a small camera case that fits on the shoulder strap of a backpack similar to this one. This keeps the camera close by for quick use and outside clothing so there are no potential moisture issues.

For a large SLR I sometimes will keep the camera in my pack to protect it, but most of the time my camera hangs on the hip belt of my backpack. I use a top loading Lowe Pro Case like this one.  This allows me to get to the camera quickly, but can be a bit annoying when I am on more technical terrain. Another option that I have seen with SLR cameras is to hang it between the shoulder straps so it is right in front of you. From a comfort perspective this is not my favorite option, but you should try several different things to see what works best for you.

Cold Weather Camera Use

One of the most common myths I hear about camera use in the mountains is that the new digital cameras don't work in the cold. I have never seen a camera that does not work in the cold. The working temperature range for most electronics is well below the temperatures you are likely to encounter in the mountains. So your camera will still work. SLR camera shutters start to fail at about -40 ambient temps. It won't get that cold on denali. There are however some parts of your camera that could be less likely to work in very cold weather, so if you are going to Denali or Antarctica, keep reading; if not, you can skip to the next section.

Very cold temperatures do effect some non essential parts of a camera directly and other parts indirectly. One example is the LCD screen on the back of a camera. These can freeze at low temperatures, or just not work quite right, so you can't depend on that. Get yourself a camera with a view finder so you can see what you are shooting photos of. In VERY cold and dry conditions, even an eyepiece viewfinder can be a problem. On one trip I did to the Alaska Range, every time I held my camera up to my eye, my viewfinder fogged from the moisture near my body. These were the coldest temperatures I have ever encountered, and it is not likely that you will see these types of conditions. To put it simply, your camera is actually better suited to working in the cold than it is in extreme heat. On hot sunny days, don't leave your camera in the car. The batteries are another story that we will discuss next.

The problems most people encounter with their camera in cold weather are only indirectly related to the cold weather and can be avoided by a few simple rules. This brings us to the second most common myth of cameras in the cold. I often hear people say they keep their camera in their jacket so it stays warm. This works great with water bottles, but is not a good thing to do with a camera. Picture walking into a warm room with glasses on after having been outside in cold weather. Glasses fog, and so will a camera the second you put it back in your warm jacket. As long as it is dry outside, keep it outside. Cold is not your cameras enemy, changes in temperature are. This moisture problem applies to the inside of your tent as well. Tents can be very moist. I keep my camera in my backpack out of the tent at night and hanging on the outside of my backpack when I am moving during the day.


Batteries

Your camera won't have any problems in the cold, but your batteries might. Batteries do not loose their power in cold weather; they are just not able to give quite as much of it up. So as soon as a battery is warmed up, it is good again. Older metal hydride and nickel cadmium batteries are not very good in cold weather. Battery technology is advancing very fast, and this has been a great thing for digital cameras. Most new camera batteries are Lithium ion. They are expensive, but they work well in the cold. If you camera uses over-the-counter AA or AAA, buy the more expensive lithium ion batteries. They will last twice as long and save you money in the long run.

If you don't want your camera to die on summit day, spend some time learning how long your batteries last. I know that given normal temperatures I can shoot all the photos I want with my Nikon SLR and spend a lot of time reviewing them and not run out of battery power for any trip three weeks or less. I carry two extra batteries just in case on Denali, and almost never carry an extra for any other trip. I have never run out of batteries with this system, but cameras vary. You should know about how many photos your camera can shoot on one battery and then subtract 30% to know what you might get in cold weather. I have seen lots of battery failures on small point and shoot cameras. I feel like more of these camera have problems than don't so be very careful which camera you buy. If you can find one that uses AA batteries that is the best option. Either way you will need to bring lots of extras on a long trip. No matter what you do make sure you have one fully charged battery for summit day. I have seen a lot of people come home with no summit photo because their battery died.  

Moisture

The only time I would think about leaving my camera at home is in very rainy weather, for example, the Cascades in early spring. Even then I usually bring it along anyway. Moisture probably won't completely kill your camera, but it might. Keep your camera in a plastic bag if it is raining. Skip the long photo sessions, since they probably won't be great photos anyway. I always try to think about where the most moisture is and keep my camera somewhere else. I will remove the camera from the plastic bag quickly shoot and then return it to the bag. Sometimes I open the bag poke the lens out and leave the rest of the camera in the bag while a shoot a couple of photos. I keep my camera in the tent when I am in wet climates and outside the tent when I am in Alaska. Remember, snow is not the same as rain. It is a lot easier to keep a camera dry in the snow than the rain. If your camera ever does get wet, immediately take the battery out and do not use it for the rest of the trip. Attempt to dry it out as soon as possible by leaving it in the sun or some other warm (not hot) area. Get a bag of rice wrap the camera in cheese cloth and bury it in rice for a week. I have heard of some people putting their electronics in an oven to dry them out, but I don't suggest you try this. I just had an amusing email from a fellow guide asking for everyone's phone numbers after cooking his phone in the oven and losing all the data. Heat is one of the primary enemies of electronics.

I just returned from a trip to Antarctica where temperatures were the coldest I have ever encountered. I spent some time shooting in volcanic vents which are warm and very moist. This creates some of the most difficult conditions for shooting that exist. In order for the camera not to fog the second it is taken into the cave it must be the same temperature as the cave. The temperatures outside the cave were -20 and inside they were often above freezing (thats over a 50 degree change). I entered the cave with the camera sealed inside a ziplock bag and placed the camera on the floor (the warmest part of the cave). After finishing all my other work I then pulled the camera out to shoot photos which was sometime as much as an hour after entering the cave. This is the only way to shoot in this type of environment.

Camera Use

The most important thing about having a camera in the mountains is using it. The best thing about shooting digital photos is that it does not cost you any more to shoot more photos. You won't automatically get better photos because you shoot more on a given trip, but if you consistently take a good quantity, two things will happen. You'll accelerate your learning of what works and what doesn't work in creating quality images, and if it becomes automatic to be taking photos throughout the day or throughout a climb, you are unlikely to miss great photographic opportunities - many of which are only there briefly. Shoot away!

Arriving in Antarctica in Winter by Alasdair Turner

Its been two weeks since I arrived here in Antarctica.  When I first came to Antarctica four years ago I thought it would be my only trip here.  I never thought I would be back and I certainly never thought I would be here in the winter.  The sun has not risen above the horizon since I arrived and   it will not rise for another few weeks.  I assumed it would be very cold (it is), but I assumed it would be so cold that it would be difficult to do anything(its not). 

The flight from Christchurch to McMurdo Station takes about 5.5 hours aboard a USAF C-17.  Our trip took a little longer since we had to turn around after hitting a bird.  

I spend most days on the sea ice of McMurdo Sound setting up ice roads for the upcoming science season.  This work involves driving the frozen surface looking for passable routes around cracks and rough ice sections and eventually flagging over 20 miles of roads with flags spaced 150' apart.  I expect to place close to 2000 flags in the next month.  All the flags will be removed again in December before the ice breaks out again.  We have never done this work in the dark of the Antarctic winter so there is some learning to be done.  We have mostly learned that everything is a little bit harder when you can't see beyond the lights of your vehicle.  

Alaska Glacier Wedding In Denali National Park by Alasdair Turner

Two good friends getting married with another good friend officiating all in the perfect location made for my favorite wedding experience ever. It was an all American Alpine Institute wedding with former AAI employee Katy marrying AAI guide Chad and AAI guide Mike (reverend Mike) officiating. With another AAI guide (me) as the photographer.  The wedding ceremony was on the Pika Glacier of the Alaska Range.  The ceremony however was such a small piece of this amazing adventure wedding that it barely compares to the rest of the trip.  

We started in Talkeetna AK by getting back country permits at the ranger station and then the all important bridal makeup and wedding hair.  From there we shot some photos in and around Talkeetna, had a quick drink at the fairview and then headed to the airport.  

After the gear weighing, a quick bridal slack lining session and some last minute bridal touches in the AAI equipment shed we were ready to load the plane.  

We flew to the Pika Glacier with K2 Aviation who were amazing and went out of their way to make everything perfect.  Thanks K2!

The ceremony was short (it was getting late and we really needed to build camp).  The paperwork was signed and then Chad could do what he had been waiting for all day.  He quickly grabbed the shovel and started digging and soon camp was built.  The champagne was opened and the salmon dinner cooked. AAI guide Ian and guest Clay joined us for the party and we watched the sun set over Mt. Foraker.  

I flew out the next day but for the wedding party the trip was not over.  There was no flight out for them.  The plan was to climb the peaks of Little Switzerland for the next four days and then walk/float rivers back to Talkeetna.  Their photos of this part of the trip are included below.

Don Sheldon Mountain House Wedding in Denali National Park and Talkeetna Photos by Alasdair Turner

Last week I traveled to Talkeetna Alaska to shoot a wedding at the Don Sheldon Mountain House inside Denali National Park.  We started with some photos in town..

After photos we headed to the airstrip to fly to the wedding destination at the Don Sheldon Mountain House.  A 45 min flight with K2 Aviation into the Ruth Gorge and then a glacier landing is followed by a short walk uphill to the hut where the wedding party changed clothes.  The ceremony took place on a rock outcrop above the Ruth Glacier and below the highest peak in North America.  

This was the perfect glacier wedding, and the Mountain House is the perfect location for an adventurous wedding ceremony.  

Over the past couple of years I have been asked to shoot more and more of this type of adventure wedding and they are quickly becoming my favorite events.  They certainly make for the best wedding photos possible and memories that will last a lifetime.  Click here for more info on adventure wedding packages click here or  email me directly at alasdairturner@gmail.com 

Mount Baker with American Alpine Institute by Alasdair Turner

Last week I worked two back to back trips for American Alpine Institute.  These two trips on Mount Baker are AAI's most popular trips and two of my favorite to work.  

The AAI 6 day Alpinism 1 course covers the skills needed to climb a large glaciated mountain and then makes an attempt on the summit at the end of the course.  Our trip did not have the best weather but we were able to cover all the skills we wanted to.  Some photos of the trip are below.

I started a Mount Baker skills and climb the day after the Alpinism 1.  This trip is a three day course thats has the main goal of summiting Mount Baker, and the weather was looking good to make that happen.

Ross Island and The McMurdo Sound Region Project Support from Blue Earth Alliance by Alasdair Turner

I am excited and proud to announce my ongoing project on Ross Island and the McMurdo Sound Region is one of the three projects being supported by Blue Earth Alliance this year.  My project is an attempt to make the science, beauty and environment of the McMurdo Sound region accessible and interesting to everyone by using visual imagery and audio to capture the imagination and then introduce and explain the science behind these images.  More images and information about Blue Earth can be found on their website at www.blueearth.org 


Driving the Alaska Highway by Alasdair Turner

I just got back from Alaska.  Last week I drove a van from Bellingham to Talkeetna, Alaska.  The drive is long, but very worth doing.  We were taking the equipment, food, and Alpine Institute van up to Alaska for the Denali climbing season.  It has been a very warm winter across all of Western North America and this showed as we had very little snow either on the road or next to the road.  

Below are some photos of the drive.

Cold Weather Survival Training for the US Army by Alasdair Turner

The last two days I have been out in the Mount Baker backcountry working with a group of US Army personnel.  The goal of the course was cold weather survival and although not as cold as it could have been we did have some great conditions for learning and a great group of guys eager to learn.

We start the course with a  classroom session and then head into the field to build shelters, cook dinner and spend the night outside.  The classroom session discusses cold weather injuries, and equipment. From there we moved into the field and hiked into the backcountry.  Once there we set up tents and then discussed improvised shelters, and cooking.  

We had a clear and cold night.

The following morning we had several lessons, including terrain use, avalanche identification, improvised rescue sleds and white out navigation.  

We concluded the course with fire building practice in the woods further down the Mount Baker Highway where we learned that starting fires in the Pacific Northwest in the winter is quite difficult especially when no lighters are allowed.  


Photography on Denali - What Camera To Bring and How To Carry It While Climbing The Mountain by Alasdair Turner

 Photography on Denali (mount McKinley). Which camera is right for you, and how you plan to carry it depends on what your photographic goals are, but no matter what camera you bring along there are some things you will need to do both before your trip and while on your trip to assure you come home with great photos to accompany your great adventure.  

Read More

Saving Scott And Shackleton's Huts on Ross Island, Antarctica by Alasdair Turner

Earlier this week CBS News published an article about the Antarctic Heritage Trusts restoration efforts on Captain Robert Falcon Scott, and Earnest Shackleton's huts located on Ross Island, Antarctica.  Several of my images were used in this article.  While in Antarctica the last two seasons I did some photography of the Antarctic Heritage Trusts conservators working in these huts.  Here is a link to the CBS News article. 

http://www.cbsnews.com/news/shackleton-and-scotts-historic-antarctic-huts-saved-from-ruin/

Below is a video from NZ Antarctic Heritage Trust about the work that is being done on the huts.

It has been an incredible opportunity to watch the AHT work in these huts and the scope of these projects has amazed me as they progress.  For example if a nail had to be replaced, great care was taken to use nails that exactly match the ones originally used.  Below are some of the images from the project.  I have many more images of these huts located HERE.


September In Antarctica by Alasdair Turner

I arrived here in Antarctica four weeks ago leaving the northern hemisphere summer to return to winter early.  Over the past two seasons of working here on the ice, my first between October and February and my second August to December I realized that without a doubt the most incredible time of they year is late August.  So I am back again this season for the end of winter, watching the sun slowly rise over the Ross Sea to the north and bring in the Antarctic summer, where soon the sun will not dip below the horizon at all.  

As a sign of the weather to come once I finally arrived, we spent almost a week in Christchurch New Zealand waiting for the weather to clear long enough for our flight to be able to land.  Once here the weather promptly returned to what has been the norm for the last four weeks. High winds and low visibility have been constant, and although many think that this should be normal for Antarctica, it is not for this part of the continent.  It is warm this year, very warm.  Most days have been considerably above normal.  As much as 20 degrees C above normal.  Although I understand that these high temps are just localized weather, it is hard not to think about climate change with such extremes (and no climate change is not a theory, it is scientifically proven fact).  

Our flight down was on a USAF C-17 based out of JB Fort Lewis-McChord in Tacoma, WA.  This is also the plane I flew to NZ on.  Flying a C-17 is an amazing experience once, I would much rather fly on an aircraft with windows and comfy seats however.  

My job during this time of year is working on the frozen surface of the McMurdo Sound (the most southern bay of the Ross Sea, and also the most southern navigable water on the planet). The ice here breaks up each season and floats north into the Ross Sea and the Indian Ocean where it eventually melts.  I spend most of my time finding the location for a sea ice road that will run 22 km to the north where much of the scientific research we support here is done.  Sea ice moves, so we are constantly measuring and monitoring the conditions of the ice and the width of the cracks in addition to overall thickness of the ice (about 175cm as of yesterday).  We do this to ensure the safety of the vehicles that will be driving up and down this road with scientific equipment and other supplies.  We drive huge bulldozers and tractors on the ice so this is not as strait forward as it may seem at first.  This year there is a huge amount of icebergs frozen in place, which although sounds amazing and makes for great photos, creates very difficult ice conditions due to cracks in the ice that radiate in all directions from the bergs.  

As I already mentioned, the weather has been uncooperative.  it has been windy and warm.  I am sure there is a relation there somehow but I am not qualified to speak on this.  I will have to ask our weather forecaster who may have the most difficult job in Antarctica.  Even on a nice day if the winds are blowing it is not safe to be on the ice.  High winds pick up ice and snow and blow it around so that it is impossible to see the features on the ground.  When traveling on sea ice you must be able to see the ground or run the risk of putting a vehicle into a crack in the ice.  

web-4380.jpg

We have had some good weather days, but I can count them on one hand.  The days we have had have been incredible.  The main vehicle I use on the sea ice is a Hagglunds.  This is a swedish military vehicle that is theoretically amphibious.  Theoretically because chances are it would only float long enough for us to get out through the hatches on the roof if it did go in the water.  Our vehicles are getting old, and with all the budget cuts in the US government buying new Hagglunds is not high on the priority list.  

The main road ends at Cape Evans.  This is where Captan Scott built the second of his two huts here on Ross Island.  This is also the hut that Shackleton's Ross Sea Party used several years after Scott failed to return from the south pole.  The broken anchor of their ship the Aurora is still embedded into the beach were it broke free in a storm leaving the crew to spend two winters without their needed provisions which were still on the boat.  

The road continues north of Cape Evans to Cape Royds, but on much less of a scale (picture a one lane dirt road vs. highway).  Cape Royds is the location of Shackelton's 1907 hut where he got very close to the pole but turned around stating the now most famous of quotes  "a live donkey is better than a dead lion, isn't it?"

Back at McMurdo Station we are still having some dark at night, but as the sun gets lower in the northern hemisphere here the opposite happens.  The sun soon will not set at all making photos like this impossible for another five months.  

Pateros Washington and the Aftermath of the Fires by Alasdair Turner

I made a quick stop in Pateros, WA two nights ago to look at and photograph some of the remains of where the fire swept through.  The first thing I noticed was that the fire is not done.  The area is still thick with smoke and in the two short hours I spent there my eyes became scratchy and irritated.  The complete destruction of some areas was pretty incredible.  There is not much more I can say as the pictures below say more than I could ever do with words.  

web-2023.jpg
web-2036-2.jpg
web-2041.jpg
web-2035.jpg
web-2050.jpg
web-2063.jpg
web-2076.jpg
web-2080.jpg
web-2102.jpg
web-2106.jpg
web-2112.jpg
web-2119.jpg
web-2126.jpg

A Traverse of the Northern Picket Range by Alasdair Turner

I just returned from a trip into the Northern Picket Range in the heart of the North Cascades.  It was everything a Pickets Range trip should be, tiring, wet, amazing, scary, beautiful and of course bushwhacky (ok thats not really a word, but you get the idea).  I was working this trip for the American Alpine Institute with two advanced guests and it really felt a lot more like climbing with friends than it did guiding.  We started out with the intention of traversing the range from north to south, but after a couple of days bad weather and an unfortunate incident of a dropped and unrecoverable ice axe we shortened the trip and exited via Access Creek.  

We parked at the Ross Lake Dam TH and took the boat shuttle from the dam to Little Beaver.  The 17.5 miles to Whatcom Pass was done over two days.  Our plan of climbing Whatcom Peak via the North Ridge was changed when we saw that it was still covered in a lot of pretty sloppy and wet looking snow.  We traversed around the east side of Whatcom Peak the following day via the Whatcom Glacier and summited the peak from the south side.  Good snow coverage and nice conditions made this pretty simple.  On the way to Perfect Pass from the summit we noticed the change in the weather.  We did manage to cross most of the Challenger Glacier with no issues and negotiated the last of the crevasses just as the visibility dropped to near zero.  We spent the night at low point between the base of Challenger's East Ridge and Eiley Wiley Ridge.  

The following day was not any way improved on the weather front, but boredom and a little spirit of adventure lured us out of the tent and to the summit of Challenger.  I am not sure I would have been comfortable doing this without the GPS but it was fun and we got to tag our second summit of the trip.  Upon returning from the summit we packed our camp and headed down the Challenger Glacier and into the Luna Cirque.  We set up camp on the moraine at the bottom and watched as the clouds lifted and the weather cleared.  

The next day we moved camp to Luna Col and enjoyed an amazing sunset and the incredible views that this spot has to offer.  

The next morning we made the climb to the summit of Luna Peak.  This route is not talked about very highly by any of the guidebooks, but I did not find it that bad.  Although there is some loose rock it certainly not the worst the pickets have to offer.  Not completing the ridge to  the true summit would be a mistake for almost any party, and I highly recommend it.  

After returning to camp we packed up our stuff and headed out Access Creek.  I had not been down Access Creek before and did not find it that bad.  Yea, there is some bushwhacking, and yea it sucked a little bit at the time, but once again, its not the worst the Pickets have to offer.  We did not find a good log crossing of Big Beaver Creek so a little crotch deep wading was needed to get across.  Attempting to put on my pants, socks, and shoes, with a badly sprained ankle while a billion mosquitos took advantage of my bare skin was probably the low point of the trip for me.  Yes somewhere in the Access Creek drainage I managed to roll my ankle to the point that it made lots of crunching and popping sounds.  A bunch of athletic tape and some over tightened boots managed to get me the 2 more miles to a campsite on the Big Beaver trail.  

The following day with a badly swollen Ankle we hiked the 18+ miles to the car.  

And now some photos of the trip.  

Just above Little Beaver Campground on the Little Beaver trail.

Just above Little Beaver Campground on the Little Beaver trail.

Little Beaver has some big trees.

Little Beaver has some big trees.

Campsite on day 1.

Campsite on day 1.

The valley we hiked up the previous day.  

The valley we hiked up the previous day.  

Looking toward Mount Challenger after crossing the Whatcom Glacier.

Looking toward Mount Challenger after crossing the Whatcom Glacier.

Trying to find the summit of Mount Challenger in the fog.  

Trying to find the summit of Mount Challenger in the fog.  

This must be it.  BTW:  Due to fixed pins the summit can be climbed with nothing more than 4 quick draws.  There is no need for other gear.  

This must be it.  BTW:  Due to fixed pins the summit can be climbed with nothing more than 4 quick draws.  There is no need for other gear.  

Camp below Challenger. 

Camp below Challenger. 

Finally the weather clears.  

Finally the weather clears.  

On the summit of Luna Peak.  

On the summit of Luna Peak.  

Hello.

Hello.

Please note that all photos are protected by copyright.  I register all of my images with the US copywrite office.  It is not ok to use my images without permission.  If you would like use of an image, please ask me.  

Talkeetna Alaska and Photography Over the Alaska Range by Alasdair Turner

Earlier this year I spent a week in Talkeetna Alaska to try to re-shoot a photo from several years ago with a higher resolution camera.  Most of the week was spent hanging about in Talkeetna watching the first of the Denali climbing teams prepare for their trips and fly into the range.  For my purposes perfect weather was the only thing that was worth flying in, so I waited around all week while it rained.  I was scheduled to leave Alaska Sunday morning and woke up Saturday morning still not having had a chance to shoot.  By noon on Saturday it became clear that the weather in the evening was going to be perfect.  There was not a cloud in the sky, and none of the typical afternoon clouds were forming.  The flight was scheduled for 7:15 launch time putting me in the mountains about 7:45 which is a perfect time to start shooting.  A thick pollution haze (Blown in from China) was visible making it impossible for good overview shots of the range, but it did create some interesting and pretty photos of the Ruth Gorge.  

I flew with K2 Aviation who I have been using for many years for flights in the Alaska Range for both personal trips and trips with American Alpine Institute.  Not only are they safe, professional and accommodating, they are a great team of really nice people who make waiting for the rain to stop very enjoyable.  Thanks K2.  To book a trip with K2 go to their website http://www.flyk2.com.

A Talkeetna local waits for a flight with K2.  

A Talkeetna local waits for a flight with K2.  

The story of my week.  Most of my time in Talkeetna was spent watching it rain.  

The story of my week.  Most of my time in Talkeetna was spent watching it rain.  

Pretty sky photos are not always good.  Another day of rain in Talkeetna. 

Pretty sky photos are not always good.  Another day of rain in Talkeetna. 

Denali, and the Kahiltna Glacier as seen from 12,000 feet.  This is not a view that is seen very often since most people are at a much lower altitude when they get to this area.  I love this shot since it really shows Denali as a individua…

Denali, and the Kahiltna Glacier as seen from 12,000 feet.  This is not a view that is seen very often since most people are at a much lower altitude when they get to this area.  I love this shot since it really shows Denali as a individual mountain in a way I have not seen before.  It also contains the entire West Buttress route up the Kahiltna Glacier which is also rare to see in a photo.  Click on the image to purchase.

The photo I flew to Alaska to get.  Denali, showing the West Buttress route.  Click on the image to purchase.

The photo I flew to Alaska to get.  Denali, showing the West Buttress route.  Click on the image to purchase.

Denali from the south.  The Cassin Ridge is the central rib that extents to the summit.   Click on the image to purchase.

Denali from the south.  The Cassin Ridge is the central rib that extents to the summit.   Click on the image to purchase.

Mount Hunter from the north side.  Click on the image to purchase.

Mount Hunter from the north side.  Click on the image to purchase.

Mount Huntington.  Click on the image to purchase.

Mount Huntington.  Click on the image to purchase.

The Ruth Gorge with a golden hazy pollution layer filtering the sun.  Click on the image to purchase.

Back in Anchorage and ready to head home.  

Back in Anchorage and ready to head home.  

Please keep in mind that as a photographer I paid for a week long trip to Alaska to get these photos.  None of them may be reproduced or downloaded for any reason.  If you would like to purchase these images please click on the image and it will link to a page from which you can purchase the images.  

Mt. Baker Skills Climb by Alasdair Turner

I just spent 3 days on the north side of Mount Baker doing a basic skills and summit climb.  This is a course offered by American Alpine Institute.  More information on the course can be found at their website here.

Due to a questionable weather report for the summit day (typically the third morning) we decided to climb on day 2.  We got quite a late start for the summit but given that the evening temperatures have not been dropping below freezing and generally good glacier conditions this did not make much of a difference.  This was my first summit of the season and it was nice to stand atop the mountain I have summited more than any other once again.  

Below is a time-lapse and a few photos from the trip.